

How to Deep-Clean Your Refrigerator and Freezer Before Thanksgiving
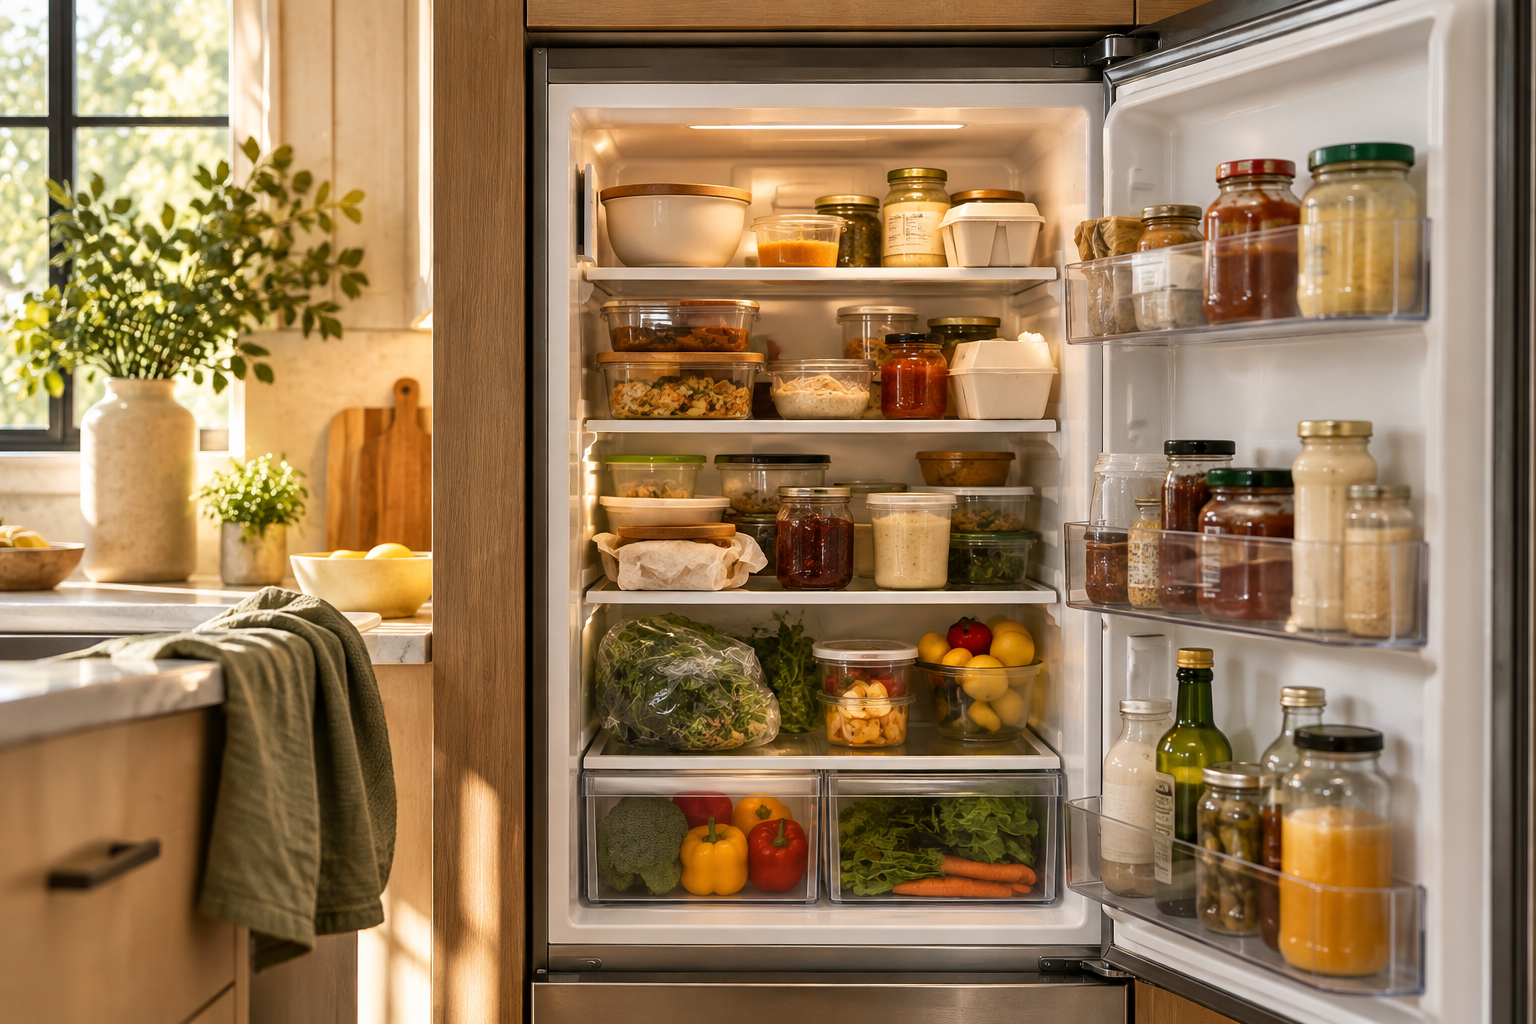
Sometime this week you will open the fridge, try to picture where a five-kilo turkey is going to sit, and come up empty. The top shelf holds three half-used jars of mustard and a container nobody will claim. The crisper drawer holds vegetables you meant to cook last week. The door bins carry condiments from at least two different Christmases.
That is the moment to learn how to deep clean a refrigerator, freezer included, in an order that serves the holiday and not just the shine. With Canadian Thanksgiving approaching, this is the ideal time to clear out the refrigerator before the holiday grocery run, and the same plan works just as well ahead of American Thanksgiving in November. The payoff is practical: more usable space, a clear view of what you already own, and a safer place for raw and cooked food when the load doubles.
To deep-clean your refrigerator before Thanksgiving, first check that it is at 4 °C or colder and your freezer is at −18 °C or colder. Move perishables to a cooler, discard spoiled food, remove shelves and drawers, and clean from top to bottom. Once everything is dry, take inventory and reorganize the fridge so raw meat stays contained on the bottom shelf, while leaving room for Thanksgiving groceries and leftovers.
Why Clean Your Fridge Before Thanksgiving Grocery Shopping?
The Thanksgiving shop is unlike any other trip of the year. A turkey, several kilos of vegetables, butter, cream, stock, pies and the dairy for a full table arrive within a couple of days of each other, and every bit of it wants cold space at the same time. Old food is already holding that space, along with the bottles and tubs you stopped seeing in September.
Cleaning first pays off in quieter ways too. A sticky shelf wipes clean in seconds while empty and becomes a miserable job once it is crowded. Knowing what you own stops the fifth jar of cranberry sauce from coming home, and with Canadian household budgets under pressure, a duplicate purchase is money you can simply keep. Sorting raw meat, ready-to-eat food and leftovers is also easier when you are rebuilding the fridge on purpose. And it is your one chance to find out whether the appliance is holding a safe temperature before a turkey depends on it.
What You’ll Need
- Microfibre cloths and a few clean towels
- Unscented dish soap and baking soda
- A small brush or an old toothbrush for grooves and seals
- A cooler or insulated bags with ice packs
- Garbage and compost bags
- Food-storage containers with tight lids
- An appliance thermometer, if you don’t already have one
One caution before you start. Everything you use ends up near food, so keep to mild soap and water, rinse well, and read the cleaning section of your refrigerator manual, because shelf, drawer and finish materials vary by model.
Step 1 — Check the Temperature Before You Start
Do this before you move a single jar. A fridge can feel properly cold to the hand while sitting at 7 °C, and that is not cold enough. Health Canada says to keep the refrigerator at 4 °C (40 °F) or lower and the freezer at −18 °C (0 °F) or lower, which keeps food out of the 4 to 60 °C range where bacteria multiply quickly.
Place an appliance thermometer inside the refrigerator and give it enough time to produce a stable reading, following its instructions. If the number is high, you want to learn that now, with time to adjust the dial, test the door seal or book a technician, and not the night before dinner.
Crowding matters as well. HealthLink BC points out that cool air has to circulate to keep food safe, which is why the clearing-out below is a safety step as much as a tidy one.
- Fridge: 4 °C or lower
- Freezer: −18 °C or lower
- Read it after the thermometer has had time to settle, with the doors kept shut
- Read again the evening after the big grocery shop, since a fridge full of warm groceries climbs for a while
Step 2 — Empty the Refrigerator Strategically
A deep clean needs an empty fridge, but perishables shouldn’t sit on the counter while you work. Park a cooler with ice packs beside the fridge and pull things out in this order: raw meat and dairy into the cooler first, then leftovers, then produce, then the shelf-stable condiments that can wait on the counter. HealthLink BC advises getting perishables back into the cold within two hours, so set a timer and treat it as a deadline.
As each item comes out, drop it into one of three groups.
| Keep | Use soon | Discard |
|---|---|---|
| Sealed, properly stored items and condiments you actually use | Opened dairy, wilting produce, half-used herbs, anything you can fold into this week’s meals | Mouldy or leaking items, unidentifiable containers, leftovers past three to four days, food that sat out too long |
Before you bin everything with a date behind it, know what the date means.
Put the Use Soon group together in one visible bin or section when you restock the refrigerator, and plan to use those foods in meals before the Thanksgiving grocery run. It is the simplest way to turn a clean-out into less food waste and a smaller grocery bill.
A best-before date isn’t an automatic throw-it-out date. According to the Canadian Food Inspection Agency, it primarily tells you how long an unopened, properly stored product should keep qualities such as freshness, taste and nutritional value. Once a product is opened, its storage life can change. Expiration dates are different and appear on only certain foods, including infant formula and meal replacements; food carrying an expiration date should not be eaten after it. For everything else, consider how long the product has been open and follow safe-storage guidance for that particular food. Leftovers have their own clock: for cooked turkey, Québec’s guidance says to use refrigerated leftovers within three to four days.
Step 3 — Remove Shelves, Drawers and Door Bins
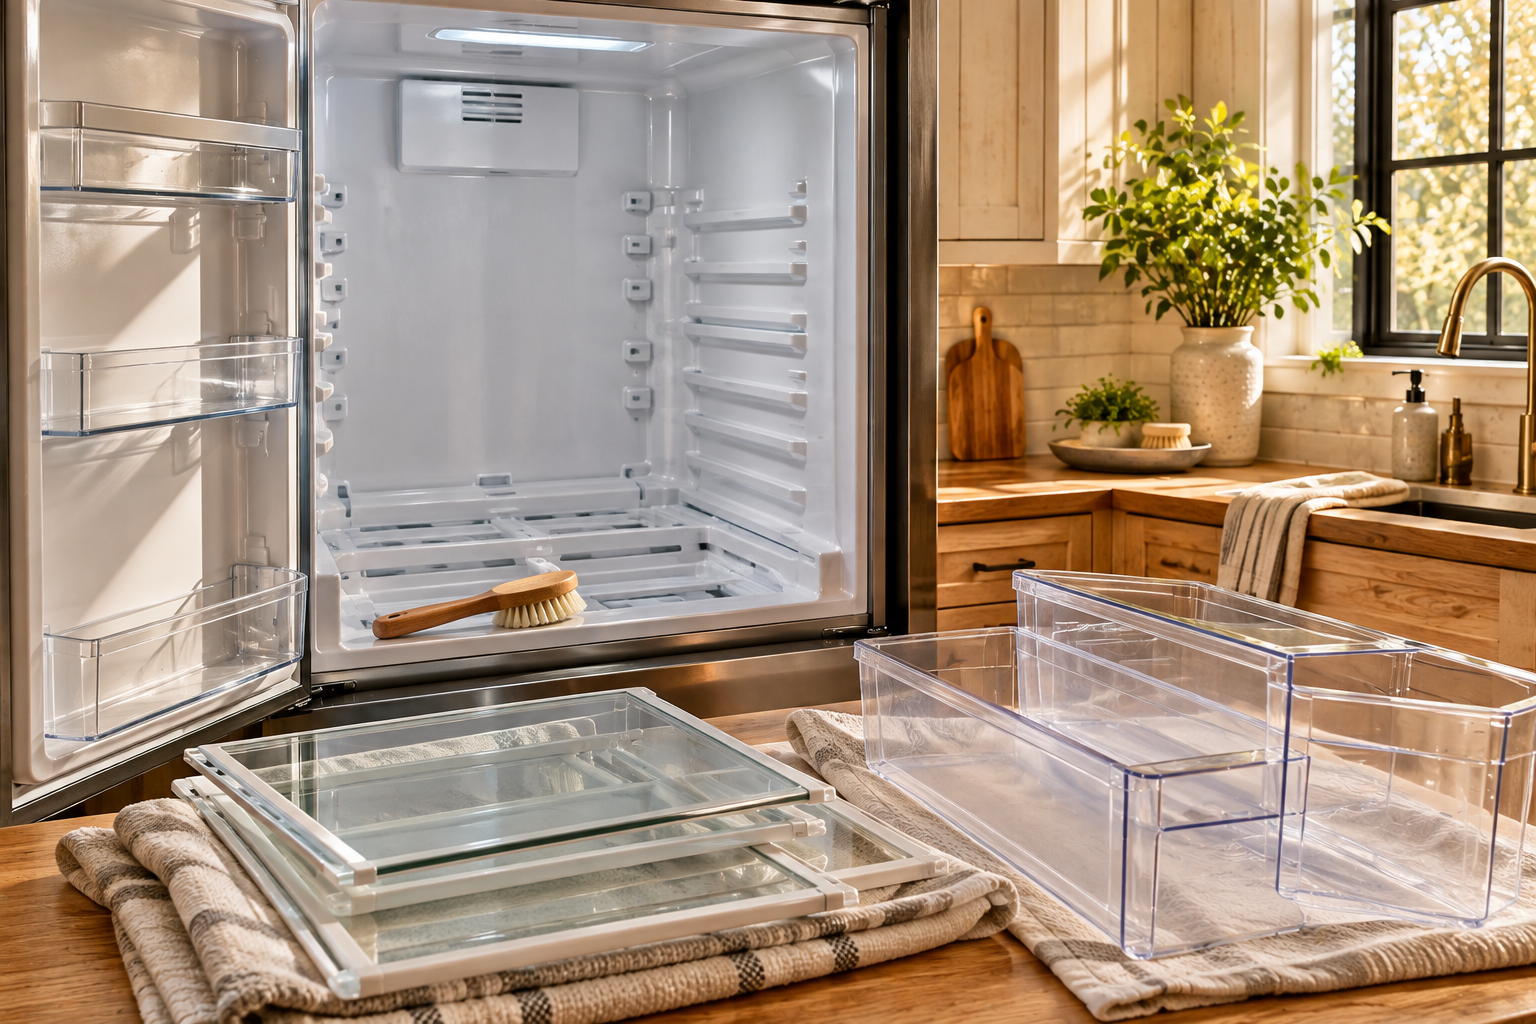
Once the fridge is empty, take out the loose parts. Check your manual first, because release methods differ by model and forcing a clip is how plastic breaks. Then be patient with the glass. A cold shelf can crack under hot water, so set it on a towel until it reaches room temperature before washing. Plastic bins and drawers can go straight into lukewarm soapy water.
Step 4 — Clean the Refrigerator From Top to Bottom
If you are wondering how to deep clean a refrigerator without redoing half of it, work from the ceiling down. Drips and crumbs fall, so each pass leaves nothing for the next to redo. Use warm water with a small amount of unscented dish soap, follow with a cloth rinsed in clean water, and dry with a towel so no soap film stays near food.
Wipe the interior ceiling and side walls, including the light housing area if it is accessible without removing parts.
Wash and dry each shelf you removed, and wipe the shelf supports they sit on.
The same treatment, with extra attention to the back wall where condensation and drips collect.
Wipe the empty space the drawers slide into and run a brush along the rails, where crumbs gather.
Wash, dry fully and return them last, so moisture doesn’t pool at the bottom.
Soak and wash the bins, then wipe the door liner behind them where drips run down.
Wipe the inner panel and the hinge area with the door open.
Run a soft brush through the folds, then wipe with a soapy cloth and dry. Crumbs in the folds are what stop a seal from closing flat.
Finish with the handles, door edges and the front panel, following your manual for stainless or coated finishes.
While cleaning the gasket, check that it sits flat against the refrigerator. One simple check, described in a Yukon government energy tip sheet, is to close the door over a strip of paper; if it pulls out with almost no resistance, consult your appliance manual to see whether the seal needs cleaning, adjustment or replacement. Small faults like this are easy to ignore, which is how they turn into the expense described in our piece on the cost of delaying home repairs.
Step 5 — Deal With Stubborn Spills and Odours
Soften before you scrub. A dried spill lifts easily after a warm, damp cloth has sat on it for a few minutes, and sticky residue usually gives way to warm water and dish soap. A small brush handles crumbs packed into seals and rails. For a lingering odour, clean the source, whether that is a leak under a drawer or a container quietly spoiling, because masking it only buys a few days. Baking soda on a damp cloth makes a gentle scrub, and an open box on a shelf takes the edge off what remains.
Keep the chemistry boring. Skip homemade mixtures and strong cleaners inside a food space. Health Canada warns that bleach reacts with products containing ammonia or an acid, vinegar included, and can release toxic gases. The safest habit is never to combine cleaning products at all.
Step 6 — Deep-Clean the Freezer
The freezer is where Thanksgiving space quietly disappears, so it earns the same attention. Work in sections, moving food into the cooler a shelf or drawer at a time so nothing starts to thaw. Set aside packages you can’t identify or date and inspect them before deciding whether to keep them. Heavy frost or freezer burn usually affects quality rather than safety, so don’t discard food solely because ice crystals have formed. When something does go, follow your municipality’s organics and waste rules. Combine duplicate open bags of peas or corn. Wipe the shelves and drawers with a cloth wrung out in warm soapy water, then dry them, because wet surfaces freeze on contact.
Then think about what the holiday needs: room for a frozen turkey if you bought early, a shelf for stock and pie shells, and space for leftovers you won’t finish. If you find thick frost, defrosting is worth doing, but follow the manufacturer’s procedure for your model, since frost-free and manual-defrost units differ. Put food back only when the interior is dry and the temperature reads −18 °C or colder.
Step 7 — Take Inventory Before Putting Everything Back
This is where the cleaning turns into Thanksgiving planning. Before anything goes back on a shelf, make a quick list of what you hold, what is running low and what the holiday adds.
| Already have | Running low | Buy for Thanksgiving |
|---|---|---|
| Butter | Milk | Turkey |
| Cranberry sauce | Eggs | Fresh herbs |
| Frozen vegetables | Cream | Thanksgiving vegetables |
Those entries are examples; fill in your own. The pantry deserves the same audit while you are at it, and our pantry organization and fall meal-prep reset walks through it. When both lists exist, your grocery list nearly writes itself.
Step 8 — Reorganize the Refrigerator for Thanksgiving
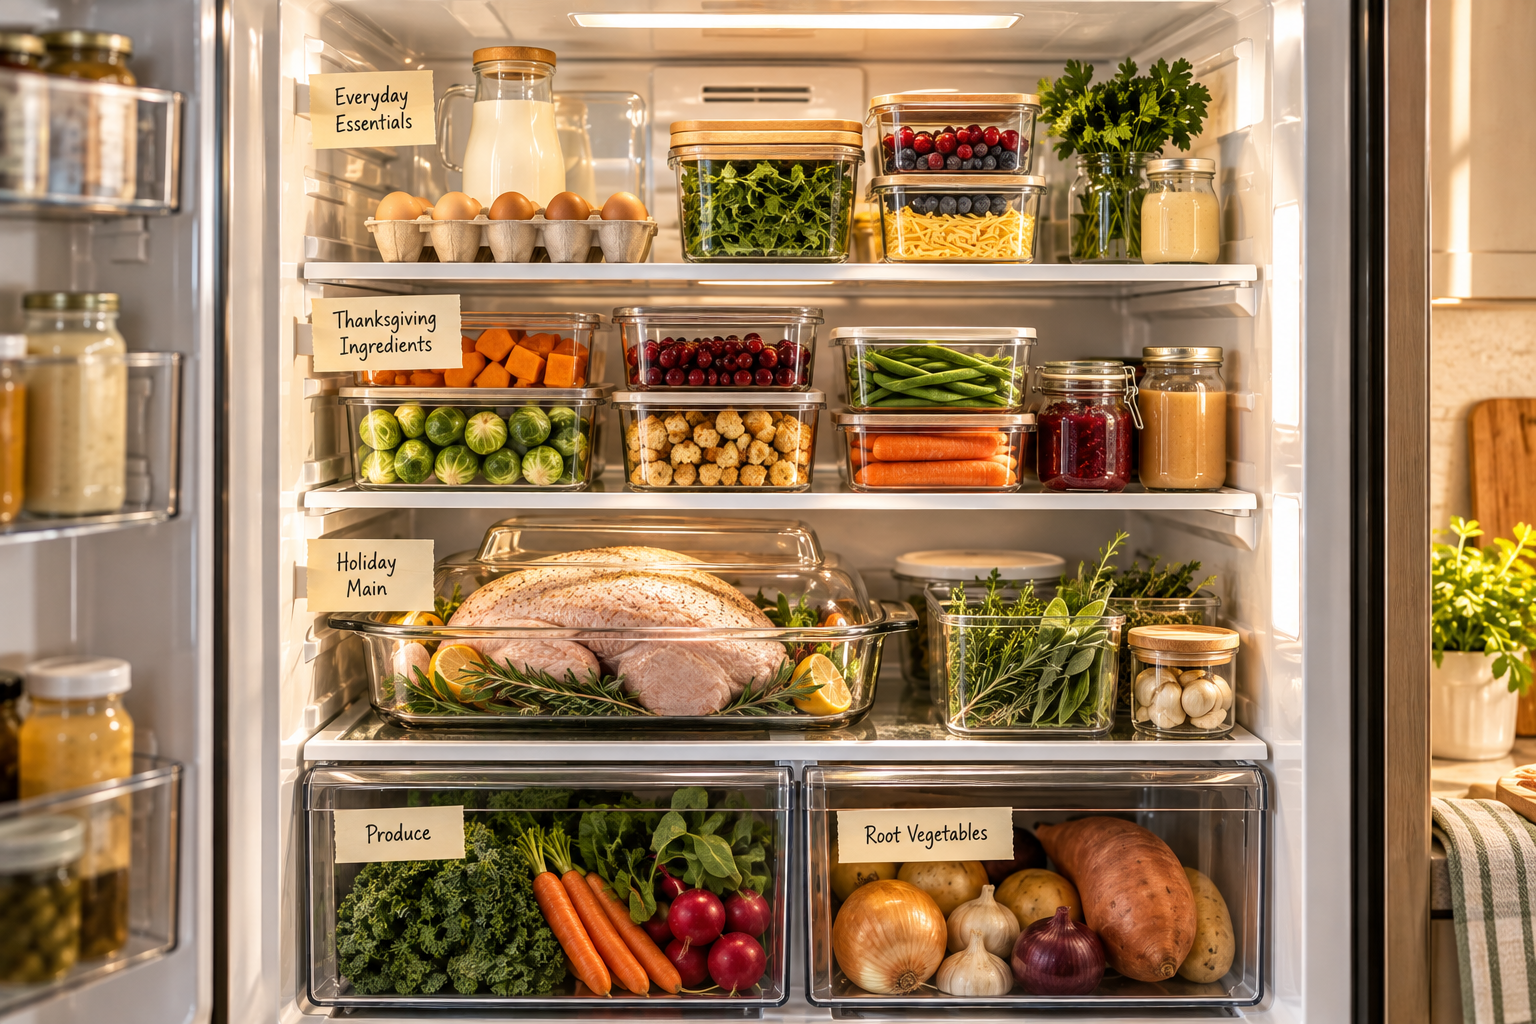
Don’t just buy organizers. Reserve space on purpose, with each zone doing a specific job.
Raw meat placement follows Canadian food-safety guidance: Health Canada recommends keeping raw meat, poultry, fish and seafood in sealed containers or bags on the bottom shelf, so juices can’t drip onto other food. Never store cooked or ready-to-eat food below raw food, a rule HealthLink BC states plainly.
Here is the detail most Thanksgiving plans miss: a frozen turkey needs time. The Turkey Farmers of Canada, an industry group, give fridge thawing as about 10 hours per kilogram, with the bird on a tray on the bottom shelf and cooked within 48 hours once thawed. A five-kilo bird therefore occupies that shelf for roughly two days, which is exactly why the bottom shelf needs to be clear before you shop. Check your bird’s packaging too, since timings vary by product. A fresh turkey skips the thaw but still needs the same shelf.
Leave Some Refrigerator Space Empty on Purpose
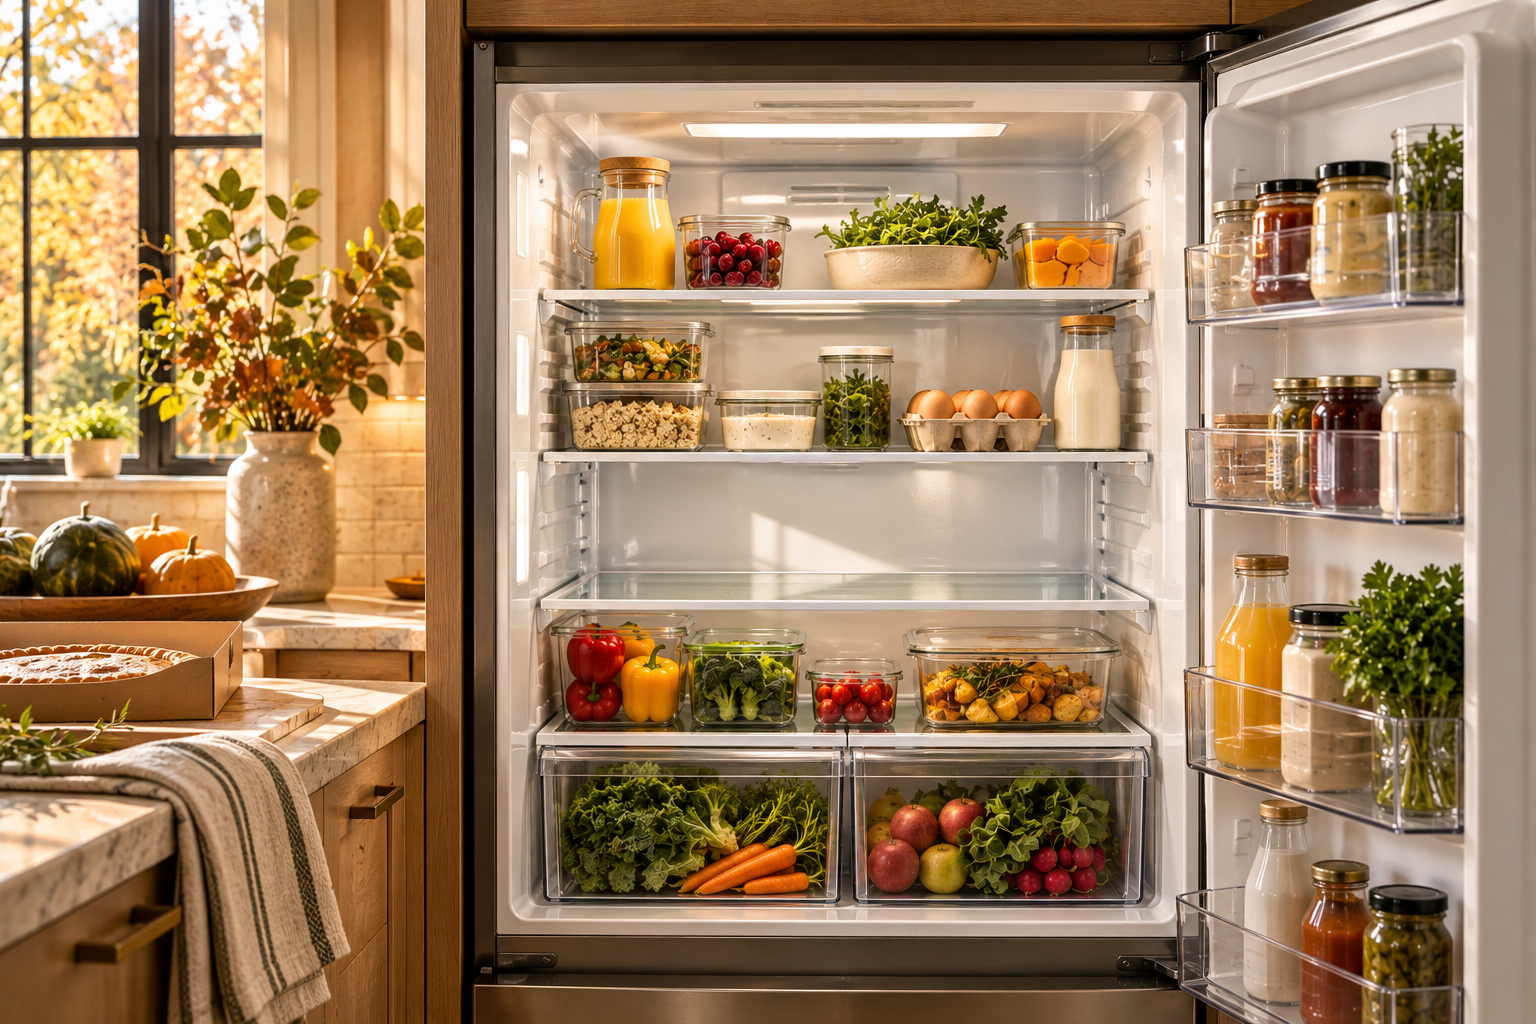
After an hour of scrubbing, the instinct is to use every inch. Resist it. Thanksgiving needs deliberate emptiness: room for the turkey or main dish, bulky produce, ingredients you prep ahead, desserts, prepared sides, and the leftovers that will arrive when dinner ends. A packed fridge works against you, since air can’t circulate and the temperature climbs.
Before grocery day, decide where your largest items will go. If you can’t picture where the turkey, the roasting vegetables and the prepared dishes will fit, you haven’t cleared enough yet. Leftovers deserve the same planning: HealthLink BC advises refrigerating them within two hours, and shallow containers cool faster than a deep pot.
Don’t Forget the Outside and Underneath
Wipe the handles, door edges and top surface, which collect more kitchen grease than anyone admits. Vacuum the accessible floor around and under the appliance, along with dust visible near grilles and vents. Stop there unless your manual says otherwise. Coil cleaning isn’t universal, since some designs hide coils behind a kick plate, some at the back and some out of reach, and removing panels is a job for the manufacturer’s instructions. Dust is a recurring theme in appliance upkeep; the same logic applies in our fall dryer vent cleaning guide. Our preventative home maintenance checklist keeps appliances on your seasonal calendar.
Only Have 15 Minutes? Do This Instead
Short on time? This is how to deep clean a refrigerator in miniature, for the reader who found this two days before the holiday.
- Minutes 1–5: Bin the obviously spoiled food and old leftovers, and check the thermometer.
- Minutes 6–10: Wipe the shelves, drawers and any visible spills.
- Minutes 11–15: Reorganize, clear the bottom shelf for the turkey, and mark out the space for groceries and leftovers.
What Not to Do When Cleaning Your Refrigerator
- Don’t leave perishable food at room temperature for more than two hours.
- Don’t use harsh or inappropriate chemicals on food-contact surfaces, and never mix cleaning products.
- Don’t put cold glass shelves under hot water.
- Don’t block air vents when restocking.
- Don’t overcrowd the fridge just because you now have more room.
- Don’t ignore spills beneath the drawers.
- Don’t skip the temperature check afterward.
- Don’t assume every date on a package means the same thing.
Your Before-Thanksgiving Refrigerator Checklist
- Check refrigerator temperature
- Check freezer temperature
- Remove old leftovers
- Review condiments and dairy
- Put “use soon” foods together
- Empty produce drawers
- Remove and wash shelves and bins
- Wipe interior walls
- Clean drawer tracks
- Clean door seals
- Clean handles
- Sort freezer contents
- Inventory Thanksgiving ingredients
- Create space for the turkey or main dish
- Reserve space for prepared foods
- Leave room for leftovers
- Recheck temperature after restocking
- Make the final grocery list
Frequently Asked Questions
How long does it take to deep-clean a refrigerator?
Plan on roughly one to two hours for the fridge and freezer together, depending on how full they are and how many parts come out. Emptying and sorting takes the longest. If you are short on time, the 15-minute reset above covers the essentials.
What is the best thing to clean the inside of a refrigerator with?
Warm water with a little unscented dish soap is enough for most jobs, followed by a cloth rinsed in clean water and a dry towel. Baking soda on a damp cloth helps with stubborn spots. Skip bleach and strong cleaners in a food space, and never mix cleaning products.
Do I need to turn off my refrigerator before cleaning it?
Not always for interior cleaning, so check your manual. Unplug it before cleaning near coils or removing panels. If you turn it off, keep food in a cooler with ice packs, and plug it back in as soon as you finish, then confirm the temperature has returned to 4 °C or colder.
How often should you deep-clean a refrigerator?
Home-care sources commonly suggest every three to six months, with spills wiped up as they happen. There is no single official schedule, so adjust for household size and how often the fridge gets messy. A pre-Thanksgiving clean makes a natural fall reset.
How long can refrigerated food stay out while I clean?
Perishable food, including meat, dairy and leftovers, should be back in the cold within two hours, according to HealthLink BC. A cooler with ice packs makes that easy. If something has been out longer, it is safer to throw it away.
Where should a turkey be stored in the refrigerator?
On the bottom shelf, in a sealed container or on a rimmed tray, so raw juices can’t drip onto other food, as Health Canada advises. A frozen bird needs about 10 hours per kilogram to thaw in the fridge, so clear that shelf before you shop.
Knowing how to deep clean a refrigerator is useful, but a clean one was never the real goal. The goal is to walk into grocery week knowing what you have, what you need and exactly where each thing will go, so the cooking and the company get your attention instead of a shelf you’re still hunting for.
A little empty space in the fridge now means a lot less scrambling when the Thanksgiving groceries arrive.
— NestDigest