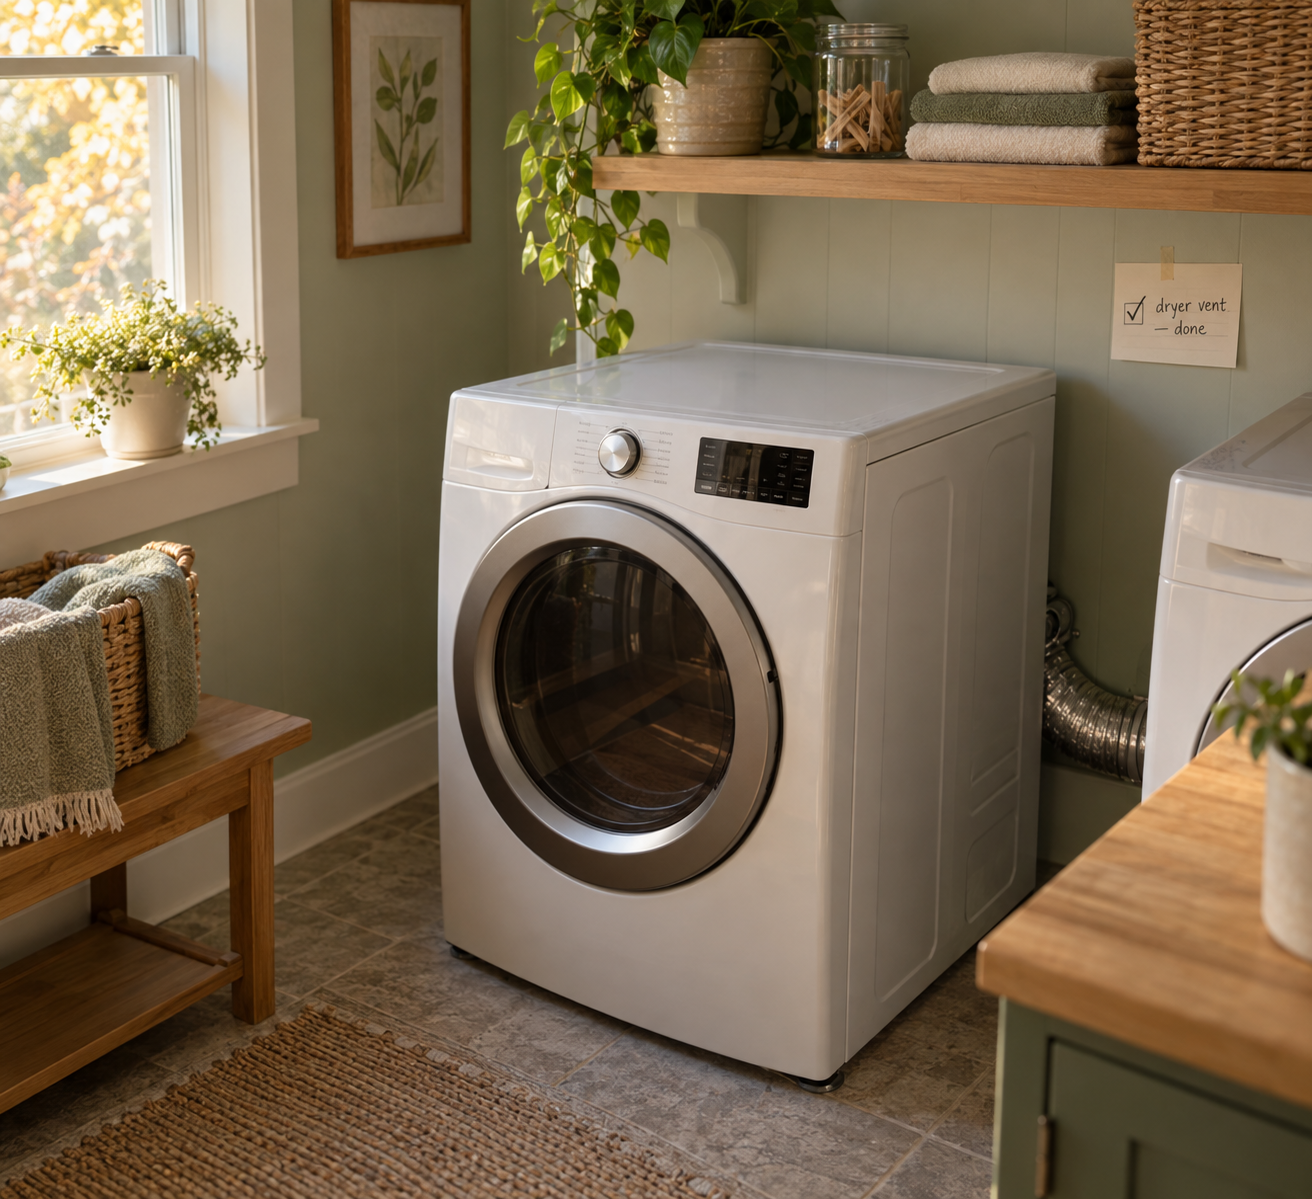
Cleaning a dryer vent means clearing built-up lint from the exhaust duct that runs from the back of the dryer to the outdoors — not just emptying the lint trap. Most homeowners with a straightforward, accessible duct run can do this themselves in under an hour with basic tools. A long, bent, roof-terminated, or shared duct run is a different job, and that’s better handled by a professional. This guide covers a standard vented (exhaust) dryer. Ventless condenser and heat-pump dryers don’t vent to the outdoors at all and follow different maintenance steps in their manufacturer’s manual.
Warning Signs You Shouldn’t Ignore
A few symptoms are worth acting on rather than waiting out. Clothes that need a second cycle to finish drying, a dryer or laundry room that feels unusually hot, a burning or hot-dust smell during a cycle, or an exterior vent flap that barely moves when the dryer is running are all reasons to stop and check the vent. If you smell burning or see any sign of scorching, turn the dryer off, unplug it, and don’t run it again until the vent has been inspected. It’s worth saying plainly: these symptoms often point to a blocked or restricted vent, but they can also come from other causes — a worn belt, a failing thermostat, an aging heating element — so if a full cleaning doesn’t fix the problem, that’s a sign to call an appliance technician rather than keep troubleshooting the duct.
Tools, Preparation, and the Limits of DIY Cleaning
For a typical setup, you’ll need a vacuum (ideally a shop vacuum), a long flexible dryer-vent cleaning brush, and a screwdriver or nut driver for the duct clamp. Unplug the dryer before starting. If you have a gas dryer, leave the gas supply line alone entirely — follow your dryer’s manufacturer instructions for anything involving the gas connection, and have a licensed technician handle it if disconnection is ever needed. You can still safely clean the vent duct itself without touching the gas line.
DIY cleaning works well when the duct run is short, straight or gently bent, and fully accessible behind and around the machine. It’s a reasonable job for most single-storey installations. It becomes a poorer fit for DIY when the duct is long, runs through multiple floors or a finished ceiling you can’t open, terminates on a roof, or is part of a shared exhaust system serving more than one unit — all of these either require specialized equipment or fall outside what a screwdriver and a vacuum can safely reach.
How to Clean Your Dryer Vent: Step by Step
- Pull the dryer away from the wall far enough to reach the back panel and duct connection safely.
- Detach the duct by loosening the clamp or screws connecting it to the dryer’s exhaust port, and set it aside.
- Clear the dryer end by hand and vacuum, removing the compacted lint that collects at the exhaust port and the first section of duct — this is usually the densest buildup.
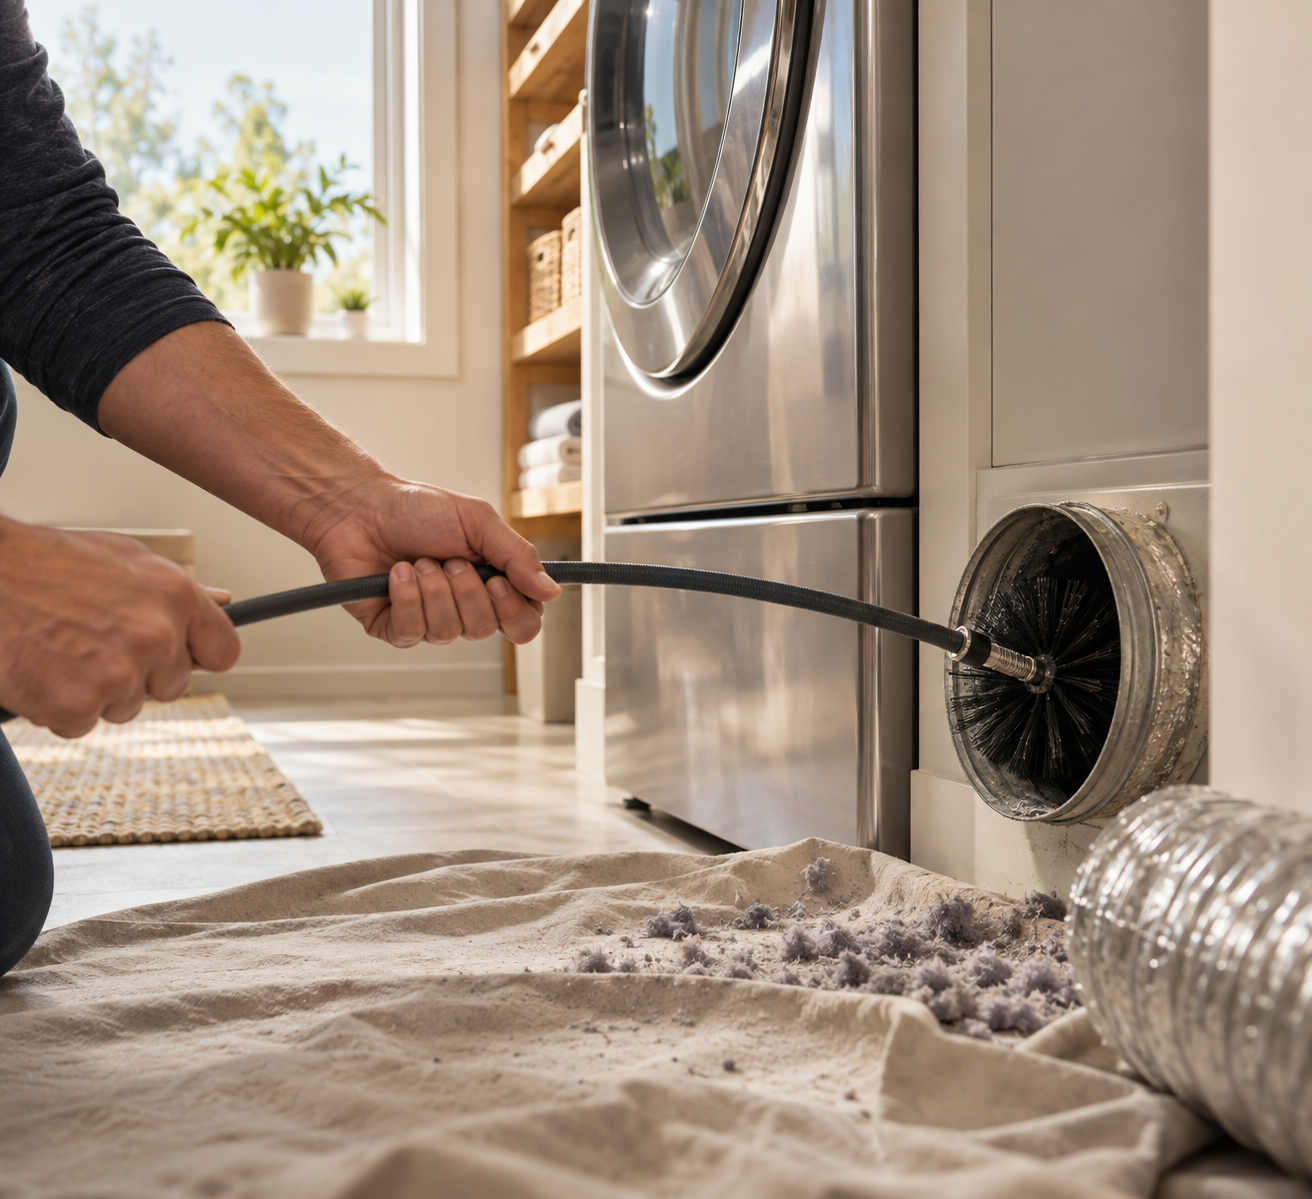
- Feed a flexible brush through the full duct run, pushing and rotating it to loosen lint along the length of the duct, including through any bends.
- Vacuum out what the brush loosened from the dryer end, then go outside and clear the exterior vent hood the same way — this step gets skipped more often than any other.
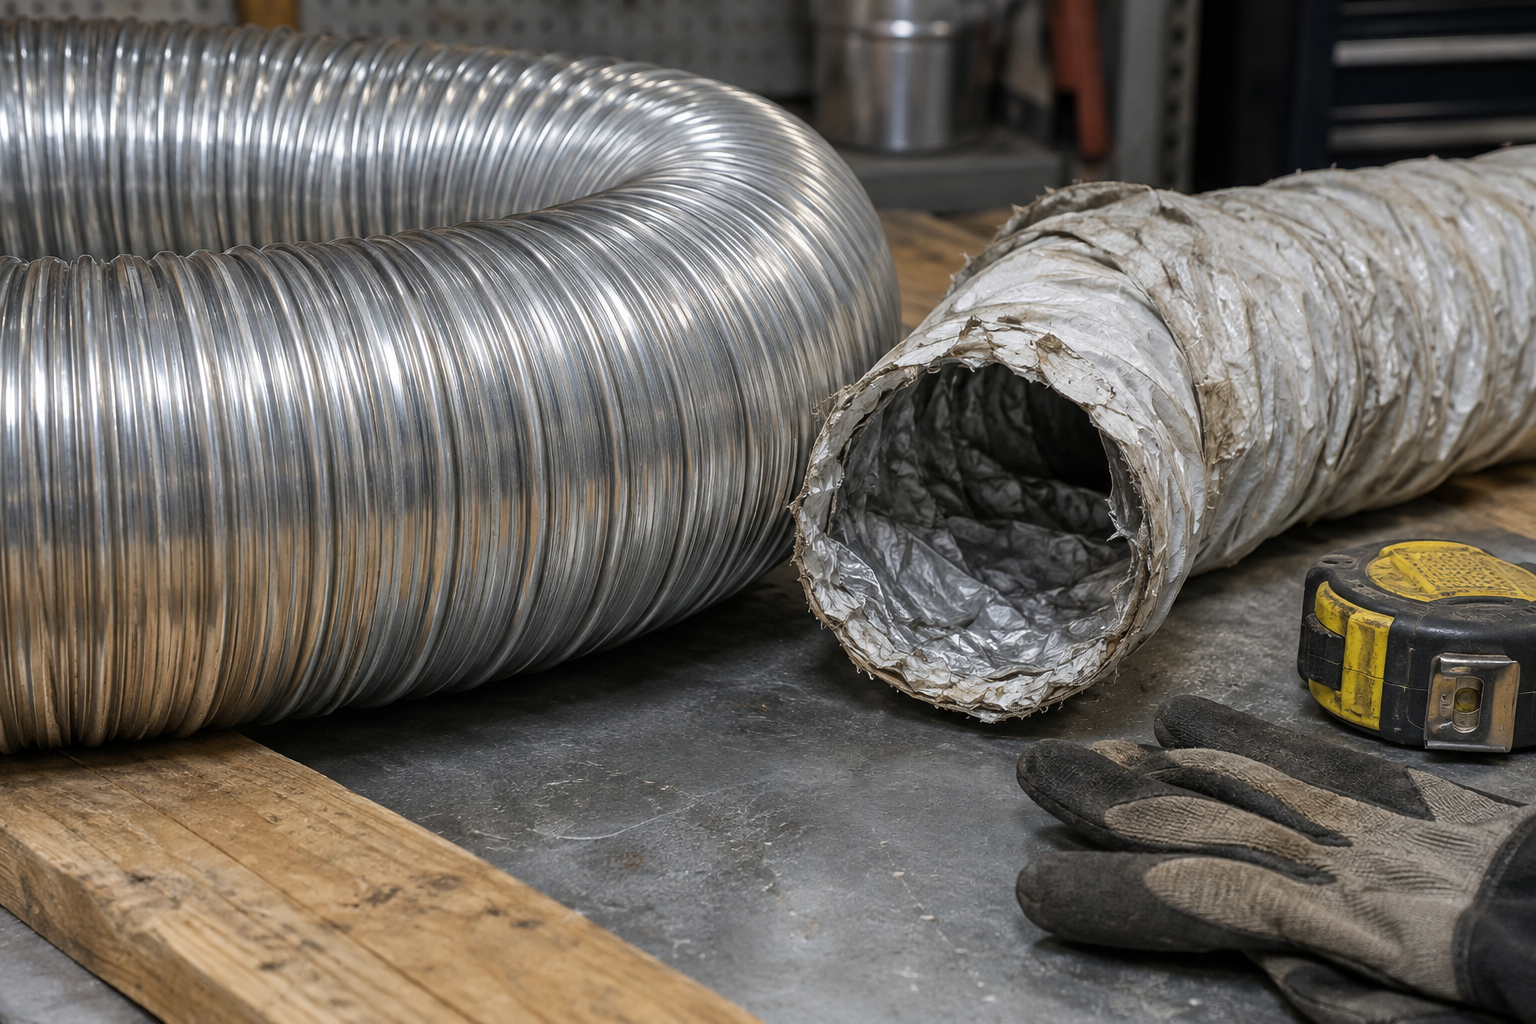
While the duct is disconnected, it’s worth checking what it’s made of. Toronto Fire Services recommends rigid or flexible metal ducting and specifically advises against plastic or metal foil duct, which is more prone to kinking, sagging, and lint buildup, and which can melt or ignite. If you’re still looking at a white plastic or foil accordion duct, replacing it with rigid or semi-rigid metal is one of the more worthwhile, low-cost upgrades available. If you’re already planning a laundry room refresh, it’s a sensible line item to fold in.
Reconnecting the Dryer and Checking Operation
Reattach the duct to the dryer’s exhaust port and secure the clamp or screws. Push the dryer back into place slowly, checking that the duct isn’t kinked, crushed, or compressed against the wall — a properly cleaned vent can be undone in seconds by a flattened connector hose. Only once the dryer is fully reconnected and positioned should you plug it back in and run a cycle to test. With the dryer running, step outside and confirm the exterior flap opens while air is exhausting and closes again once the cycle ends. A flap that barely moves suggests the run is still restricted somewhere, or that the flap itself needs attention.
How Often to Inspect and Clean
Once a year is the general baseline most fire services and manufacturers point to, and it’s a reasonable default for an average household with a short, accessible duct run. Households that do heavier laundry volumes, have pets that shed, or have a longer or more bent duct run may reasonably want to check more often — there’s no single verified interval that applies to every home, so use the warning signs above as your actual trigger rather than the calendar alone. It’s a natural addition to an annual preventative maintenance checklist, alongside other once-a-year home systems checks.
When to Call a Professional
Bring in a professional if the duct is long, runs through multiple floors, terminates on a roof, is part of a shared or collective exhaust system, or if you simply can’t tell where it goes once it disappears into a wall or ceiling. A professional cleaning typically includes a rotary brush or negative-pressure vacuum system and an airflow check before and after — useful confirmation that the job actually solved the problem. Pricing varies by market, duct length, and access, and reliable independent figures for Canadian markets weren’t available to verify for this guide; get a couple of local quotes rather than relying on a single advertised number.
Ontario and Canadian Winter Considerations
The following is specific to Ontario unless noted otherwise. The Ontario Building Code (Article 9.32.1.4) requires laundry-drying equipment exhaust ducts to discharge directly outdoors, be independent of other exhaust ducts, remain accessible for inspection and cleaning, and be built from smooth, corrosion-resistant material.
Condos and Multi-Unit Buildings
Shared dryer exhaust isn’t automatically against code — the same article permits collective venting for multiple units, but only when it’s engineered as a system: connected to one common duct served by a single central exhaust fan with a central lint trap, with an interlock that activates the fan whenever any unit’s dryer is running. The fire and lint-buildup risk the code is guarding against comes from shared ducts that were never built this way, particularly in older buildings from before this requirement existed. If you live in a unit where the dryer vents into a shared shaft, cleaning your own in-suite section only covers part of the system — ask your property manager or condo board when the shared duct and central fan were last serviced, since that part isn’t something an individual resident can access or maintain.
Cold-Weather Timing
Once temperatures stay below freezing, the exterior flap on a vent hood can ice over, particularly after freezing rain — and a flap frozen shut looks the same from outside as one that’s blocked by lint. Cleaning the vent while it’s still mild enough to inspect the exterior cap properly means any airflow problem you notice after a freeze is a new one, not something you’re troubleshooting blind through a layer of ice.
Fall Dryer Vent Checklist
- Clean the lint trap after every load — this doesn’t replace duct cleaning, it’s a separate, ongoing habit
- Clear the full duct run from the dryer to the exterior vent hood
- Confirm the exterior flap opens freely during a cycle and closes after
- Check duct material — replace plastic or foil duct with rigid or semi-rigid metal
- Reconnect the duct without kinking or crushing it before testing the dryer
- Condo or apartment resident? Ask when your building’s shared exhaust system was last serviced
- Note any warning signs (long dry times, heat, odour, weak exterior airflow) and act on them, not just the calendar