Renter-Friendly Decorating Ideas to Make Your Rental Feel Like Home
Make your apartment, basement suite, or shared home feel like yours with thoughtful lighting, textiles, and pieces you can take with you.
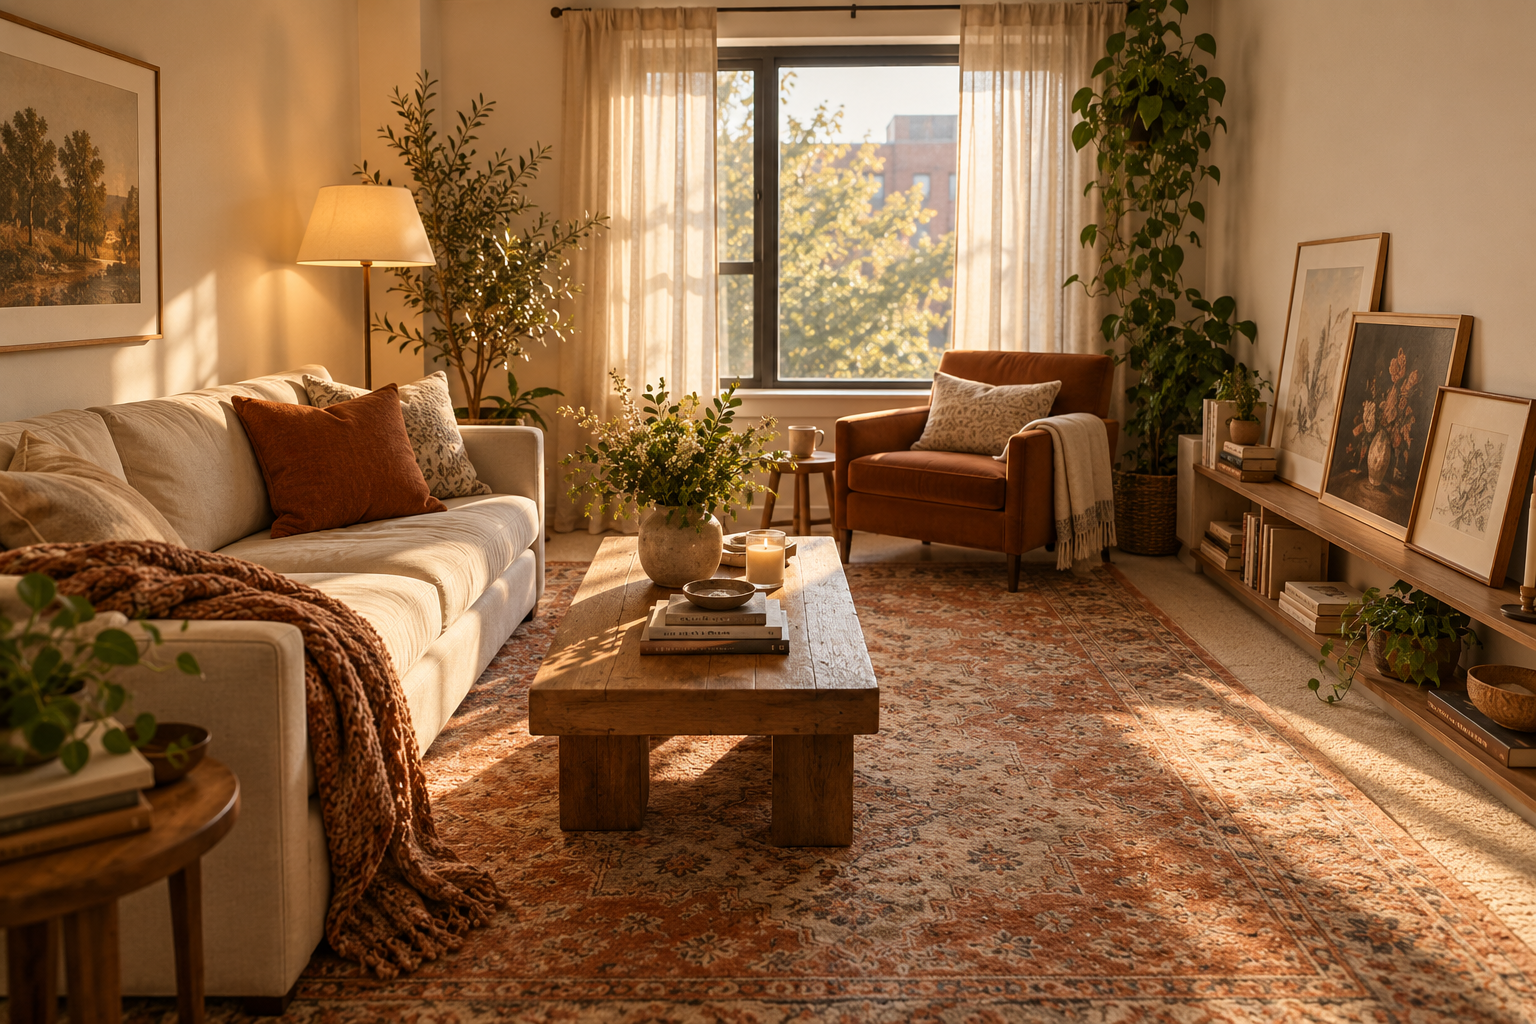
You have unpacked the boxes, but the room still feels like the listing photos. The walls are someone else’s beige, the blinds do not quite suit the window, and the ceiling light makes every evening feel a little too bright. Where do you start when you can change the furniture but not the apartment?
The most useful renter-friendly decorating ideas give you something you can enjoy now and take with you later: a comfortable pool of lamplight, fabric that softens the room, and familiar objects in places where you will actually see them. Whether this is your first apartment or a fresh start years later, you do not need to wait for a permanent address to settle in.
Start with the changes that leave the building alone. Then decide whether a wall treatment or fitting swap is worth the permission, installation, and eventual removal it requires.
1. Know what you can change in your rental
Read your lease and any building rules before buying paint, mounting hardware, or adhesive wall coverings. For changes to fixed surfaces or fittings, ask the landlord to confirm permission and any restoration expectations in writing. Describe the actual project: “Can I replace these cabinet handles using the existing holes and reinstall the originals when I leave?” is easier to answer than “Can I decorate?”
Rental rules vary by province and living arrangement; a lease is not the whole legal picture. For Ontario tenancies covered by the Residential Tenancies Act, the Landlord and Tenant Board distinguishes tenant-caused damage from normal wear and tear. Do not assume every mark must be restored to new condition, or that something sold as “renter-friendly” is automatically permitted.
2. Rearrange what you already own
Before shopping, try one different layout. Pull the sofa slightly away from the wall if space allows, angle a chair towards a window, or bring a side table within reach of your favourite seat. Keep doorways, walking routes, heaters, and vents clear. A room begins to feel intentional when its furniture supports what you actually do there.
Choose one area to finish first: a place to read, a comfortable bed, or a useful dining corner. A rug, lamp, and small table can define that area without buying a complete matching furniture set. For help choosing pieces that belong together, revisit how to find your home style.
3. Decorate rental walls with care
Small framed prints on an existing console, a stable folding screen, or a plant in a floor pot can bring height and personality into the room. If you want a mirror or tall shelving, follow the product’s installation and anchoring instructions. “Freestanding” does not necessarily mean safe without wall fixings: Health Canada recommends anchoring furniture to reduce tip-over risks. Resolve anchoring with your landlord rather than skipping it to avoid holes.
For lightweight framed art, adhesive picture strips may be an option on compatible surfaces. Match the exact product to the frame size, weight, and wall finish. Follow its preparation, paint-curing, waiting-time, and removal instructions; Command’s Canadian application guides are one example of the product-specific guidance to check. Do not use a strip on a surface the manufacturer excludes.
Peel-and-stick wallpaper needs the same care. If permitted, try a small area before committing to a full wall. A successful test does not guarantee that aged adhesive will remove cleanly months later. Another option is to apply wallpaper to a suitable panel you own and display it securely.
4. Make evenings warmer with portable lighting
A floor lamp beside a chair and a table lamp on a sideboard let you choose softer evening light without replacing the ceiling fixture. Around 2700K is a useful starting point if you like a warm glow; choose enough brightness for reading or working, too. Our guide to layering light through the darker months explores how ambient and task lighting work together.
A plug-in wall sconce still needs a suitable mounting method, so it is not automatically a no-drill option. Table and floor lamps are simpler if wall fixings are restricted. Keep cords out of walking routes and out from under rugs, and use bulbs within the fixture’s stated rating. Changes to hardwired fixtures should go through the landlord and a qualified electrician.
5. Use curtains, rugs, and fabrics to soften the room
Textiles let you bring in colour without painting. Start with existing curtain hardware if it is suitable. A tension rod may work inside a compatible frame for lightweight curtains, provided the opening and fabric weight are within its limits. For new drilled brackets, confirm permission first. Hanging curtains higher and wider can change how a window looks, but it is not a free or automatically reversible installation.
Measure before buying, including the drop, available clearance, and how the curtains will open. Our guide to window-treatment sizing and fabrics can help. Keep fabric clear of heaters and choose an arrangement that lets you reach the window easily.
A rug can soften an unappealing floor, while cushion covers, bedding, and a throw carry your preferred palette through the room. Choose a rug pad compatible with the flooring and keep edges flat. You do not need to replace everything at once: repeat one or two colours in pieces you already use.
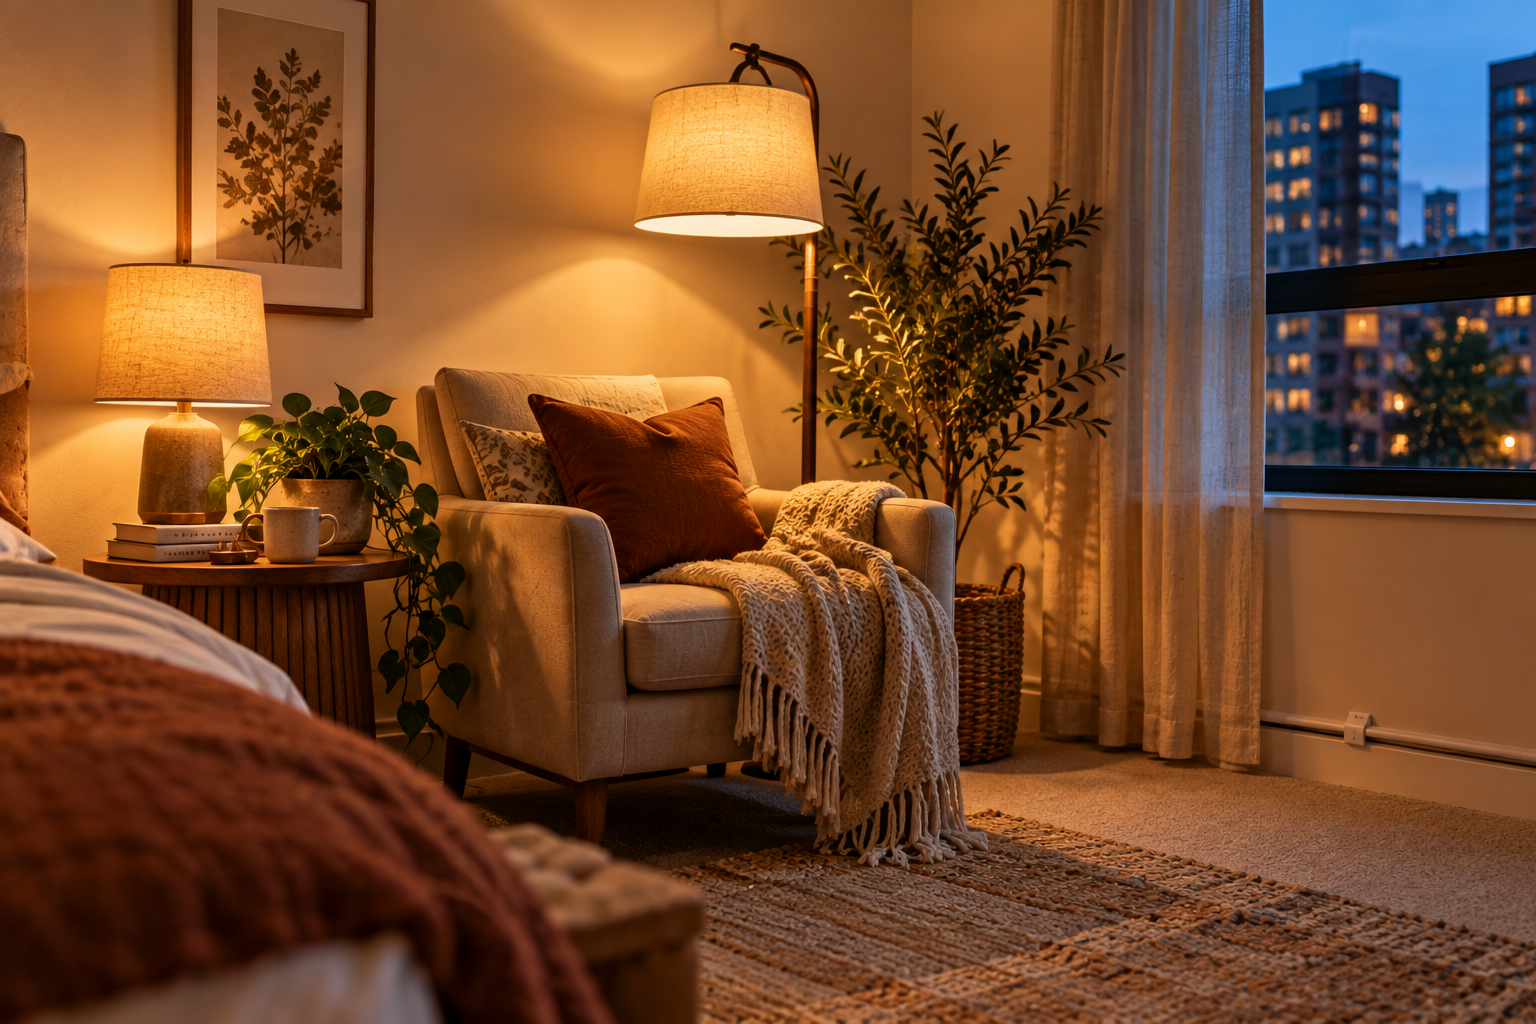
A rental starts feeling more personal when everyday choices reflect the way you live.
6. Build a colour palette around existing finishes
Look at the flooring, cabinets, and wall colour together in daylight and lamplight before choosing additions. Grey flooring may feel more welcoming beside warm wood and textured fabrics; oak cabinets might suit cream, muted green, or a colour you already love. These are starting points to test, not rules that suit every undertone.
For example, in a room with cool grey flooring and off-white walls, try an oatmeal rug, a timber side table, and one muted rust cushion. The rug breaks up the grey, the timber adds warmth, and the cushion gives your eye somewhere to land. Check those colours in your own light before committing; the same combination can look different beside another floor.
Bring home a fabric sample or try a cushion you already own before buying a room’s worth of accessories. Aim for a connection between the existing finish and your belongings. You can make a dated feature feel less dominant without disguising every inch of it.
7. Keep kitchen and bathroom changes simple
Try useful, movable additions first: a tray for everyday toiletries, coordinated towels, drawer organisers, or a rolling cart that fits without blocking circulation. Keep worktops usable rather than covering them with decorative objects. A new shower curtain can refresh an existing curtain setup; it does not require removing a fixed shower door.
If the landlord agrees to a cabinet-handle swap, measure the existing hole spacing and use suitable screws without drilling new holes. Store the original handles and screws in a labelled bag. Avoid changing plumbing or fixed fittings as a casual decorating project.
For peel-and-stick backsplash panels or floor tiles, check the exact product’s approved surfaces, moisture limits, heat clearances, and removal method. Some products are made for particular kitchen or bathroom applications; others are not. Do not assume “water-resistant” means suitable inside a shower or behind a cooker.
8. Agree on shared spaces before decorating them
In a shared home, talk about what everyone wants from communal areas before moving furniture or buying something together. Agree on placement, cost, ownership, and what happens when someone leaves. A shared basement suite and a rented bedroom are different arrangements, so do not assume decorating decisions always stop at a bedroom door.
Your own room is a good place for the most personal choices. In communal areas, focus on changes everyone can use: better lighting, an accessible place for shoes, or a clear dining surface. Our small-space layout guide offers ideas for making limited floor space work harder. Keep room dividers stable and exits unobstructed.
9. Plan for moving day before starting a project
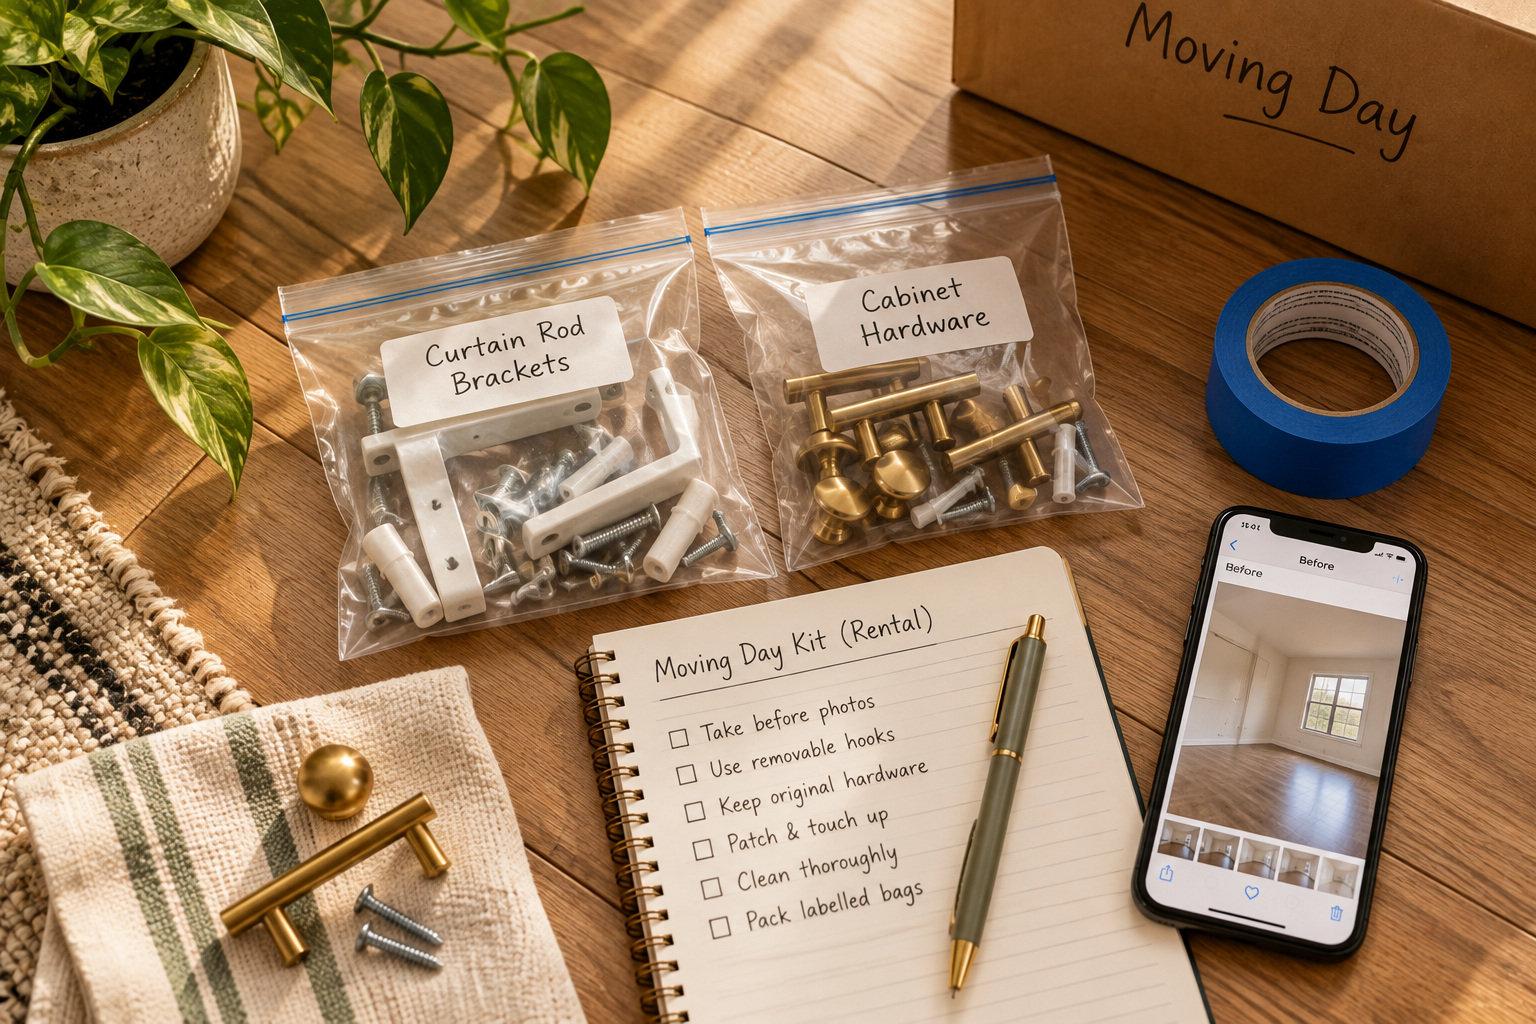
Photograph the condition of the space before making changes, and keep permissions, receipts, and installation instructions together. Save original parts from any approved swaps. When it is time to leave, follow the product’s removal instructions and the applicable restoration agreement; ask before patching or repainting if the method or finish is unclear.
When buying something new, consider whether it could work in another home. A lamp, compact side table, or adaptable storage unit may offer more flexibility than something cut to fit one awkward alcove. “Portable” should also mean realistic to move: check dimensions, weight, and whether the piece comes apart.
Start with three changes that matter to you
- Work with one existing feature: choose a colour or texture that complements the floor, cabinets, or walls.
- Solve one comfort problem: add reading light, soften a cold floor, or make your favourite seat more useful.
- Display one personal object: put a photograph, handmade bowl, or favourite print where you will enjoy it every day.
That is enough for a first round. Live with the changes before adding more. A rental can feel like home long before every corner is finished.
Next in the series: making your layout work for everyday life, from flexible furniture to storage and spaces that serve more than one purpose.
Make room for your life, wherever you are living.
– NestDigest