
How to Clean and Seal a Deck Before Summer

A deck takes a beating over the winter. By late May, what was once a handsome outdoor surface is usually a patchwork of grey-green algae, cracked grain, and tired wood that hasn’t seen a decent product since the Obama administration. The good news is that cleaning and sealing a deck is one of those weekend projects where the results are almost embarrassingly satisfying — and if you do it now, before the summer heat sets in, you’ll protect the wood for years rather than just one more season.
The process itself is straightforward — clean, dry, seal — but the details within each stage are what separate a deck that looks great for a summer from one that holds up for three or four. Most guides skip the brightener step entirely, which is the biggest reason sealant ends up peeling within a year. We’ll get to that.
- Stiff-bristle deck brush or long-handled scrubber
- Garden hose with adjustable nozzle
- Pressure washer (optional — max 1,500 PSI, fan tip)
- Paint roller with extension pole
- Angled brush for railings and edges
- Orbital sander or sanding block (80–120 grit)
- Deck cleaner concentrate (oxygen-based preferred)
- Deck brightener (oxalic acid-based)
- Penetrating oil sealant or semi-transparent stain
- Plastic sheeting or drop cloth (for landscaping)
- Chemical-resistant gloves
- Safety glasses
Before you open a single bottle, check the forecast. You need at least 48 hours of dry weather after sealing — and ideally mild temperatures between 10°C and 28°C (50°F–82°F). Late May is genuinely the sweet spot in most of Canada and the northern US: the spring rains are winding down, the heat hasn’t arrived, and the wood has had time to dry out after months under snow or wet weather.
Move every piece of furniture, every planter, every grill, and every door mat off the surface. Lay plastic sheeting or old drop cloths over any adjacent garden beds — the deck cleaner and brightener you’re about to use can harm plants. Covering them takes ten minutes and saves a headache later.
Walk the entire deck and look for soft or spongy boards, protruding nail heads, loose screws, and any signs of rot at the posts or ledger board. Press a screwdriver gently into suspicious areas — healthy wood resists; compromised wood gives. Make a note of anything that needs repair and address it before cleaning. Applying sealant over a rotting board doesn’t save it; it just hides the problem until it becomes a more expensive one.
Sweep the entire surface thoroughly, paying special attention to the spaces between boards. Compacted leaves and dirt trapped in the gaps hold moisture and accelerate decay. A stiff broom handles most of it; a putty knife or flat tool is useful for anything packed tightly between boards.
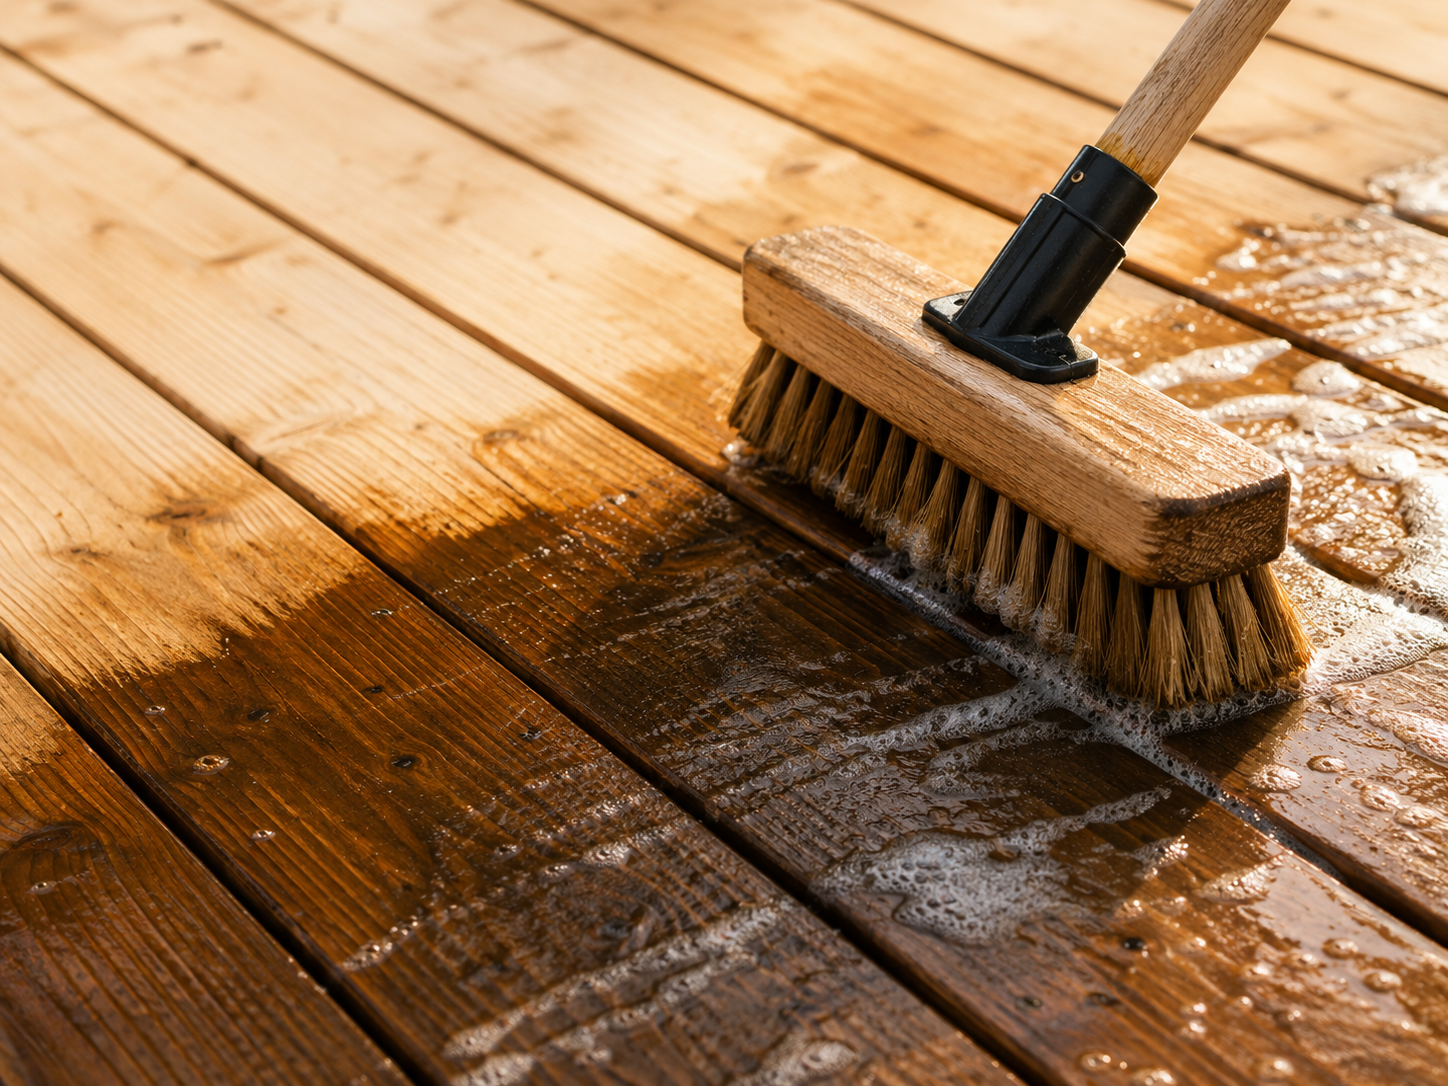
Mix your deck cleaner concentrate according to the label (most dilute 1:4 with water) and apply it generously across the surface. Work in manageable sections — about 100 square feet at a time — so the cleaner doesn’t dry before you scrub. Use your stiff-bristle brush to work it into the grain, paying extra attention to any areas with visible algae or mildew. Let it sit for 10–15 minutes, then rinse thoroughly with your hose. If you’re using a pressure washer, keep the nozzle at least 12 inches from the surface and always move with the grain, not across it.
This is the step most guides leave out, and it makes an enormous difference. After cleaning, wood fibers are open but slightly raised and often discoloured from the cleaner’s pH. A deck brightener — typically oxalic acid-based — neutralizes the alkalinity, restores the wood’s natural colour, and opens the grain so your sealant actually penetrates rather than sitting on top. Apply it the same way you applied the cleaner: wet the wood, brush it in, wait 15 minutes, rinse clean. The transformation in tone alone is often dramatic.
You need a full 24 to 48 hours of drying time before sealing, and 48 is better. This is the step people rush, and it’s why sealant peels. Moisture trapped beneath the sealant has nowhere to go — it pushes the product off the wood from the inside. If you’re not sure whether it’s dry enough, press a small piece of plastic wrap against the surface and tape the edges. Leave it for an hour. If condensation forms underneath, the wood isn’t ready.
Once dry, lightly sand any rough spots, splinters, or areas where the grain has lifted. Use 80-grit for rough spots and finish with 120-grit for a smoother surface. You’re not trying to strip the wood — just knock down anything that would catch a bare foot or prevent even sealant absorption. Wipe or blow off the dust completely before moving on.
Start at the house end of the deck and work toward the stairs so you’re never stepping over wet wood. Use a roller with an extension pole for the main deck boards and an angled brush for the railings, balusters, and any hard-to-reach areas. Apply in long, even strokes with the grain — not across it. Penetrating oil sealants typically need only one coat; film-forming products and semi-transparent stains usually benefit from two. Let the first coat absorb for a couple of hours before applying the second. Once you’re done, keep the deck clear for at least 24 hours, and give it 48–72 hours before moving furniture back.
When it comes to product selection, a penetrating oil sealant is almost always the better choice for natural wood like cedar, redwood, or pressure-treated pine. Unlike film-forming sealants, penetrating oils don’t peel or crack as the wood expands and contracts through the seasons — they simply need re-application every two to three years. Semi-transparent stains offer the same UV protection with the added bonus of colour. Clear sealants protect the wood but do nothing to block UV damage, which greys natural wood quickly in southern climates.

Worth splurging on: quality penetrating oil sealant — cheap sealants often require re-application after a single season, while premium products last two to three times longer. Save money on the pressure washer — renting one for the day costs a fraction of buying, and you’ll use it twice a year at most.
When to call a pro instead: If any deck boards feel soft or spongy underfoot, if a screwdriver sinks easily into the wood without resistance, or if the posts show visible rot where they meet the ground — stop and call a licensed contractor. Surface maintenance can’t save structurally compromised wood, and a deck that’s not structurally sound isn’t a cosmetic problem. Similarly, if your deck is over 15 years old and has never been maintained, a professional assessment before you invest in product is a reasonable call.
Done right, this is a project that pays for itself many times over. A well-maintained deck doesn’t just look better — it holds its value, lasts decades longer than a neglected one, and gives you a genuinely comfortable outdoor space from the first warm weekend of the year through to the last. One late-May weekend is all it takes.
The work of one weekend protects the beauty of ten summers.
— NestDigest