
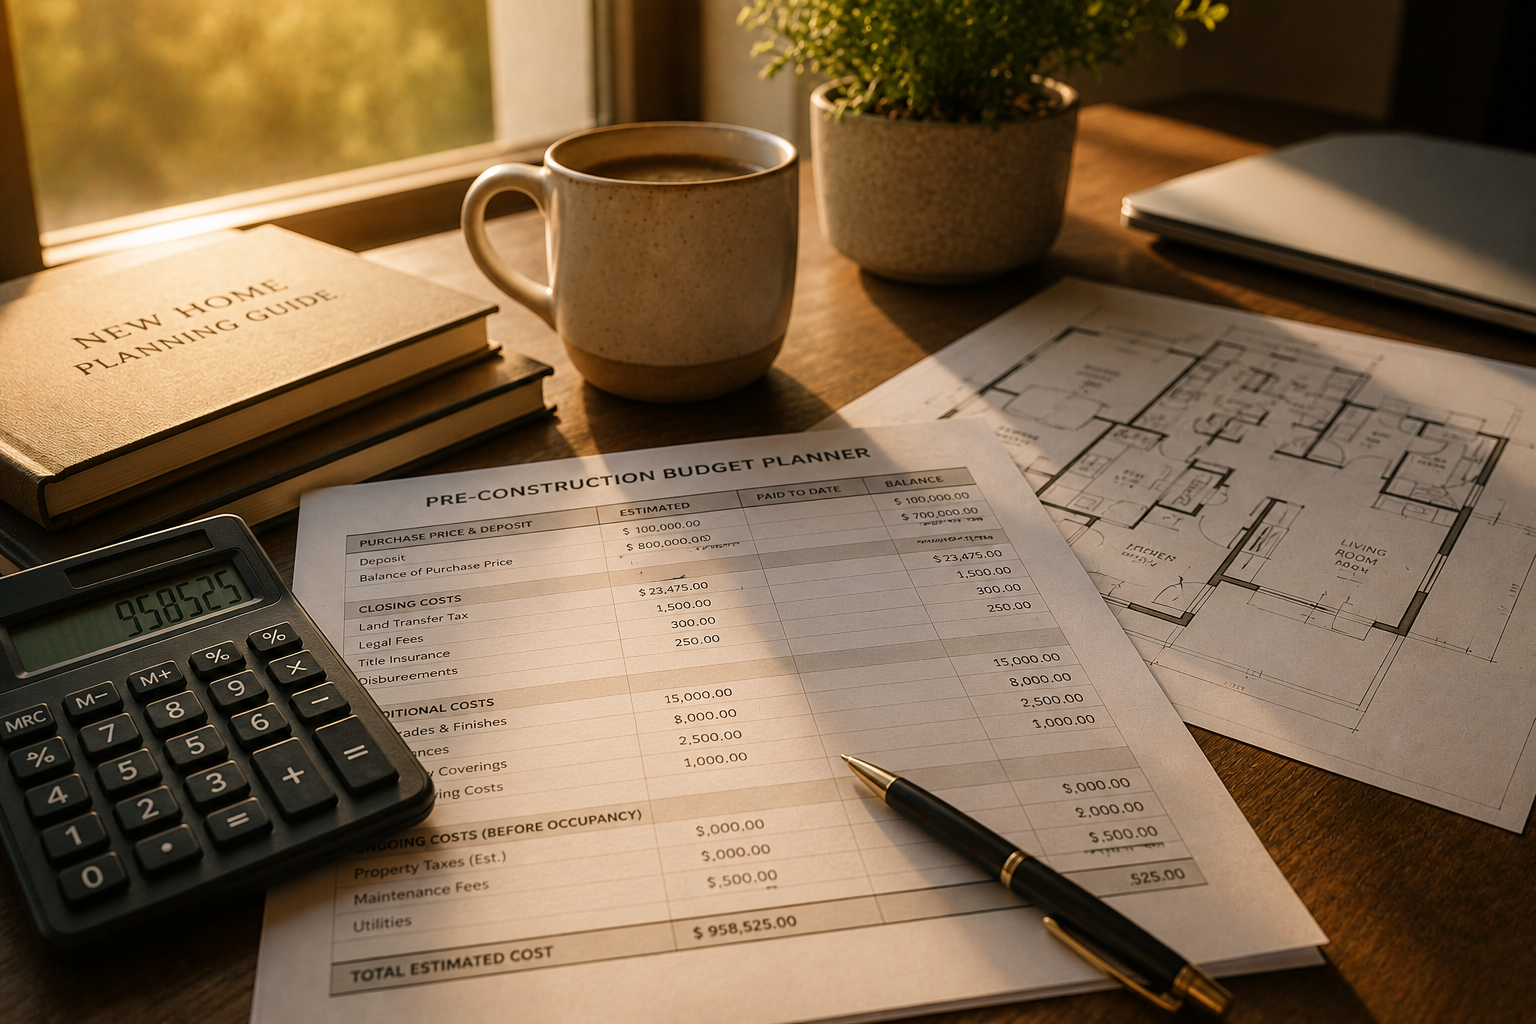
The base price on a pre-construction listing is a marketing number, not a budget. It gets buyers in the door. What most buyers actually pay is different. Once upgrades, premiums, and closing costs are added, the final number tends to run 20% to 40% above the base price. That’s not a builder being deceptive. It’s simply how the business model works.
Here’s the short version, before the details. Budget three separate categories, not one. Lot and elevation premiums can add $10,000 to $50,000, depending on what you’re backing onto and which facade you choose. Design studio upgrades are the next layer. Most buyers end up spending 10% to 30% of the base price here, once they see what’s actually included versus what’s in the model home. Closing costs are the third category. Legal fees, land transfer tax, and development charge levies are the main pieces. Together they usually run 3% to 5% of the purchase price for freehold. Condos run higher, once levies and occupancy fees are counted. Add those three together. The “$650,000 home” from the sales centre can land at $800,000 to $900,000 all-in. Plan for that number from the start, not the one on the sign.
Builders control how you see their inventory more than most buyers realize. One common approach sells a development in phases rather than all at once. It’s sometimes called fractional release. The first 15 to 20 units go out at “launch pricing.” The sales team notes how few remain. As that phase sells, usually within a few weeks for a popular project, the next batch releases at prices 3% to 8% higher. The increases get framed as market-driven. In practice, the pricing structure is usually planned from day one. This doesn’t mean later phases are worse value. Sometimes a later lot is genuinely better positioned. But it does mean the urgency in the sales centre is manufactured. Ask for the full site plan and release schedule before deciding you’ve “missed” anything.
Once you’re past the base price, the next layer is the lot and the elevation. Builders usually offer three to five elevation styles per floor plan. The base price reflects the plainest one. Upgrading from basic siding to a brick-and-stone facade commonly adds $15,000 to $50,000. It’s one of the most visible parts of the home, and builders know buyers will pay for curb appeal. Lot premiums stack on top of that. A lot backing onto a park or ravine can add $15,000 to $50,000, depending on what’s behind it. Corner lots usually run $10,000 to $25,000 more. In exchange, you get a side entrance and extra light — but also more road noise and less privacy. A walk-out basement opportunity, where the lot’s slope allows outdoor access from the lower level, can add $10,000 to $40,000. It’s often good value, since it effectively creates usable living space rather than storage.
A smart digital door lock sells for around $200 at any hardware store. The same lock through a builder’s design studio commonly runs $800 to $1,200. That’s a 300% to 500% markup, once you account for installation and coordination. The same markup structure applies across almost every design studio upgrade. Light fixtures priced at $100 retail often show up at $300 to $400 through the builder. None of this means skip the design studio. It means know which upgrades are worth builder pricing, and which ones you can buy retail and install after closing.
The model home you tour is not the home in the base price. Model homes usually show hardwood flooring throughout. The base spec is usually SPC vinyl plank — a reasonable product, but not the same thing. Upgrading to hardwood commonly costs $4,000 to $10,000. It’s genuinely worth prioritizing during construction, since retrofitting hardwood after you’ve moved in is more expensive and disruptive. Kitchens follow the same pattern. Base specs usually mean laminate counters and standard cabinet hardware. The model home shows quartz or granite, upgraded appliance packages, and custom backsplashes instead. Matching that look can add $15,000 to $30,000 across the kitchen alone. Bathrooms run a similar gap — often $3,000 to $8,000 per bathroom to move from base fixtures to what you toured.
Not every upgrade deserves equal priority, and this is where a little strategy saves real money. Electrical and plumbing upgrades are worth paying for now, even at a markup. Opening walls after closing to add outlets or rough-in a future basement bathroom costs far more than doing it during construction. I’ve seen buyers regret skipping a $400 rough-in during the design studio, only to pay $3,000 to have it done properly two years later. Pre-wiring for home automation falls into this category. So does adding outlets where you’ll eventually mount a TV, and roughing in plumbing for a future basement bathroom. Flooring upgrades are a similar story, for the same reason. Install hardwood now, or deal with trim, transitions, and living through a renovation later. Cosmetic upgrades — paint colours, light fixtures, cabinet hardware — are the opposite. Those are easy and comparatively cheap to change after closing. They’re the first place to cut if your budget is tight in the design studio. If you haven’t yet worked through whether pre-construction fits your situation, that’s worth revisiting alongside your upgrade budget. Our first article in this series covers that decision, not just this one.
Appliance inclusion varies a lot by builder. It’s worth confirming early rather than assuming. Some builders include nothing, treating the home as a shell. Others include a basic package — refrigerator, range, dishwasher — from value-tier manufacturers. Premium builders sometimes include higher-end stainless packages that genuinely offset cost compared to retail pricing. Washers and dryers are commonly excluded even when other appliances are included, since preferences vary widely and the units have shorter lifespans. Budget $1,200 to $2,500 for a basic-to-mid-range pair if you’re sourcing your own. If the builder does offer an appliance upgrade, expect it priced clearly above retail. It’s the same markup logic as everything else in the design studio. It does come with coordinated installation and warranty handling built in, though.
Heating and cooling systems have shifted clearly in new construction. A growing number of Ontario builds now use heat pumps instead of a separate furnace and air conditioner. That follows the direction set by the Canadian Home Builders’ Association. Its Net Zero Home Labelling Program sets the efficiency benchmarks much of the industry is building toward. Heat pumps handle both heating and cooling through one electric system. They’re much more efficient than traditional setups in moderate climates. Performance can dip in extreme cold, though — worth asking about for a Southwestern Ontario winter specifically. Energy-efficiency upgrade packages, covering better insulation, high-performance windows, and smart thermostats, usually add $5,000 to $15,000. It’s one of the few upgrade categories that pays part of itself back over time through lower utility bills.
Closing costs are the category almost every buyer underestimates. They don’t come up in the sales-centre conversations about upgrades. Between legal fees, Ontario’s land transfer tax, and a Tarion enrolment fee usually passed through to the buyer, standard closing costs alone add up fast. A reasonable planning range is 1.5% to 4% of the purchase price for that category alone. On top of that sits the category buyers are least prepared for: development charge levies. These are the municipal fees builders pass through for roads, sewers, and community infrastructure. They’re commonly written into the agreement as open-ended unless your lawyer negotiates a firm cap. Without one, the number isn’t fixed when you sign. It can run anywhere from a few thousand dollars to well over $10,000, depending on the municipality and how much time passes before closing. That’s one more reason the legal review we covered in the timeline article matters as much as the deposit schedule does. Ontario also offers a land transfer tax refund for eligible first-time buyers. It’s worth confirming with your lawyer, since it can clearly offset this category. All told, budget roughly 3% to 5% of the purchase price for closing costs on a freehold home. Plan for more on a condo, once levies and any remaining occupancy costs are factored in.
Square footage claims are also worth reading carefully. When a builder advertises a “2,100 square foot” townhome, that figure usually includes every finished level. Basement recreation space, main-floor living areas, and upper-floor bedrooms all get counted together. How that space is distributed matters more than the total. A family with young kids might prioritize main-floor space for everyday supervision. A family with teenagers might value more separation between levels. Walk-out basements tend to function best as genuine living space, since they get natural light and outdoor access. Basements without that tend to work better as storage than as a bedroom or office you’ll actually use daily.
Where the home sits in a still-developing community is its own budget consideration, mostly around timing rather than dollars. Promised schools, community centres, and transit access often follow residential development by years. School boards and municipalities wait for confirmed enrollment and funding before committing. A lot backing onto a hydro corridor trades a possible perception hit for a permanent, unbuildable green buffer. Reasonable people land on different sides of that trade. The honest approach is treating unfunded amenities as a maybe, not a given. That’s the right way to weigh whether a location premium is worth it.
One feature worth a specific mention, since it’s increasingly common in Ontario new-builds: the spice kitchen. It’s a secondary prep kitchen tucked behind the main one, designed for cooking aromatic or high-volume meals away from the show kitchen. It usually adds $15,000 to $45,000, depending on finishes and whether it includes a second dishwasher or extra appliances. Whether it’s worth it comes down entirely to how your household actually cooks and entertains. It’s a lifestyle upgrade, not an investment one — worth choosing on that basis rather than expecting to recover the cost dollar-for-dollar at resale.
The through-line across every category here is the same. Budget for the home you’ll actually select, not the one on the sign. Once you’ve walked through the design studio and priced out your must-haves, revisit the total against what we covered in the pre-construction timeline. Your deposit schedule and your upgrade payments often overlap, and it’s easier to plan both together than to be surprised by either. If you’re still deciding whether pre-construction is the right path at all, our first article in this series walks through that decision in full. It covers deposit protections too. For the rest of what we’ve covered on this topic, browse our full pre-construction coverage.

The sign shows the starting price. Your budget should be built around the finishing price.
— NestDigest
