
The design studio is where your pre-construction budget gets its real shape. It’s also the one appointment in the entire process where a little preparation pays for itself many times over. Most buyers walk in, get swept up in the model home, and walk out having spent far more than planned. A little strategy changes that outcome completely.
Here’s the short version. Model homes typically display $50,000 to $100,000 in upgrades above the base price. Treat what you see there as inspiration, not a shopping list. Prioritize electrical, plumbing, and flooring upgrades, since those are expensive to add after closing. Treat cosmetic choices differently — paint, hardware, light fixtures are all easy to change later. Those are the first place to trim if your budget is tight. Ask for itemized pricing on every upgrade. Don’t be afraid to negotiate package deals. And check with your builder about EV charger rough-in specifically. Ontario is moving toward requiring it, but hasn’t gotten there yet province-wide.
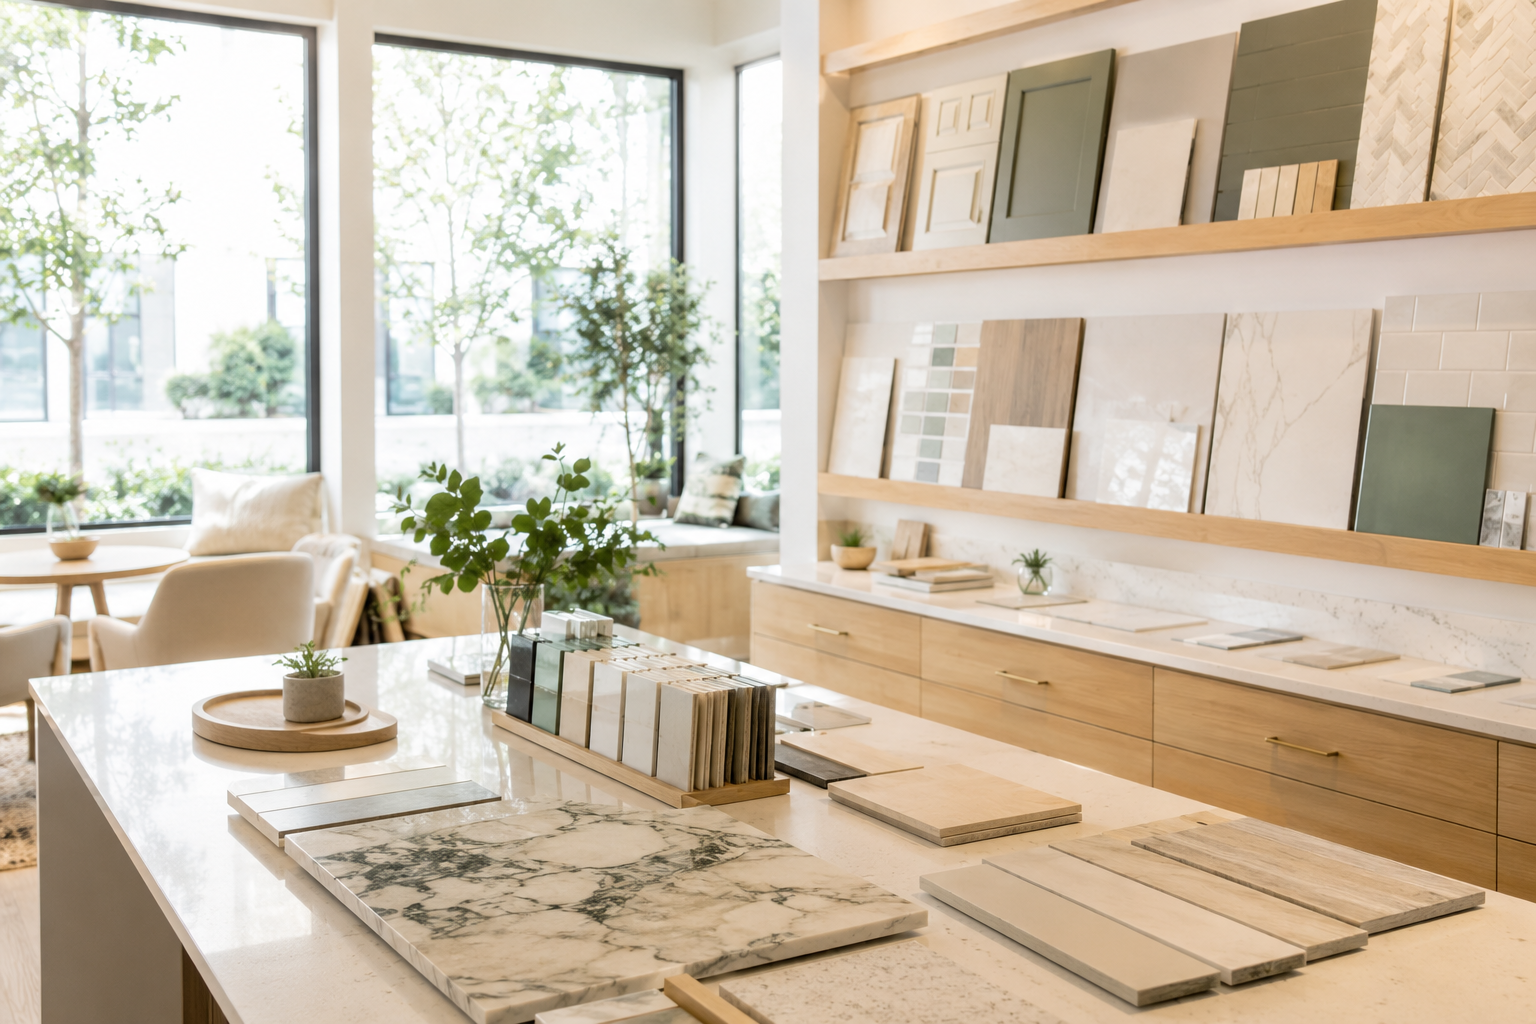
Most builders offer an open house preview before your scheduled design studio appointment. It’s worth using if available. You can browse cabinet finishes, countertop materials, flooring samples, and tile options without a sales consultant standing beside you. Prices usually aren’t posted during these previews. Treat it as a research trip: take photos, jot down what you like, and come to your actual appointment already knowing your preferences instead of deciding on the spot.
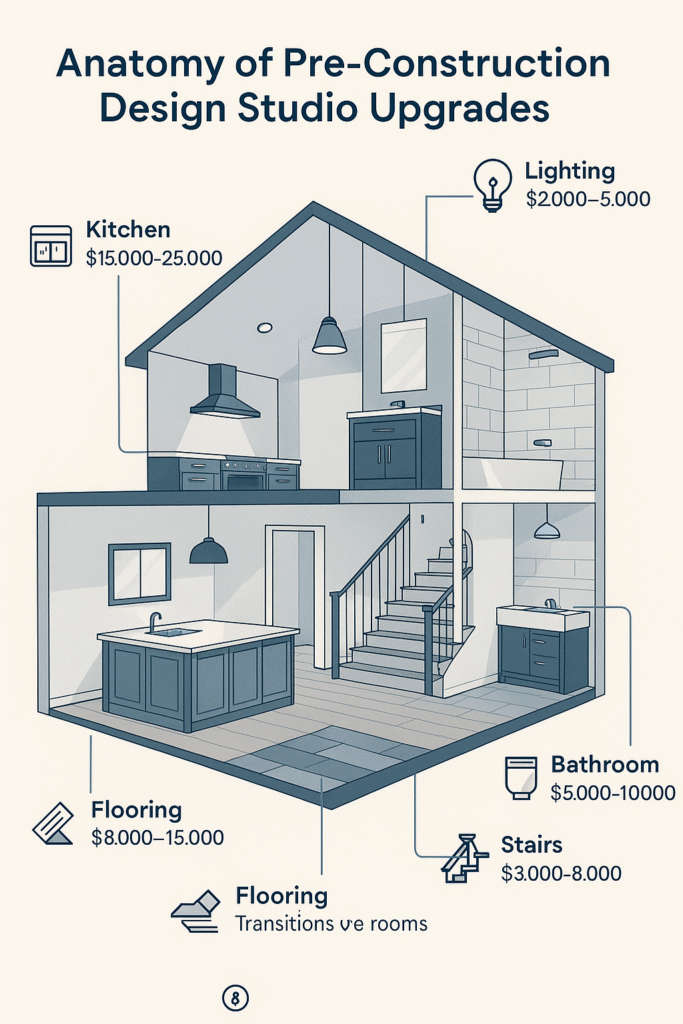
The kitchen gets the most attention in the design studio, and it’s where a single decision tends to pull several others along with it. Choose a granite or quartz island top, and your consultant will often point out that your builder-grade cabinet hardware no longer matches. Upgrade the hardware, and suddenly the standard laminate counters elsewhere in the kitchen look out of place too. None of these individual upgrades feels large on its own. That’s exactly why the total adds up faster than most buyers expect. A sink and faucet upgrade alone commonly runs $600 to $1,200, once you factor in the credit for the standard fixture. Specialty features like a built-in hot water tap can add another $800 to $1,500. Knowing this pattern going in lets you choose a handful of upgrades deliberately, rather than following the cascade one small decision at a time.
Small format tile is trending right now, and it looks great. But it also means more grout lines, which means more cleaning over the years. That’s a legitimate trade-off, not a sales tactic. It’s worth knowing before you fall for the honeycomb pattern in the showroom. The same logic applies across the design studio. Some upgrades are genuinely worth paying builder pricing for, because retrofitting them later means opening walls or replacing flooring. Others — a light fixture, a cabinet pull, a paint colour — cost the same or less to swap out yourself after closing. Ask your consultant directly which category each upgrade falls into. Most will tell you honestly if you ask.
Flooring is one of the upgrades worth prioritizing now rather than later. Standard SPC (stone plastic composite) flooring is a genuinely solid product. It’s fully waterproof, dimensionally stable, and included in most base packages at 4-5mm thickness. Moving to a thicker 6-8mm option adds a modest $2 to $4 per square foot. That stacks up to $3,000 to $6,000 across a full home, but it’s noticeably more solid underfoot. Hardwood, where offered, typically runs $8 to $15 per square foot above the base spec. Whichever you choose, pay attention to the transition areas — the front porch, the mudroom, and the stairs. Matching tile and stair treads to your main flooring keeps the whole home feeling cohesive rather than patched together.
Bathrooms are compact spaces where small upgrades create a big visual shift. Standard vanity height sits around 30 to 32 inches. That works fine for shorter users but creates real ergonomic strain for anyone over about 5’7″. Moving to a 35 to 36 inch comfort-height vanity commonly costs $200 to $400 for a powder room, or $600 to $800 for a larger primary bathroom. It’s genuinely worth it if you’re tall enough to feel the difference every morning. Tile size matters too. Standard 2×4 inch tile means a lot of grout lines to clean. Larger format tile in the 24×24 inch range covers more ground per piece and cuts down on long-term maintenance. Many townhome builders skip the backsplash behind the vanity entirely to control costs. If you want one, it’s worth asking for pricing specifically — tile backsplashes commonly run $8 to $20 per square foot installed, with natural stone options higher.
Stairs and upper-level flooring are two more places where matching your main-level choices costs real money, but usually looks worth it. Basic wood handrails start around $50 to $100 per linear foot. Upgraded wood or metal railings run higher, and fully custom designs can exceed $300 per linear foot. Upstairs, the choice between carpet and hardwood comes down to lifestyle as much as budget. Carpet is warmer and quieter underfoot, included standard in most packages, and easy to replace down the road. Hardwood costs more upfront, commonly $8 to $15 per square foot, but tends to hold its value better and needs less ongoing care.
Lighting upgrades offer some of the best return on how a home actually feels day to day. Pot lights commonly run $200 to $300 each installed individually. Most builders offer package pricing instead — a 4-light package around $800 to $1,200, a 6-light package around $1,200 to $1,800 — which brings the per-fixture cost down noticeably. It’s also worth paying now for extra electrical rough-ins in spots you might want a future light fixture, ceiling fan, or chandelier. A rough-in during construction commonly costs $150 to $250 per location. Retrofitting the same thing into finished walls and ceilings later can run $500 to $1,500.
EV charging is worth asking about directly, since the rules are genuinely in flux right now. Ontario introduced Bill 199, the EV-Ready Homes Act, which would make basic charger rough-in wiring mandatory in every new home’s garage. As of this writing, it’s still working through the legislative process and isn’t yet law province-wide.
Some municipalities already require EV rough-in through local green development standards, and plenty of builders include it proactively regardless. It’s far cheaper to rough in during construction than to retrofit afterward. A pre-construction rough-in commonly costs $700 to $1,200. Adding the same wiring after you’ve moved in can run $1,500 to $2,000 or more. On top of that, any EV charger installation in Ontario requires its own permit from the Electrical Safety Authority, regardless of when it goes in. Ask your builder directly whether rough-in is included, required in your municipality, or available as an upgrade.
Smart home and security pre-wiring follows the same logic as the electrical rough-ins above: cheap now, expensive later. Ethernet wiring, camera mounting locations, and smart lock preparation are all straightforward to include during construction. They’re genuinely disruptive to add afterward. You don’t need to commit to specific devices at this stage. Just make sure the wiring and mounting points exist, so you have the option later without opening a wall to get it.
Heating and cooling upgrades are worth a shorter mention here, since we covered heat pumps and energy-efficiency packages in detail in our full cost guide for pre-construction purchases. The short version: ask what system is standard, what a heat pump upgrade costs if it isn’t, and whether smart thermostat and zoned climate control options are available. Those upgrades typically run $200 to $500 and $1,500 to $3,000 respectively. They’re worth comparing against your actual utility bill expectations, rather than deciding on vibes alone.
Negotiation in the design studio works best when you treat it like any other significant purchase: come with information, not just enthusiasm. Ask for an itemized quote on every upgrade rather than a bundled total, so you can see exactly what you’re paying for labour versus materials. Ask specifically about package deals. Builders often have more flexibility bundling several upgrades together than discounting one in isolation. Timing matters too. Builders are often more willing to negotiate near the end of a sales phase or quarter. A sales target matters more to them then than it did a few weeks earlier. None of this requires being adversarial. Most design consultants respond well to buyers who ask clear, specific questions, because it makes their job easier too.
The single most useful habit going into your appointment is knowing your priorities before you sit down. Decide in advance which upgrades genuinely matter to how you’ll live in the home — usually electrical, plumbing, and flooring. Treat everything else as optional. That’s the same budgeting discipline we walked through in our cost guide for pre-construction purchases. It applies directly here: know your number before you’re standing in a room built to make you forget it. If you’re earlier in the process and still mapping out where the design studio fits into your overall timeline, that’s worth reviewing first. If you haven’t yet decided whether pre-construction is the right move at all, our first article in this series is the place to start. And for everything else we’ve covered on this topic, browse our full pre-construction coverage.
You don’t have to say no to the design studio. You just have to walk in already knowing your yes.
— NestDigest
