
The Staircase and Hallway Makeover: The Highest-Traffic Space Nobody Renovates
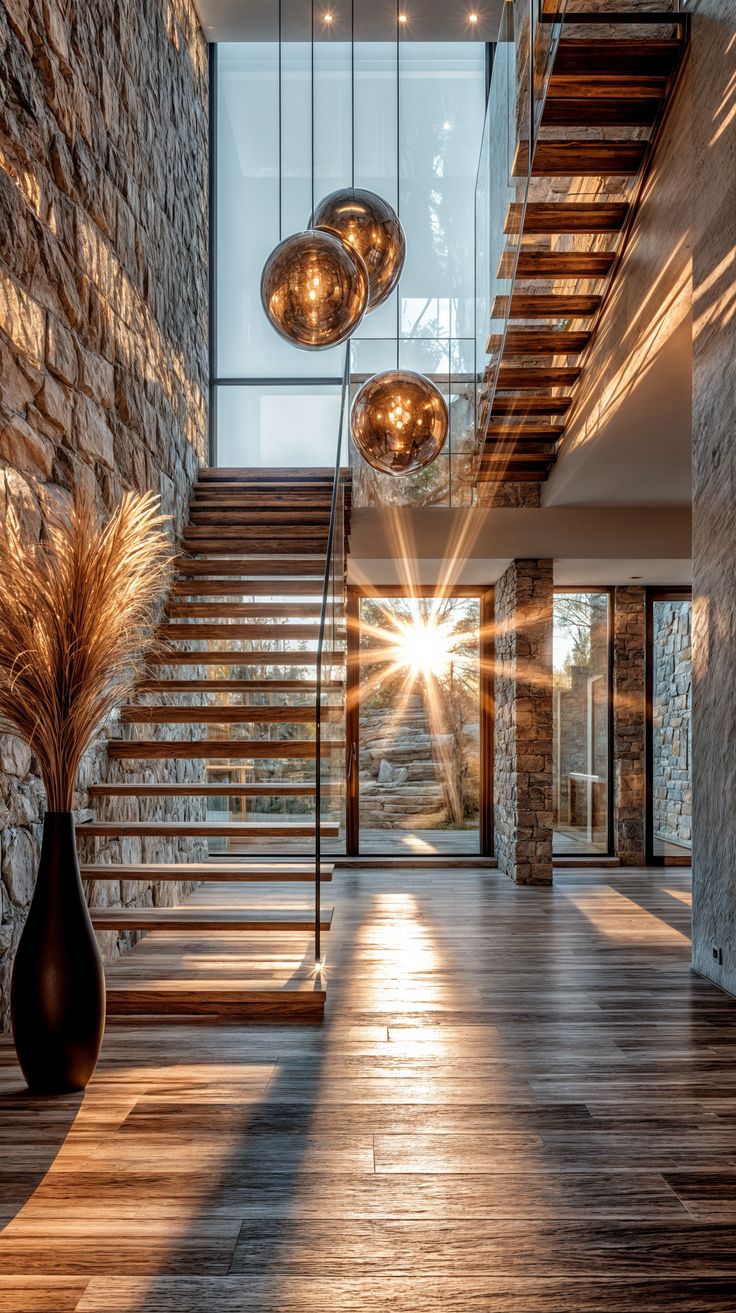
Homeowners will spend an entire weekend deciding on a throw pillow and walk past four bare stair risers a dozen times a day without giving them a second thought. That’s the contradiction behind almost every good staircase makeover idea I’ve seen actually work: the stairwell and the upstairs hallway are the single most-viewed surfaces in a two-storey home, and they’re treated, almost universally, as infrastructure rather than a room.
Start by figuring out what’s actually under your feet, because that decision drives everything downstream. Pull back the carpet at the top step, where wear shows fastest, and look. Original hardwood in reasonable shape is worth exposing and finishing rather than covering again — if that’s the route, our guide on installing hardwood floors yourself covers the prep work that applies just as much to a staircase as a living room. Painted-over treads, on the other hand, usually mean a builder cut corners with a cheaper softwood, and the honest move is to work with that rather than fight it — sand, prime, and paint deliberately instead of stripping down to a surface that was never meant to be seen bare.
The runner is where most stair makeover ideas actually live or die, and width is the decision that matters more than pattern or color. Most residential stairs run 36 to 42 inches wide. A runner cut to 27 to 32 inches leaves a clean 3 to 4 inch strip of wood or painted stair exposed on each side — enough to read as a deliberate framing choice rather than an afterthought. Go wider than that, chasing full wall-to-wall coverage, and a stairwell starts to look like a hotel corridor instead of a home. Padding is the part people skip to save money, and it’s the wrong place to cut: a dense felt-and-rubber pad cut tread-by-tread, not run in one long piece, is what keeps a runner from crushing flat and going threadbare at the nosing within a single winter of boot traffic.
Measure full tread width first, then decide how much bare stair you want showing on each side — 3 to 4 inches per edge is the standard that reads intentional.
Buy a dense felt-and-rubber pad slightly narrower than the runner, cut to match each tread and riser individually.
Fasten strips at the base of each riser and the back of each tread, angled so the runner pulls taut instead of sagging forward over time.
Staple each piece individually rather than running one continuous length — this is what keeps the nosing crisp instead of bunching after a season.
Starting at the upper landing, stretch the runner over the tackless strip, press it into the crease at the back of each tread with a stair tool, and check the centerline every three or four steps.
Finish with a metal stair rod or a tacked-and-tucked edge at the last riser, then vacuum the full run before anyone walks on it.
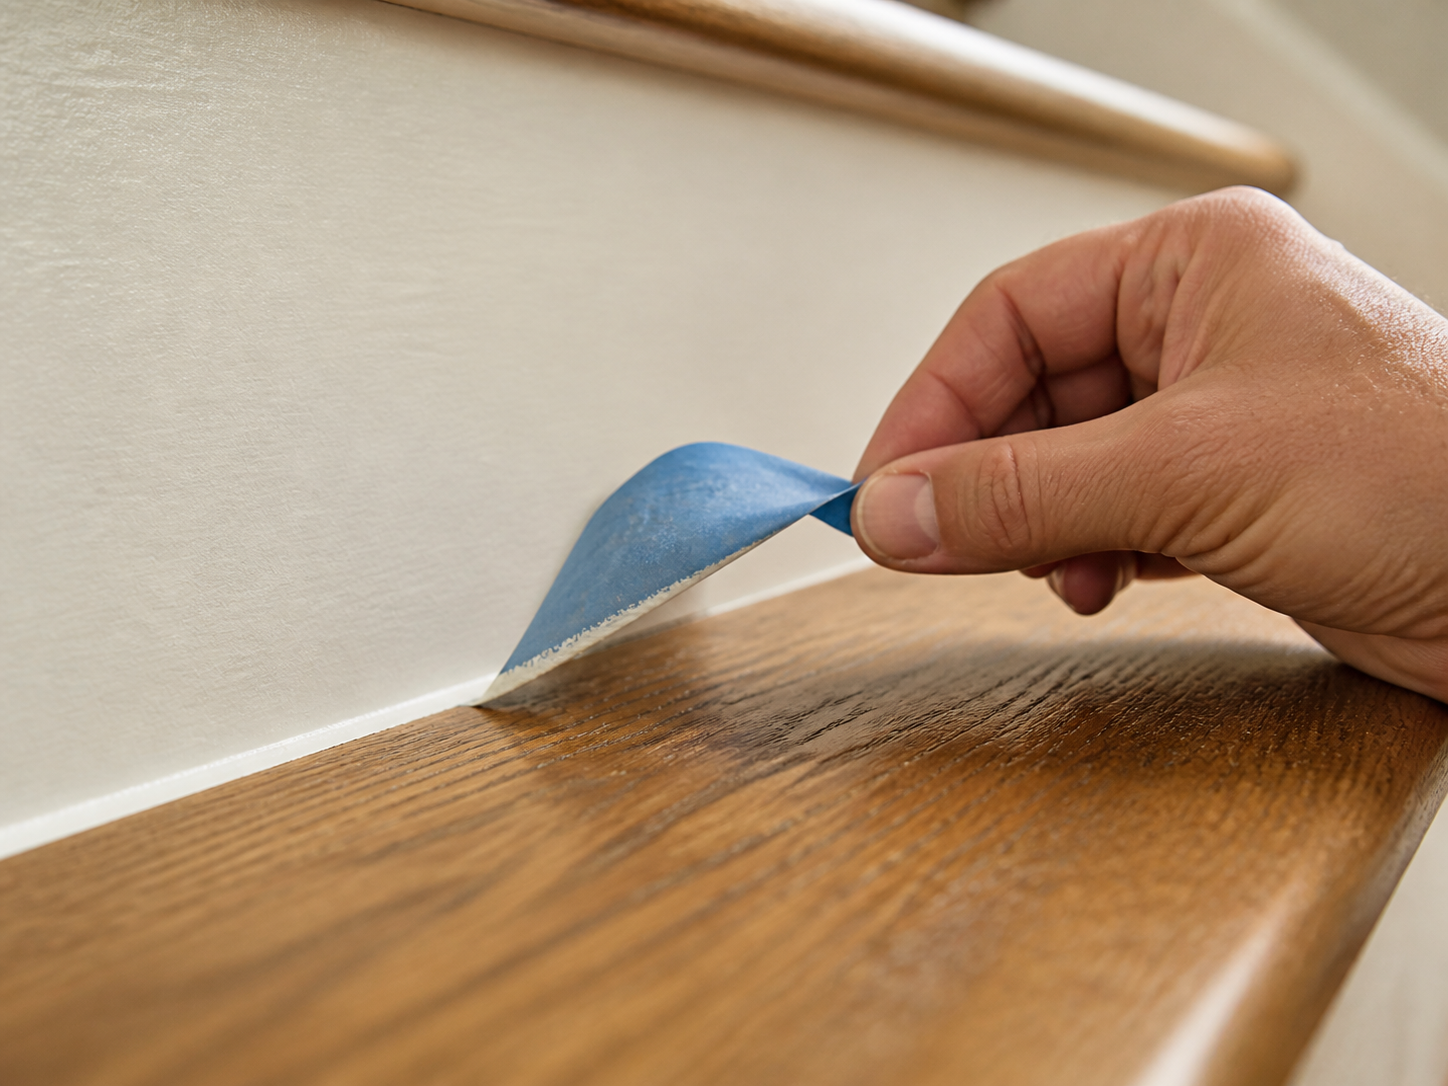
Painted risers with a stained or bare-wood tread are the highest-return, lowest-cost move on this whole list, and they hold up better in a cold climate than most people expect — provided the finish is right. A builder-grade wall paint chips within a season on a surface that gets kicked, scuffed, and salted boots dragged across it all winter. A hard, low-sheen porch-and-floor enamel, applied over properly sanded and primed wood, is built for foot traffic and temperature swings the way a bedroom wall paint simply isn’t. If you’re choosing a riser color at the same time as a broader palette for the space, it’s worth reading through our piece on choosing paint colors that add resale value before committing — a staircase is one of the few interior surfaces a buyer’s agent will actually photograph.
Handrails and spindles are the part homeowners assume means a structural rebuild, and in most cases it doesn’t. If the newel posts and top and bottom rail are sound — which they usually are in anything built after the 1980s — spindles can be pulled and replaced one at a time using the existing rail as the frame. Swapping thick, dated turned spindles for slim square or iron balusters is a weekend project, not a renovation, and it changes the visual weight of the entire staircase more than almost anything else on this list. Ontario’s Building Code guard regulations set the real constraint here, not aesthetics: spacing between spindles has to keep a 100 mm (4-inch) sphere from passing through, which rules out some of the widest-spaced modern looks people pin on inspiration boards without checking the math first.
A room that works hard doesn’t have to look like it.
Stairwell lighting has one real technical problem to solve: a double-height ceiling makes a single overhead fixture feel distant and dim, no matter how bright the bulb. Wall sconces mounted at roughly every third or fourth stair, wired to one switch, put light where feet actually are instead of somewhere up near a ceiling nobody’s standing next to. A pendant at the top of the stairwell can anchor the space visually, but it should never be the only light source — it’s doing atmosphere, not function. Budget roughly $60 to $150 per sconce for something with real presence, and three or four sconces plus one statement pendant will run most homeowners somewhere between $400 and $900 before installation.
Runner, pad, tackless strips, sconces, and enamel paint — ordering that list from five different retailers means five different delivery windows. Prime’s free two-day shipping means it shows up together, on your timeline, not the supply chain’s.
Try Amazon Prime →This is a referral link — if you sign up, NestDigest may earn a small commission at no extra cost to you.
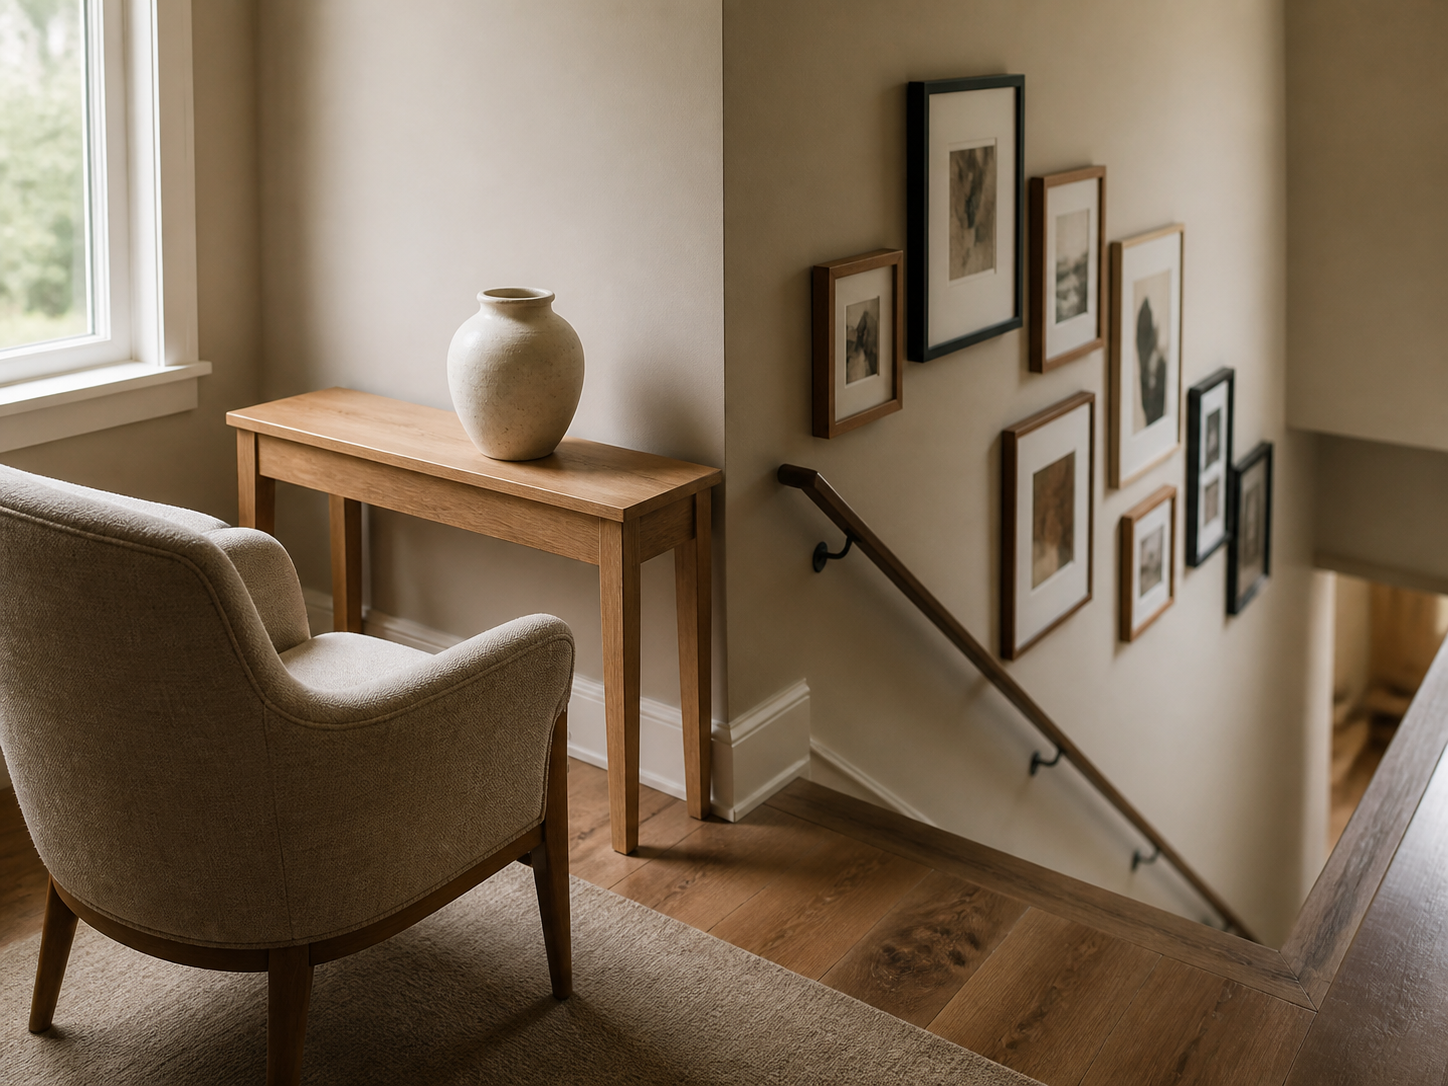
The upstairs landing is the square footage everyone forgets they own. It’s rarely big enough for a real room, but it’s almost always big enough for one deliberate piece of furniture — a narrow console table, a slim bench, a single upholstered chair angled toward a window. The goal isn’t to fill it; it’s to give the eye somewhere to land at the top of the stairs instead of a blank wall and a row of closed doors. A reading nook works here if the light is decent. A drop zone for the day’s mail and keys works if the landing sits near a bedroom people pass through daily. Either way, treat it as a destination, not leftover hallway.
Gallery walls are where most stairwell makeovers go wrong, and it’s almost never the frames — it’s the spacing and the sightline. Frames need to follow the pitch of the staircase, not sit in a rigid grid that fights the angle of the stairs; a staggered diagonal that climbs with the handrail reads as designed, while a perfect grid on an angled wall reads as a mistake nobody caught. Keep gaps between frames consistent — 2 to 3 inches is the standard that keeps a wall of mixed sizes feeling like one composition instead of a scattered collection. And commit to one frame finish or one deliberate pairing of two, never three or more competing metals and woods, or the wall becomes about the frames instead of what’s in them.
Handle the safety items while the staircase is already torn apart, because doing them later means repeating labor you’ve already paid for once. Check handrail height — code generally calls for 34 to 38 inches measured from the tread nosing — and confirm it’s continuous and graspable, not interrupted by a newel post at every landing. Tighten every spindle while you’re replacing others; a loose one is usually the first sign a whole run needs attention. And if the stairwell has no light switch at both the top and bottom, wire one in now, while the wall is already open for sconce wiring, rather than as a separate project six months later.
Budget in three real tiers rather than one number, because a $300 weekend and a $4,000 one solve genuinely different problems. Tier one — paint the risers, add a slim console at the landing, and rehang whatever art you already own with better spacing — lands under $400 and is entirely a weekend’s labor. Tier two adds a mid-range runner with proper padding, typically $600 to $1,400 installed depending on run length and carpet quality. Tier three replaces spindles and adds real sconce lighting on top of the runner, usually $2,500 to $5,000 depending on how many spindles are involved and whether an electrician is doing the wiring. None of these tiers requires doing the next one — each stands on its own as a finished project, which is the point.
What width should a stair runner be?
Aim for 27 to 32 inches on a standard 36 to 42 inch stair, leaving a 3 to 4 inch reveal of wood or painted stair on each side.
Do painted stair risers hold up in a cold climate?
Yes, if you use a hard, low-sheen porch-and-floor enamel over properly sanded and primed wood rather than a standard wall paint.
Can I replace stair spindles without rebuilding the staircase?
In most cases, yes — as long as the newel posts and rail are sound, spindles swap out one at a time using the existing frame.
What’s the best way to light a tall stairwell?
Wall sconces every third or fourth stair on one switch, paired with a pendant at the top for atmosphere rather than as the only light source.
None of this requires touching every stair at once, and that’s the real permission most people are waiting for. The staircase and the landing above it will still be the most-walked surface in the house whether or not you ever get to them — the only question is whether that traffic is moving through a space someone actually designed, or one that’s just been quietly tolerated since move-in day.
You decorate the rooms people choose to enter. The staircase is the one nobody can avoid — treat it that way.
— NestDigest