Home Decor
Limewash vs. Venetian Plaster: A Guide for Canadian Homes
Limewash and Venetian plaster both turn a flat wall into a textured focal point, but they’re not interchangeable. Limewash is brushed on for a soft, cloud-like variation; Venetian plaster is trowelled on and can be left matte or burnished to a marble-like polish. The right one for your wall depends on your surface, your budget, and how much upkeep you’re willing to do.
What Is Limewash Paint?
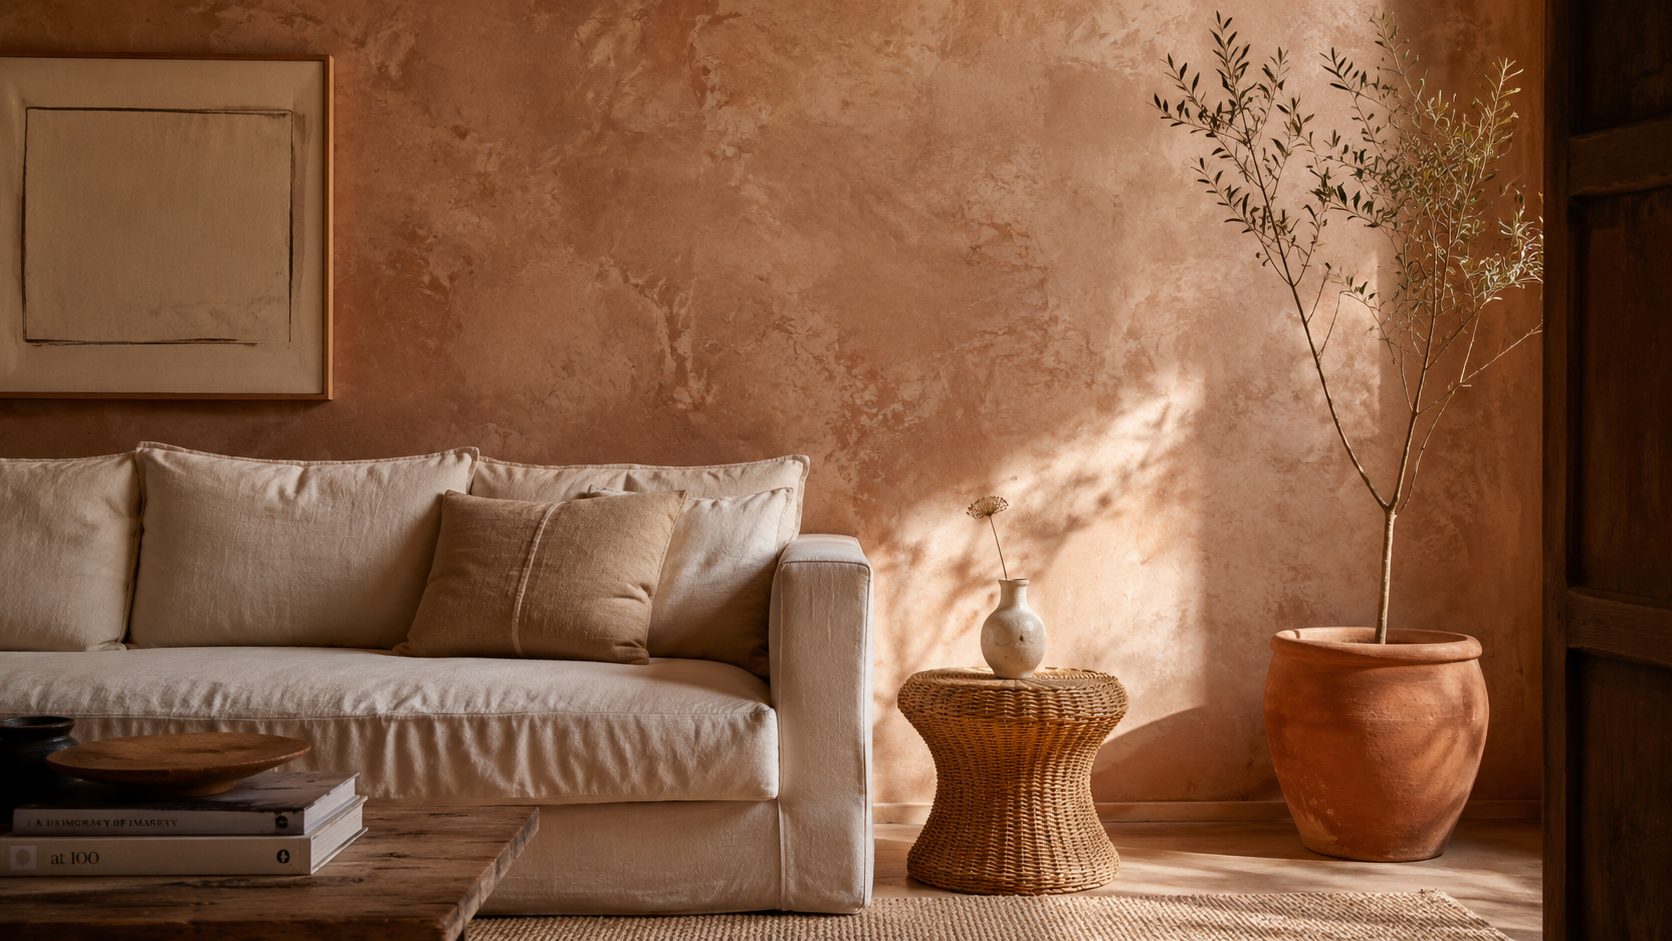
Limewash isn’t really a “technique” layered on top of ordinary paint — it’s a different material entirely. Traditional limewash is a coating made from slaked lime, water, and mineral pigment; ready-mixed versions from brands like Bauwerk Colour and Portola Paints use the same lime-based chemistry in a form that’s easier to brush on consistently. What you get either way is a matte, semi-transparent finish with natural tonal variation — no two walls, or even two square feet of the same wall, look quite identical. That variation is a feature of the material itself, but how a given brand tells you to apply it — wet-edge brushwork, wipe-back, cross-hatching — genuinely changes the final texture, which is why the instructions on the tin matter more than any generic online tutorial.
A textured wall does what no paint colour alone can — it gives a room a surface worth looking at twice.
Limewash vs. Venetian Plaster: Key Differences
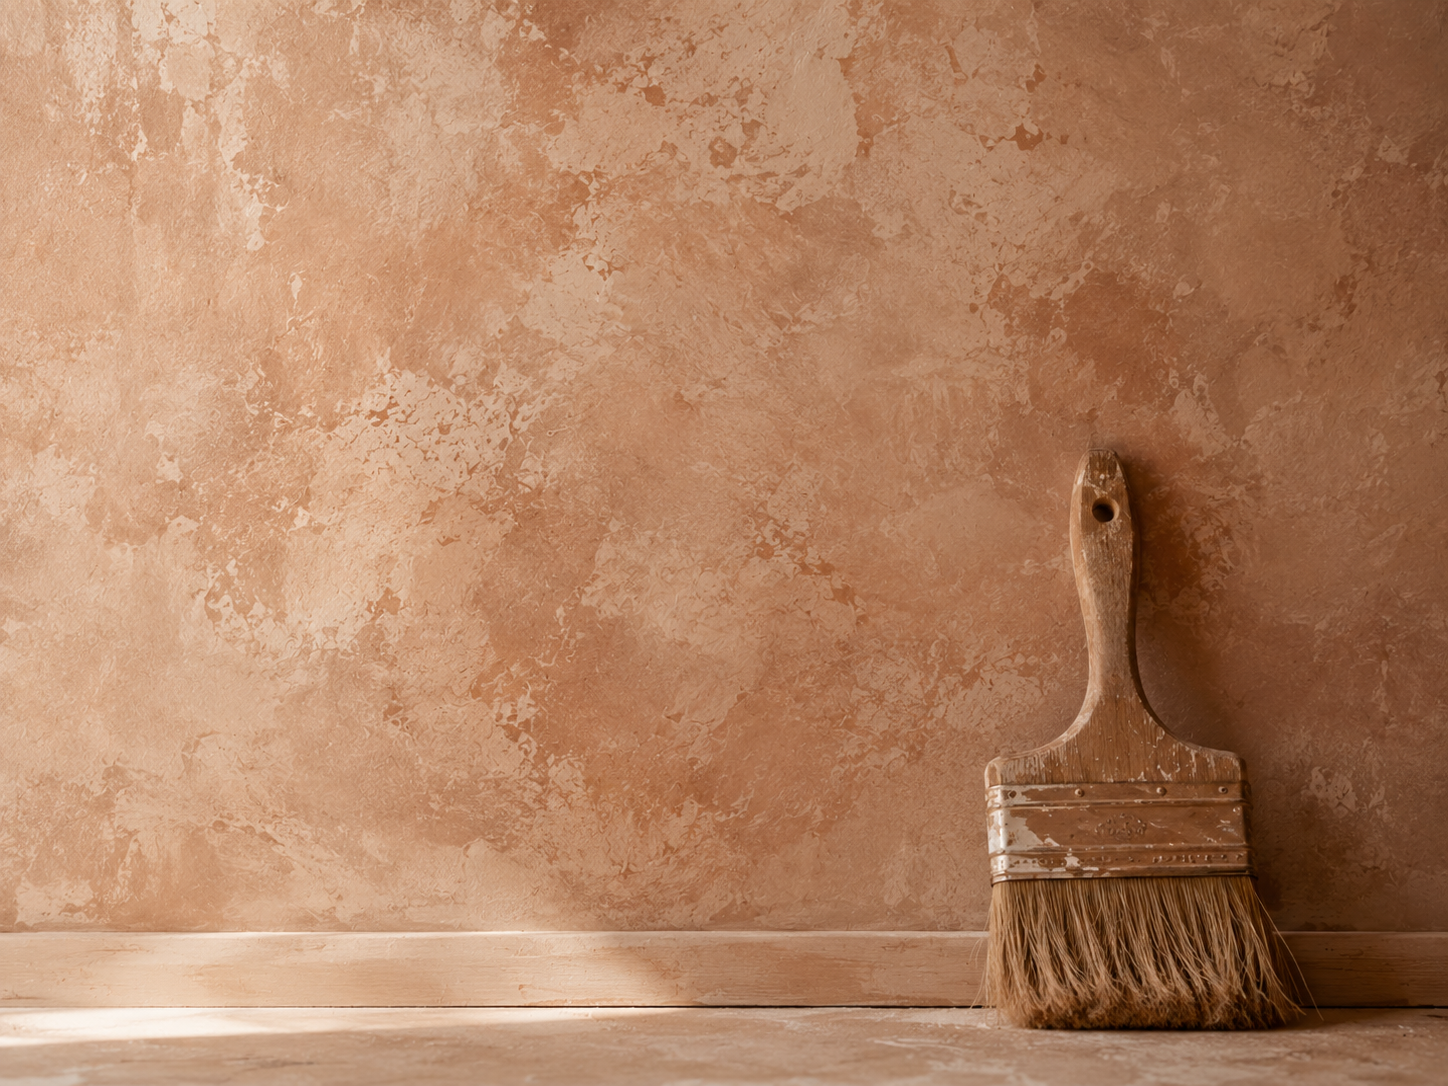
The two finishes get lumped together because they both read as “textured” and “European,” but the material, the tools, and the labour involved are quite different — and that difference is what should drive your choice.
| Limewash | Venetian plaster | |
|---|---|---|
| Appearance & texture | Matte, chalky, cloud-like colour variation; reads flat to the touch | Ranges from suede-matte to a high, marble-like polish depending on burnishing |
| Application method | Brushed on in thin coats, worked wet-edge to wet-edge; no cutting in around edges | Trowelled on in 2–3 thin passes, then optionally burnished with the flat edge of a steel trowel |
| DIY difficulty | Moderate — approachable for a confident first-timer with the right primer and a practice board | Higher — trowel control and burnishing take practice; many homeowners hire out the finish coat |
| Surface prep | Porous surfaces (drywall, brick, plaster) take it directly once primed; glossy paint needs de-glossing first | Similar prep; manufacturer-specific primer is required over gypsum board or uneven-suction substrates |
| Cleaning & protection | More delicate — avoid scrubbing; a wax or sealer topcoat adds a small amount of protection | Generally more durable once burnished and sealed, but cleanability still depends on the specific sealer or wax used |
| Cost in Canada (2026) | Roughly $12–$20/sq. ft. professionally installed in the GTA; DIY kits run lower | Roughly $12–$30+/sq. ft. professionally installed in the GTA, depending on finish and coats |
Neither finish is objectively “better” — a bedroom accent wall behind a bed frame doesn’t need the durability of a burnished plaster finish, while a powder room or a kitchen backsplash-adjacent wall benefits from plaster’s tougher, more washable surface once it’s properly sealed.
Can You Apply Limewash Over Painted Drywall?
Yes, but the prep depends on what’s already on the wall, and it’s worth following your specific product’s system rather than a generic rule. Portola, for instance, specifies two coats of a stain-blocking, water-based primer on new drywall before its Limeproof Undercoat goes on; over walls already painted in flat white, the undercoat alone may be enough, though a stain-blocking layer is still recommended so old marks or oils don’t bleed through. If your existing paint has any sheen, that surface needs to be lightly sanded and cleaned before the undercoat goes on — skipping this step is the single most common reason a limewash finish fails to bond and later peels. The undercoat itself can be rolled or brushed on, but the limewash coat on top has to be brushed, working corner to corner while keeping a wet edge, since stopping partway through a wall and resuming later is what causes visible seam lines.
How to Plan a Limewash Accent Wall
A single accent wall — behind a bed, a sofa, or a dining table — is almost always the right place to start. It gives a room the sense of a considered, settled space without the commitment of covering every surface, and the finish does enough visual work on its own that the furniture and art around it don’t need to be new or expensive.
Before you commit to a colour, paint or brush a sample onto a loose offcut of drywall or primed board rather than directly onto the wall — most manufacturers recommend this specifically because lime finishes lighten with additional coats, and a swatch painted straight onto drywall can show through the final application. View the dried sample in your room at a few different times of day; limewash is intentionally responsive to changing light, and a colour that reads soft and warm at midday can look noticeably different at dusk under artificial light. Tools worth having on hand: a 4–6 inch natural-bristle stain brush (synthetic brushes tend to leave harder lines), a primer matched to your specific limewash product, drop cloths, and painter’s tape for trim — though most brands advise against cutting in the limewash itself the way you would with regular paint.
What Do Limewash and Plaster Finishes Cost in Canada?
Costs vary widely by city, contractor, and finish complexity, so treat the following as a starting range rather than a quote. For professional limewash application in the Toronto/GTA area, specialty painters have quoted rates starting around $12 per square foot for smaller accent walls, with per-square-foot pricing dropping toward $10–$12 on larger jobs over roughly 1,000 sq. ft. Venetian plaster runs higher: GTA plastering contractors have quoted roughly $12–$20 per square foot for standard multi-coat work, while specialty suppliers cite $15–$30-plus per square foot for premium imported plasters and elaborate finishes. These figures include material and labour; they exclude wall repair or heavy prep, which is usually quoted separately.
Budgeting a DIY accent wall
For an 8 × 10 ft. accent wall (80 sq. ft.), a rough DIY budget breaks down into four line items. Exact quantities depend on your chosen product’s stated coverage per litre or gallon, so check the can before buying — coverage varies by brand and by how many coats your wall needs:
- Primer/undercoat — sized to your wall’s square footage and the product’s coverage rate, per the manufacturer’s instructions
- Limewash or plaster finish — typically 2 coats for limewash, 2–3 thin passes for Venetian plaster; again, check the specific product’s coverage figures
- Tools — brush or trowel, drop cloths, tape, sanding sponge for prep
- Optional protective topcoat — a wax or sealer, priced per the product line you’ve chosen
For sourcing materials in Canada: Greenworks Building Supply in Vancouver is Portola Paints’ exclusive Canadian dealer and ships nationwide; Bauwerk Colour ships directly to Canada through its North American storefront; and Cadoro Plaster, based in Surrey, BC, imports Italian lime plasters priced in CAD with Canada-wide shipping. Always confirm current pricing and shipping costs directly with the retailer before budgeting a project.
Choosing Colours for Your Room’s Light
Because limewash and plaster finishes add texture alongside colour, they don’t read the same way a flat paint chip does — the same pigment can look noticeably darker or more saturated once it’s applied in thin, layered coats. Rather than relying on a fixed rule of thumb, paint or apply a full sample using your actual chosen primer, finish, and any topcoat, let it dry completely, and view it in the room itself — ideally in both a well-lit spot and a dimmer corner, and at more than one time of day. Colours with warm, complex undertones — greige, dusty terracotta, pale sage, aged ochre — tend to gain depth with these techniques, while pure whites and cool greys can flatten out rather than developing the movement that makes the finish worth doing in the first place.
Cleaning, Sealing, and Maintenance
Neither finish behaves exactly like washable eggshell paint, and how much maintenance either one needs depends heavily on whether — and how — it’s been sealed. Limewash is the more delicate of the two: a light dusting or a barely-damp cloth is usually as much as it can take, since aggressive scrubbing can lift the pigment. Venetian plaster that’s been burnished and finished with a wax or sealer generally holds up better to daily wear and light cleaning, which is part of why it’s a common choice for powder rooms and kitchen-adjacent walls — but an unsealed or lightly finished plaster is just as delicate as limewash. Ask your product’s manufacturer or your applicator what topcoat, if any, was used, and follow their specific cleaning guidance rather than a one-size-fits-all rule.
Common Questions
Is limewash paint DIY-friendly?
For a confident first-timer, yes — especially with a ready-mixed product and its manufacturer’s primer system. The technique itself (brushing wet-edge to wet-edge, without cutting in) is straightforward to learn on a practice board before tackling a full wall.
Can I use limewash or Venetian plaster in a bathroom?
Both can work in a bathroom away from direct, sustained water exposure — a powder room or a dry wall in a larger bathroom, for instance — but check with the specific manufacturer about shower or high-humidity use, since not every product line is rated for it.
Can you paint over limewash or plaster later if you change your mind?
Generally yes, though both surfaces are porous and chalky, so they typically need a bonding or stain-blocking primer before conventional paint will adhere properly. Follow the original product manufacturer’s guidance for repainting.
“A room is not a room without natural light.”