How to Winterize Your Sprinkler System Before the First Freeze
A sprinkler system never fails in October. It fails in April, when the first run of the season finds the crack that January quietly made. Water left inside irrigation pipes, valves, backflow devices and sprinkler heads turns to ice at 0°C, expands, and splits whatever is holding it. That is the entire problem, and it is why knowing how to winterize your sprinkler system is some of the cheapest fall maintenance a Canadian homeowner can do.
The common misconception is that closing the water valve finishes the job. It doesn’t. Shutting off the supply stops new water from arriving; it does nothing about the water already sitting in the lines. The second trap is timing. Waiting for a forecast that shows the first hard freeze means booking work in the same week every contractor is booked solid. Here is when to act, which method fits your system, when a compressor is a bad idea, and what it costs in CAD.
Winterize before your area sees a run of nights at or below 0°C, not after. In southern Ontario that usually means the first half of October; in the Prairies, late September; in milder coastal areas, later. Shut off the irrigation water and set the controller to off, then get the water out of the lines. Drain valves handle most of it, but a compressed-air blowout is the method manufacturers generally recommend as the reliable finish, because pockets of water stay behind in valves and heads. Never exceed the air-pressure limit for your pipe material (Rain Bird’s homeowner guidance caps it at 50 psi), never stand over sprinkler heads, and treat the backflow preventer as its own job. If you can’t identify your blowout connection, pipe material or backflow assembly, hire a professional. A typical residential visit in the Toronto area starts around $100 CAD.
When should you winterize your sprinkler system?
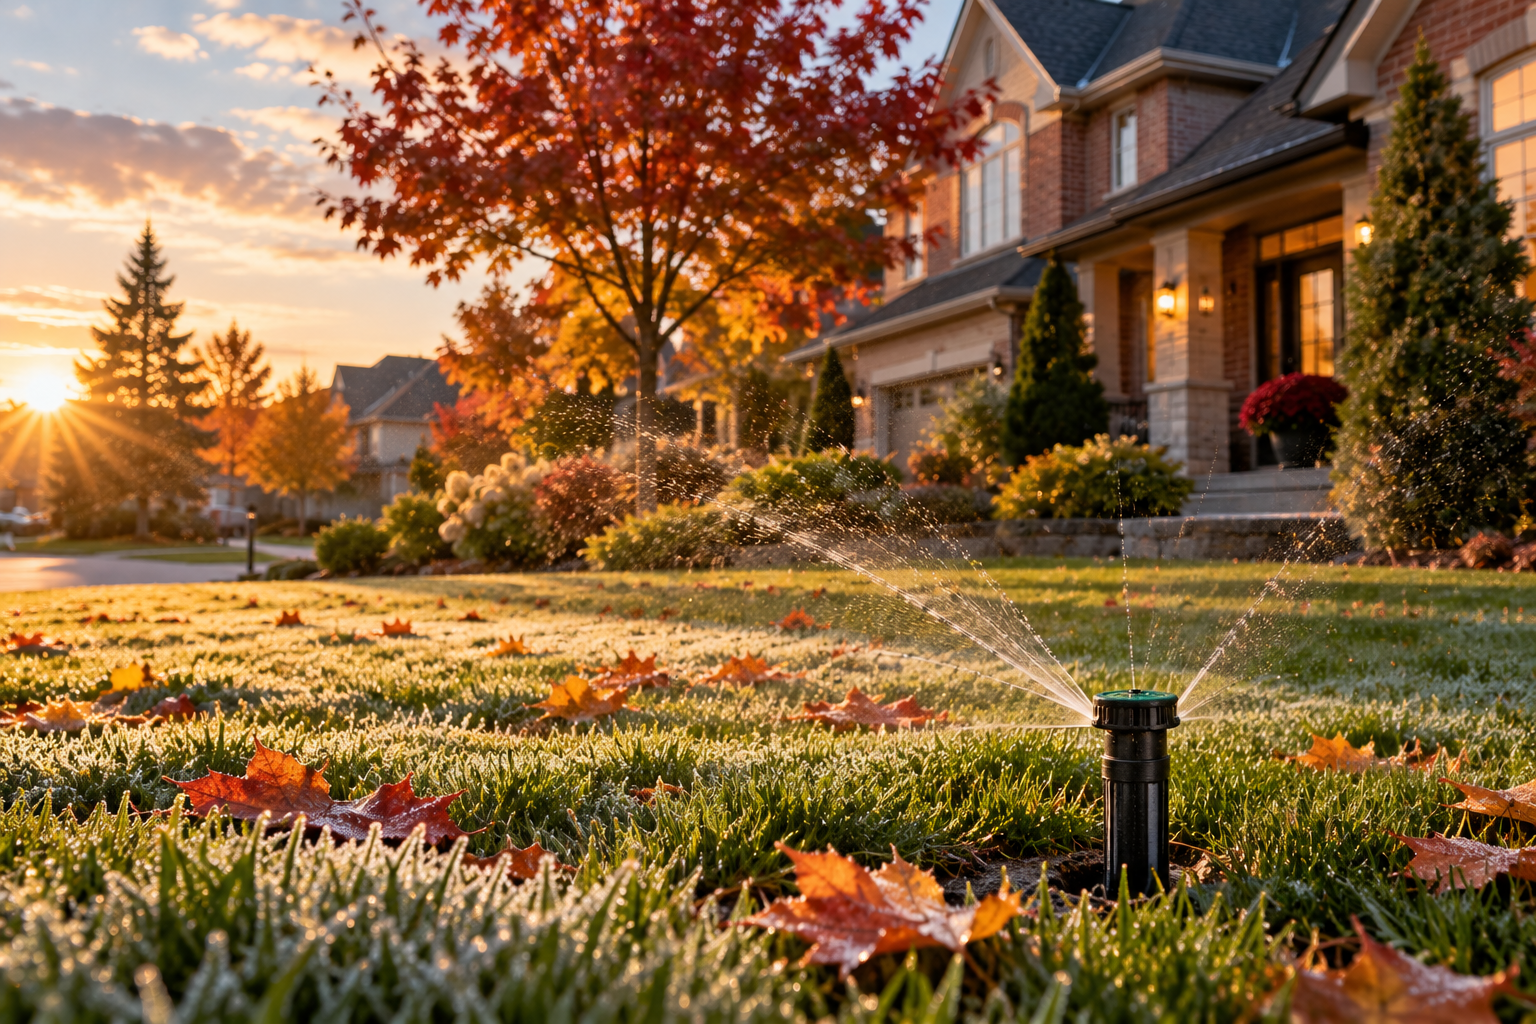
Before the nights turn to a run of readings at or below 0°C, and while the days are still comfortable enough to work outside. The industry window is wider than most homeowners expect. Sullair’s irrigation FAQ says blowout season starts as early as August in some regions and runs into early December, because soil cools more slowly than air. The goal is to finish before temperatures fall consistently below 0°C.
A first frost is a warning, not a deadline. One clear night at the freezing mark won’t freeze a buried line. But the parts of a system that fail first are not buried: the backflow preventer, the valves and the risers and heads sit shallow or above ground and lose heat fast. Even buried pipe isn’t automatically safe. A Southern Ontario landscape contractor puts a safe burial depth at roughly three feet (about 0.9 metres) and points out that many residential lines are laid shallower to save on trenching.
Averages help. The Weather Network puts Toronto’s average first frost around October 20 (2025’s arrived October 26). Compilations of Environment and Climate Change Canada normals, such as Grower’s Guide, list Ottawa near October 12, Calgary near September 21 and Edmonton near September 23. Those are 50/50 dates, so in half of all years frost arrives earlier.
My working window, which is editorial judgment rather than a rule: the first two weeks of October for the Greater Toronto Area and similar southern Ontario climates, and late September for colder pockets such as cottage country, the Ottawa Valley and the Prairies. Book earlier than that if you can. One Toronto-area contractor’s 2026 early-bird pricing ends October 15, which is a fair signal of when calendars start to fill. Keep watering until the grass stops growing (the fall lawn care schedule for Ontario covers that stretch), then book.
Don’t wait for frozen ground. Winterize while daytime temperatures are still pleasant enough to work outside.
What kind of irrigation system do you have?
The steps differ by system, so identify yours before you touch a valve.
- Automatic underground sprinklers: buried pipe, zone valves and a controller. These normally need a full drain or a blowout.
- Systems with drain valves: manual drains you open by hand at low points, or automatic drains that open when line pressure falls. Sprinkler Warehouse notes automatic drains typically open below about 10 psi.
- Drip irrigation: low-pressure tubing, filters and regulators, often fed from a hose tap. It gets its own section below.
- Hose-fed systems: soaker hoses, hose-end timers and splitters. These come apart and go indoors.
- Backflow preventers: fitted to most underground systems, and worth separate attention.
What you’ll need before you start
- Controller access, and the location of the irrigation shutoff (not your home’s main shutoff)
- A screwdriver, an adjustable wrench and safety glasses
- Insulated covers for exposed components
- The manufacturer’s instructions or a sketch of your system layout
- An air compressor with a regulator, only if your system suits a blowout
One point before any of it: more compressor pressure is not better. It is the likeliest way a DIY job turns expensive, and it gets its own section below.
How to winterize a sprinkler system, step by step
Step 1: Shut off the irrigation water supply
Find the valve that feeds only the irrigation. It is often on a pipe near the water meter, in a basement with a stop-and-waste, or in a buried valve box outside. If closing it also cuts the kitchen tap, you have the wrong valve. Turn it slowly. Forcing a stiff, unfamiliar valve is how a small job becomes a plumber’s call, and if you can’t find it at all, that is your first sign to hire someone.
Step 2: Turn off the irrigation controller
Set the controller to off for the season rather than leaving a schedule running against a closed valve. “Rain mode” pauses watering but keeps the clock running, so it is not the same as winterizing. Most controllers keep their programming through a shutdown. Smart controllers usually want a winter or off mode set in the app, so check the manufacturer’s guidance on whether power stays connected.
Before the first freeze
Sprinkler winterization checklist
Step 3: Drain the system
Manual drain. If your system has manual drain valves at its low points, you open them once the supply is off and let gravity work. Remember to drain the section between the backflow preventer and the irrigation shutoff too.
Automatic drain. These valves open by themselves when pressure drops after shutoff. That sounds like a complete solution, and it isn’t. Weathermatic points out that even with drain valves, water can remain in valves and sprinklers, which is why it generally recommends compressed air as well.
Blowout. Compressed air pushes the remaining water out through each zone. It is the most thorough method and the easiest to get wrong, so it deserves the next section in full.
How does a sprinkler blowout work, and when should you call a professional?
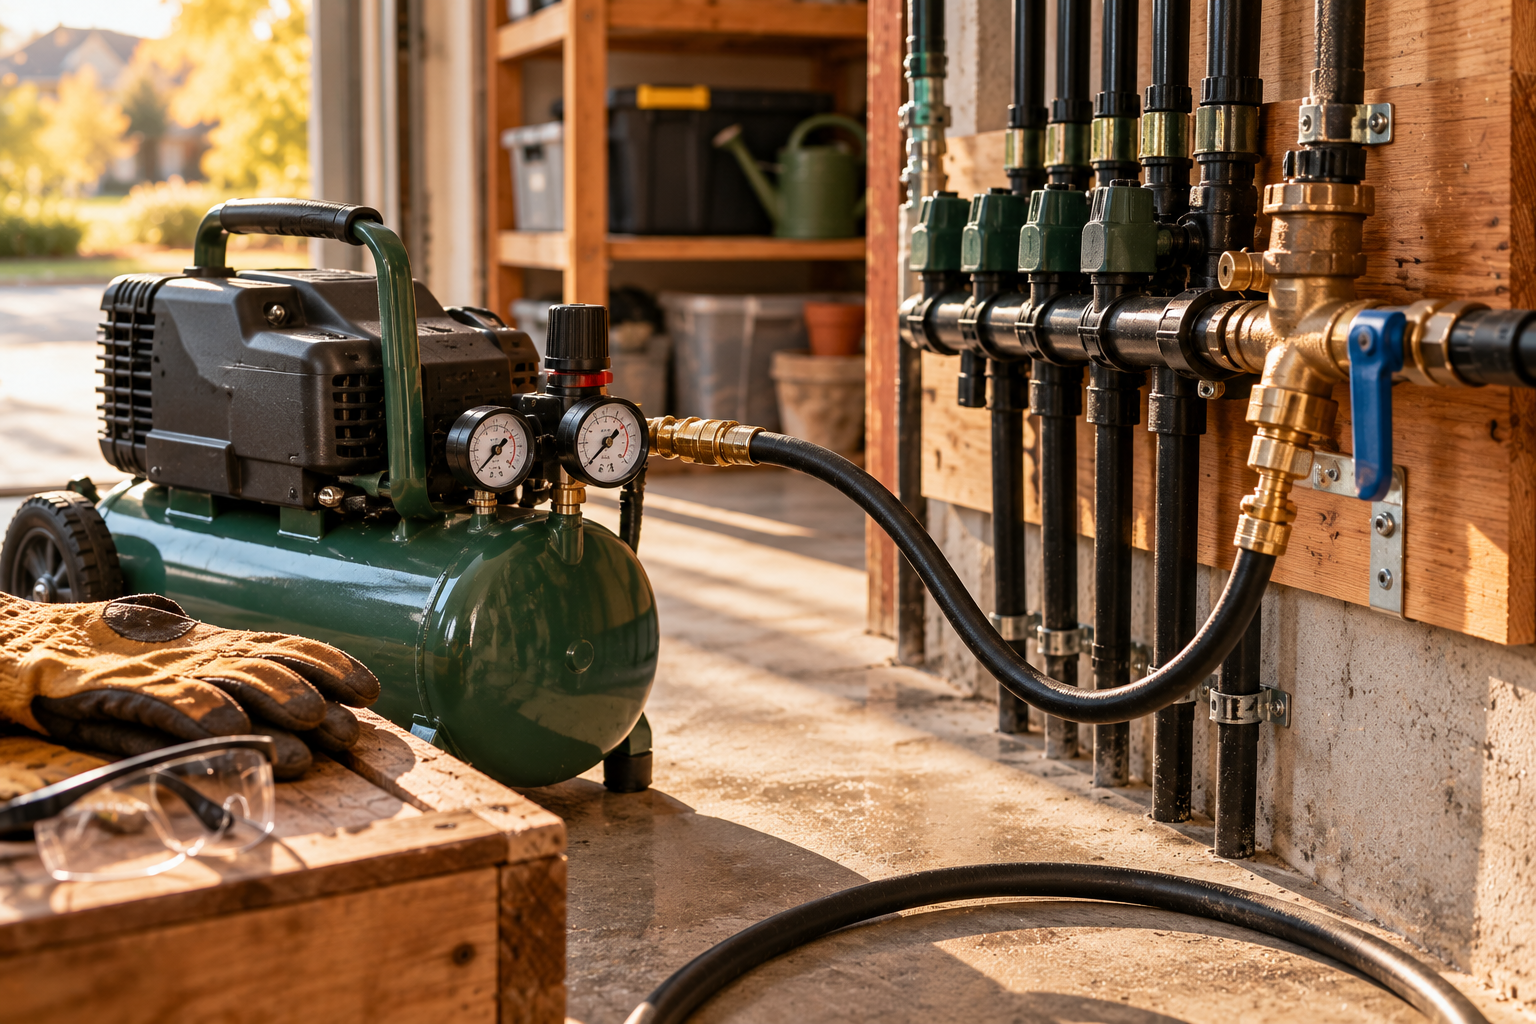
A compressor connects to a blowout port on the irrigation side of the system, downstream of the backflow preventer, and the zones are cleared one at a time. Rain Bird’s homeowner guidance says to wear eye protection and never stand over irrigation components. It keeps air pressure at or below 50 psi (about 345 kPa). It also says never to blow a single circuit for more than two minutes, because the heat of compressed air can damage pipe and fittings.
Pressure and volume are separate considerations. A blowout needs a steady volume of air at low pressure, not a small tank pushing 120 psi. Sprinkler Warehouse warns against pairing a high-pressure, low-volume compressor with a system. It also warns against assuming that plumbing rated for high water pressure will tolerate the same air pressure. Air behaves differently. Ceilings also vary by pipe: flexible polyethylene is commonly held to 50 psi, while rigid PVC figures of 75 to 80 psi appear depending on the manufacturer. If you can’t tell which you have, treat it as polyethylene and follow the manufacturer’s limits for your components.
Air should never be pushed backward through the backflow assembly, and the connection should be the one the installer intended. Don’t improvise adapters.
When DIY becomes a bad idea
Call a professional when you:
- Can’t identify the shutoff or the blowout connection
- Have a large, multi-zone system
- Don’t know your pipe material
- Have an unfamiliar backflow assembly
- Don’t have suitable compressor equipment
- Have never winterized the system and don’t know how it was installed
A simple system, a layout you know well, a proper blowout connection, the manufacturer’s instructions in hand and equipment that suits the job.
An unknown system, multiple zones, unfamiliar backflow equipment, no suitable compressor, or any doubt about pipe or pressure specifications.
Don’t forget the backflow preventer
The backflow preventer is usually the most exposed and most expensive component in the system, because part of it sits above ground. Protecting it means removing the water inside it, not just wrapping it. A municipal winterizing guide from Salt Lake City describes the general approach for testable devices. Follow the manufacturer’s guide. Open the test cocks to drain the device, or remove it for winter. Set its ball valves at a 45-degree angle so water isn’t sealed inside them.
Insulation is a second layer of protection, not a substitute for draining. Cover the drained assembly, and the guide to insulating exposed pipes before the first freeze applies to exposed irrigation plumbing as well. Backflow protection is also regulated locally in Ontario. Toronto’s backflow prevention program is one example, with testing done under CSA B64. Removing or modifying a device is not a casual weekend decision.
How do you winterize drip irrigation?
Drip systems are not small sprinkler systems. Their thin tubing, filter housings, pressure regulators and fittings crack easily, and they are often fed straight from a hose tap.
- Shut off the water supply to the drip zone.
- Disconnect the fittings at the tap and let the lines drain, opening the end caps or flush valves if your layout has them.
- Remove and store the timer indoors.
- Take apart and drain the filter and regulator, and store or protect them.
- Protect exposed fittings and drain any garden hose attached to the system.
This pairs naturally with the rest of the garden shutdown. The fall vegetable garden cleanup is a good moment to pull drip lines up before beds are cleared.
What about hoses, outdoor taps and hose timers?
Disconnect every garden hose, drain it and store it, along with hose-end timers and splitters. A hose left attached traps water at the tap, and ATCO Energy’s outdoor faucet guide notes that even frost-free faucets can freeze if an attached hose blocks the drain. Its routine is simple: shut off the interior valve that feeds the tap, open the outdoor faucet to drain what is left, close it, and add an insulated cover. Store the hoses and timers with the rest of your gear; the guide to storing garden tools before winter covers where they go.
What if freezing temperatures arrive before you’ve winterized?
Do the safe things first, and don’t improvise with compressed air.
- Shut off the irrigation water supply.
- Disconnect exposed hoses and timers.
- Drain accessible above-ground components, including the backflow device, in line with its design.
- Cover vulnerable exposed equipment.
- Arrange a proper winterization as soon as you can.
Then keep the system off. Don’t run it “to check” after a freeze; wait for a thaw, and inspect for leaks or cracked heads before use.
Common sprinkler winterization mistakes
- Waiting until after the first hard freeze
- Turning off only the controller
- Assuming that shutting off the water empties the pipes
- Using more air pressure than the pipe allows
- Blowing out every zone at once
- Forgetting the backflow preventer
- Leaving garden hoses connected
- Forgetting drip lines and timers
- Closing valves in the wrong position
- Treating insulation alone as winterization
How much does sprinkler winterization cost in Canada?
For a typical residential system in Ontario, contractor price lists I could verify put a blowout at about $100 to $130 plus HST. A published Toronto-area price list (an older list, so confirm current rates) shows the pattern by zone count. A 2026 GTA contractor listing starts at $99.99.
| Zones | Published price (CAD, before tax) |
|---|---|
| 1 to 4 | $100 |
| 5 to 6 | $110 |
| 7 to 8 | $120 |
| 9 to 14 | $130 |
These are contractors’ published starting prices, not a market survey. Get two quotes.
Price drivers include the number of zones, property size, your location, the backflow setup, extra drip zones and service-call minimums. For a U.S. comparison, Angi reports professional winterization averaging about US$93 (updated July 2026). Renting a compressor for a DIY blowout runs about US$30 to $60 a day, according to LawnStarter. Set that against the cost of a mistake: one Ontario contractor lists new zone installation from $549 per zone, which is a useful yardstick for what one cracked line costs to replace. The maths on the cost of delaying home repairs tends to favour the $100 visit.
Spring startup: one thing to remember
Open the supply valve slowly, then run each zone and look for leaks and damaged heads. A slow start avoids a pressure surge through cold pipes. A full spring startup guide is coming.
Frequently asked questions
At what temperature do sprinkler systems freeze?
Water freezes at 0°C (32°F), but damage depends on how long it stays cold and how exposed the part is. The backflow preventer, valves and risers are vulnerable on a cold night. Buried lines are safer only below the local frost depth.
When should I winterize my sprinkler system?
Before nights regularly reach 0°C. In southern Ontario that usually means the first half of October, earlier in colder regions.
Do underground sprinklers really need to be blown out?
In cold-winter climates, generally yes. Drain valves can leave water behind, and many Ontario lines sit shallower than the roughly three-foot safe depth.
Can I winterize sprinklers without an air compressor?
Sometimes. Systems with drain valves shed most of their water, but some usually remains. Consider a professional blowout for the finish.
Can I blow out my own sprinkler system?
Yes, if the system is simple, you know the layout, and you have the right connection, a regulated compressor and the manufacturer’s pressure limits. Otherwise hire a professional.
What happens if I don’t winterize my irrigation system?
Trapped water freezes and can crack pipes, fittings, valves and the backflow preventer. You usually discover it in spring as leaks, low pressure or a geyser.
How long does a sprinkler blowout take?
Rain Bird limits each zone to two minutes of air, so a six-zone system needs about 12 minutes of blowing, plus setup and backflow work.
Do drip irrigation lines need to be winterized?
Yes. Drain the lines, and remove and store the timer, filter and regulator.
Should I turn off my sprinkler controller for winter?
Yes. Set it to off or winter mode, and check the manual on whether power should stay connected.
What should I do if my sprinklers have already frozen?
Shut off the irrigation water, leave the system off until it thaws, then check for leaks and cracked heads. Call a professional if you find damage.
How much does sprinkler winterization cost in Canada?
Published Toronto-area prices for a typical residential blowout start around $100 CAD plus tax, rising with zone count.
The fall lists that get finished are the short ones. Set aside one afternoon before mid-October, put the sprinkler shutdown beside the gutter cleaning and draft-proofing, and you will not think about irrigation again until the ground softens.
Winter doesn’t ask whether the sprinklers are ready. It finds what you left behind.
— NestDigest