Fall Vegetable Garden Cleanup: Closing Out the Season Right
An Ontario-first guide to what to remove, what to leave and how to protect vegetable beds for winter.
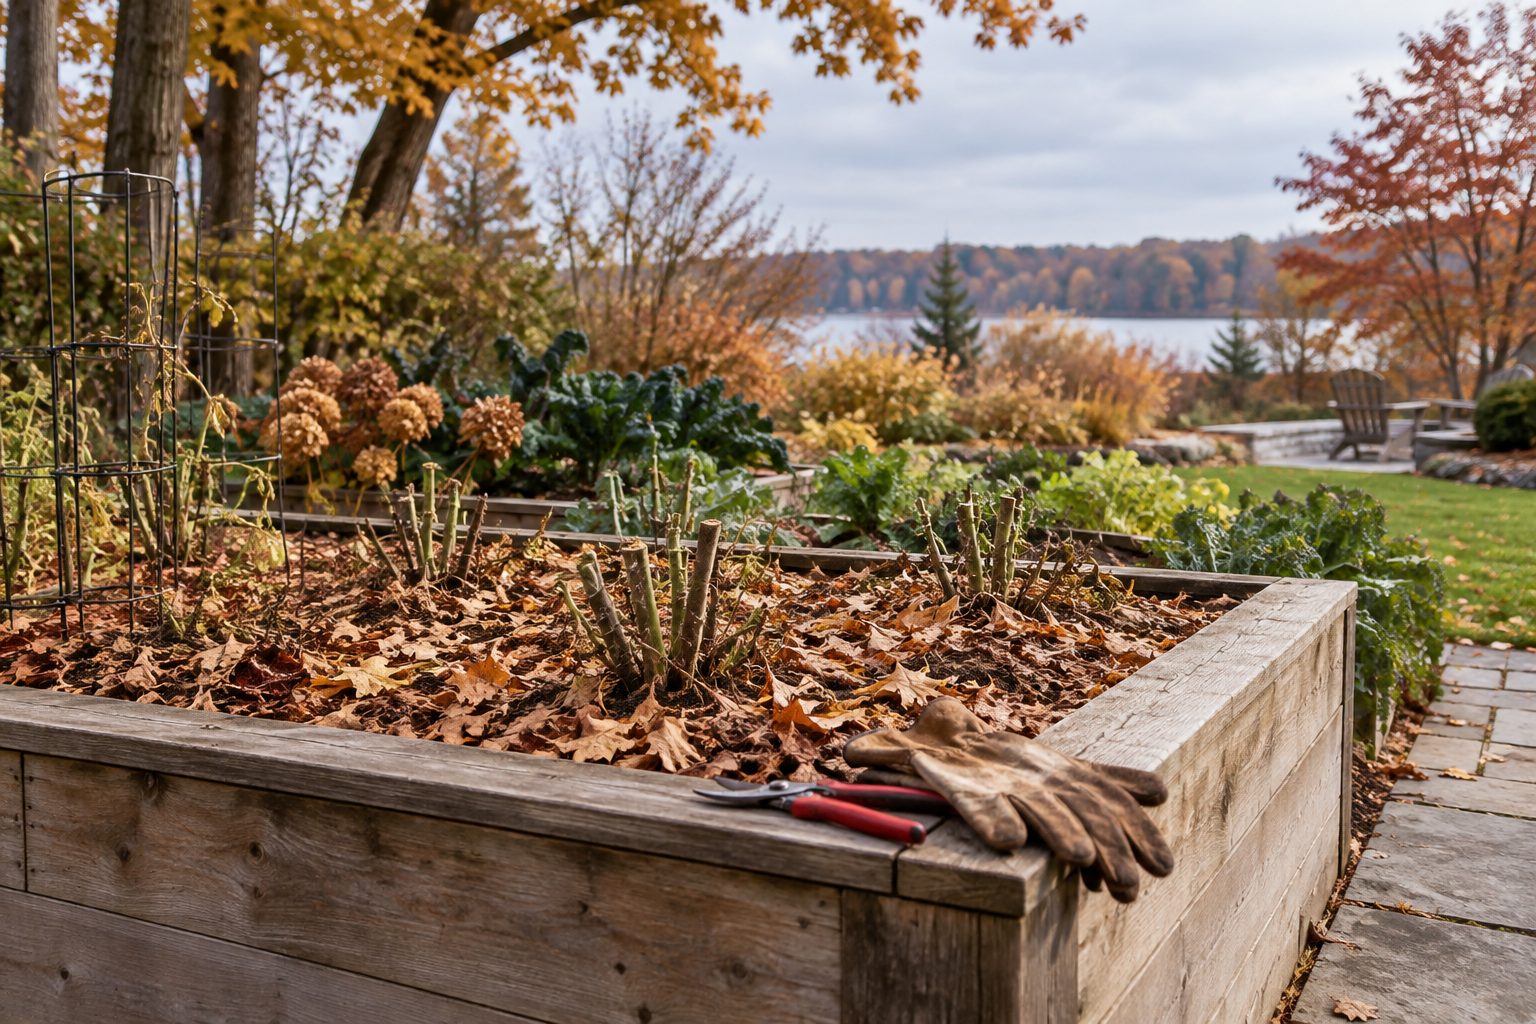
Fall vegetable garden cleanup isn’t one Saturday’s work — it’s a string of small, plant-by-plant decisions made over several weeks as beds wind down. In short: keep harvesting until frost actually stops you, since hardy crops like kale and carrots outlast a light freeze. Remove and bag anything diseased rather than composting it. Cut spent but healthy plants back to 15 cm and leave the roots in place to feed the soil. Mulch every bit of exposed bed with 10–15 cm of shredded leaves or straw. Leave seed heads and standing stems in the ornamental borders for overwintering pollinators. Getting those calls right, bed by bed, matters more for next year’s harvest than anything you’ll do next spring. The mistake I see most in Ontario gardens is treating cleanup like a single October deadline. It isn’t, and it can’t be, because the province doesn’t have one growing season — it has nine. OMAFRA’s climate-zone data splits Ontario into bands. In Essex County, the average first fall frost doesn’t land until October 20. In the shorter-season zones near Georgian Bay and the near-north, it can arrive by mid-September. Those are 50% averages, not forecasts. There’s still roughly a 25% chance of frost seven days after the listed date, and a 10% chance two weeks out. Use your zone as a planning window, then watch your own forecast and your own low spots — cold air pools there first.
Before anything comes out of the ground, finish picking it. A first light frost — the 0°C reading OMAFRA’s table tracks — damages tender crops like tomatoes, peppers, beans and cucumbers, but it doesn’t end the season for everything. Kale, spinach, carrots, beets and Brussels sprouts tolerate real cold, and South Dakota State University Extension notes Brussels sprouts often taste better after a light freeze, since the cold converts starches to sugar. I wouldn’t promise any of these will winter over outdoors across Canada — that depends on your zone and how hard the ground freezes. But don’t let one frosty morning talk you into pulling a bed that still has weeks left in it. Walk the rows first, rescue anything hiding under foliage, and only then start deciding what leaves the garden for good.
That decision — remove, compost, or leave in place — is the one that actually shapes next year’s garden, and it isn’t the same call for every plant. Fall leaf and compost management gets a lot of attention, but vegetable beds have their own logic. The guidance you’ll find online tends to flatten it into “pull everything” or “leave everything.” The honest answer sits in between.
| What’s in the bed | Verdict | Why |
|---|---|---|
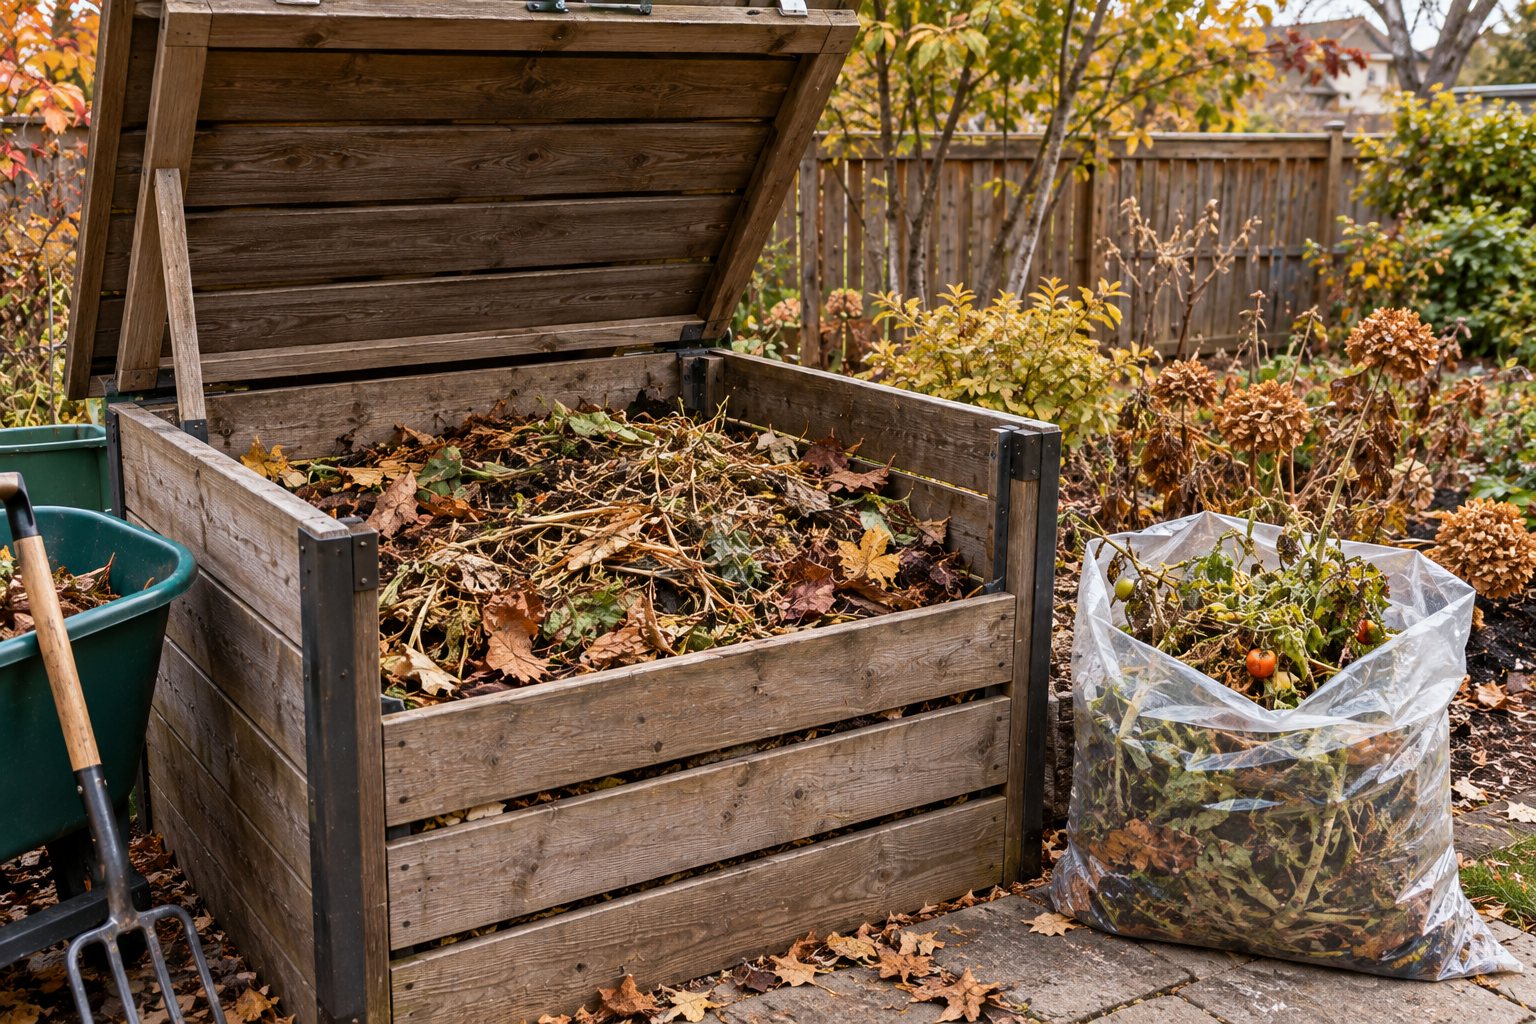
| Diseased plants — blight, powdery mildew, wilt, visible rot | Remove, bag, trash | Most backyard piles never sustain the 60°C a compost needs to kill fungal and bacterial spores. Bag it for the trash or your municipality’s managed organics stream — never the open pile. |
| Healthy annuals that finished naturally (bean vines, spent lettuce, finished squash foliage) | Compost freely | Clean plant matter is exactly what a home pile is built for. Chop it smaller and it breaks down faster. |
| Healthy roots of tomatoes, peppers, beans, peas | Cut and leave | Cut stems 6 inches (15 cm) above the soil and leave the roots. They decompose in place, add organic matter, and bean/pea roots release nitrogen as they break down — a University of Saskatchewan no-till principle that applies equally well east of the Prairies. |
| Fallen, rotting produce on the ground | Clear it out | Rotting fruit invites both disease and rodents overwinter — one of the few things worth clearing even in an otherwise hands-off bed. |
The University of Saskatchewan’s no-till gardening program is where the “leave the roots” advice actually comes from. It’s worth understanding why it works before you apply it. Their guidance recommends leaving at least 15 cm of stubble on plants like tomatoes and peppers through winter. That stubble traps insulating snow and avoids disturbing the soil structure you spent all season building. Come spring, the stem lifts out easily by hand — no digging required — while the root system stays put and keeps feeding the soil. That’s a genuinely different approach from the “till everything under” advice a lot of older guides still repeat. The difference comes down to soil biology: tilling exposes microbial life to air and heat that kills it, while a no-till bed keeps that biology intact through winter.
None of that applies to material you suspect is diseased, and this is where a backyard compost pile earns its limits. Most home piles simply don’t hold the sustained heat — Iowa State University Extension puts the threshold at roughly 60°C (140°F) — that a municipal composting facility reaches as a matter of course. If you’re not certain your pile gets there and stays there, diseased tomato, squash and cucumber vines belong in the trash or your city’s organics collection, not the backyard bin. Check your own municipality’s yard-waste rules before you decide, since acceptance policies differ by city even within Ontario.
Weeds deserve one more pass before you close the beds, and not just for tidiness — anything that’s gone to seed this fall is next year’s weeding job multiplied. Invasive species get their own disposal rule on top of that. The City of Toronto requires invasive plants like dog-strangling vine and garlic mustard to go out securely bagged as garbage, not yard waste, to keep them from spreading through the municipal composting stream. That’s a Toronto-specific rule, but it’s a useful example of a broader point: invasive plant material and diseased plant material both follow different disposal logic than the rest of your garden. Confirm your own city’s version before bagging anything.
Once the beds are sorted, the real winter-protection work is soil, and it’s simpler than most checklists make it sound. Mulch is the priority: 10 to 15 cm of shredded leaves, straw or compost over every bit of exposed soil. It insulates roots, blocks erosion during winter thaw, and suppresses next spring’s first flush of weeds before it even starts. Digging or tilling in fall isn’t a required step; it’s optional, and skipping it is often the better call, in line with the same no-till logic above. If your soil has been underperforming, fall is still the right time for a soil test — you’ll get results back in time to plan spring amendments instead of guessing. Come spring, don’t forget the other half of this. Mulch that’s been doing its winter job needs to be pulled back from the crowns of early plantings so the soil can actually warm up. That’s exactly the kind of step an early-spring garden routine should pick up where fall cleanup leaves off. If you’d rather plan the whole cold-weather stretch at once, a winter garden planning routine is the natural next stop — it picks up exactly where a fall vegetable garden cleanup leaves off.
Here’s the part most cleanup checklists skip entirely: how much of this “mess” is actually habitat. The David Suzuki Foundation points out that dead stems, seed heads and leaf litter aren’t garden waste from a pollinator’s perspective. They’re overwintering shelter for native bees, butterfly chrysalises, and countless other beneficial insects that show up in your garden again come spring. That’s not a reason to skip removing genuinely diseased material elsewhere in the vegetable beds. It’s a reason to be selective about where you apply the rake. Leave standing perennials and seed heads in the ornamental beds and borders around your vegetable garden. If you’re thinking about extending that habitat value further, native plantings along the garden’s edges do double duty as curb appeal and pollinator support through the colder months.
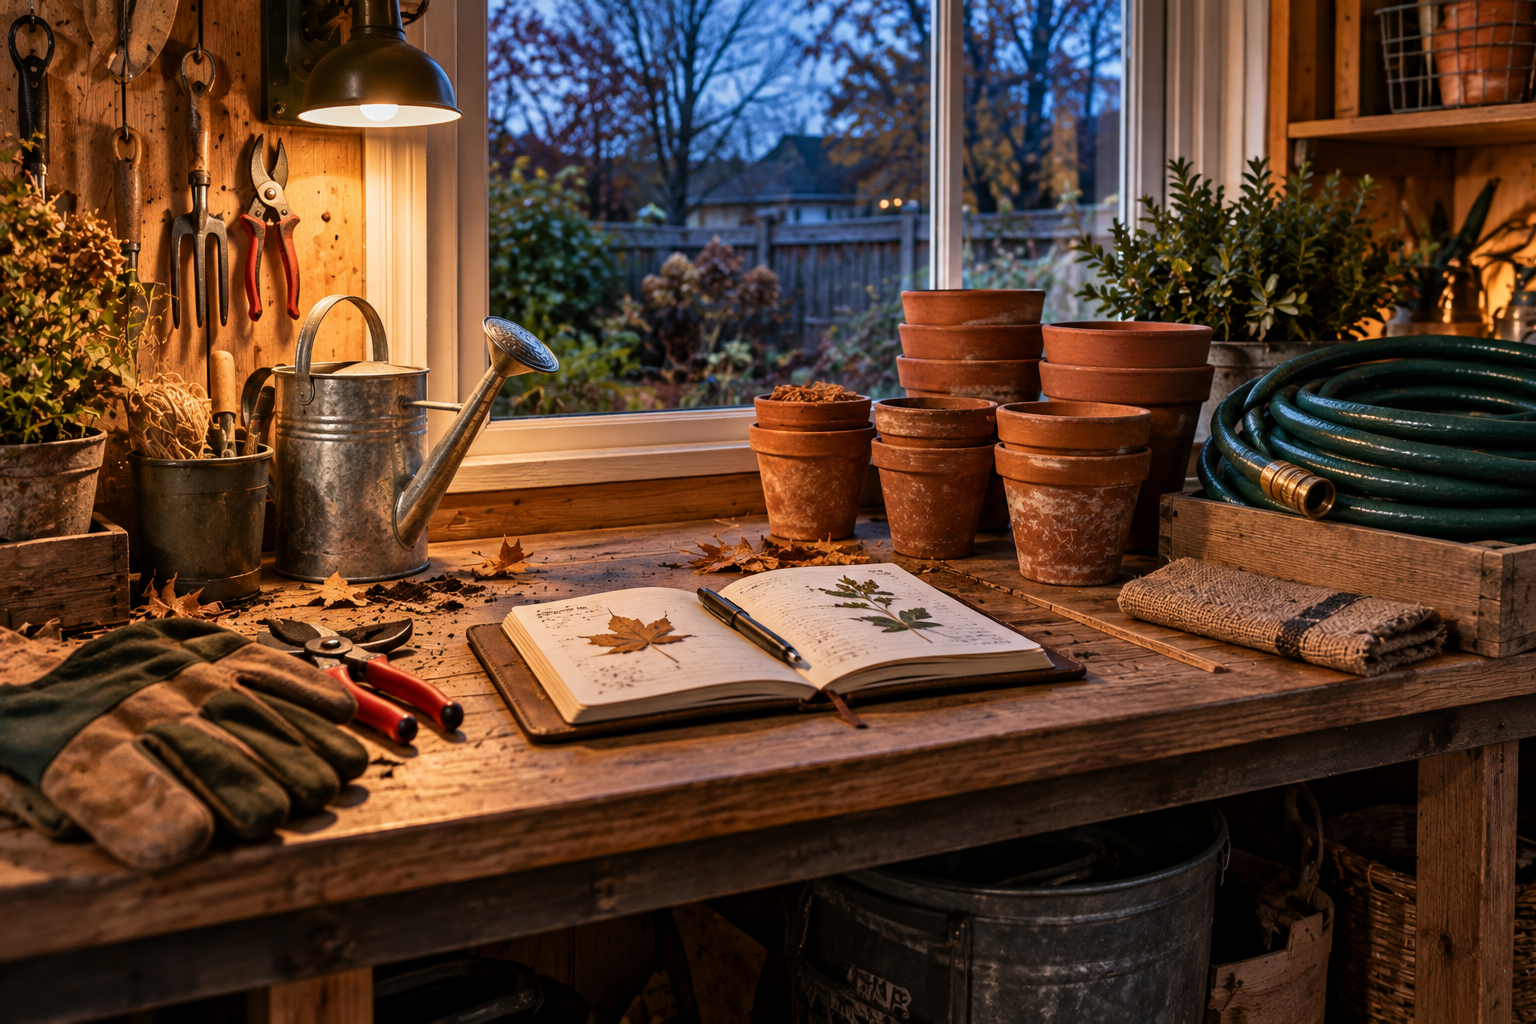
Finish with the equipment, because it’s the step that actually saves you money. Clean soil and rust off tools before storing them, drain and coil hoses before the first hard freeze cracks them, and move anything in a terracotta or ceramic pot somewhere it won’t freeze and split. Take five minutes to jot down what grew well, what struggled, and where. That note is worth more in March than you’d think — it’s the difference between guessing at next year’s crop rotation and actually planning one. If you’re working through the rest of the yard at the same time, a broader fall lawn care schedule pairs naturally with vegetable-bed cleanup, since both are driven by the same closing window before the ground locks up.
The short version, if you’re standing in the garden right now deciding what to do first: finish harvesting anything still viable. Sort what’s left into remove-and-bag, compost, or cut-and-leave based on plant health rather than habit. Mulch everything exposed, and hold off on the rake in the beds where the mess is doing someone else some good. Done this way, fall vegetable garden cleanup isn’t a single Saturday’s grind — it’s a handful of short, deliberate passes through the garden, each one worth more to next year’s harvest than an extra hour of raking. None of it requires perfect timing or one ideal weekend. It requires paying attention to what’s actually in front of you, bed by bed — a better description of good gardening than any calendar date could be.
A garden left thoughtfully undone in October is already at work on the garden you’ll have in June.
— NestDigest