How to Check Your Fireplace & Chimney Before Fall: A Homeowner’s Checklist
This is a homeowner’s pre-fall checklist, not a professional chimney inspection. These are observations you can safely make yourself before you light the first fire of the season. What to look for, what to record, and when to call in a certified inspector. They can help you spot obvious concerns and prepare for that inspection. They cannot confirm the condition of anything you can’t actually see — the inside of a flue behind a wall, or the structural soundness of a concealed section of chimney. That part is the professional’s job. It’s why Step 6 below exists.
Have the technician or a qualified professional review anything on this checklist you’re unsure about before you rely on it — these are meant to help you notice concerns early, not to replace a trained eye.
Wood-burning masonry fireplace, factory-built wood insert, gas fireplace, or pellet stove — each has different manufacturer instructions for damper operation, glass doors, and clearances. Find the manual before you touch anything else on this list. It’s often online, using the model number on a nameplate inside the firebox.
Everything below assumes the fireplace hasn’t been used in at least 24 hours and shows no warm ash. A cold system is the only one that’s safe to examine. It’s also the only condition these observations are meaningful in — a warm flue behaves differently than a cold one. If it’s been used recently, wait.
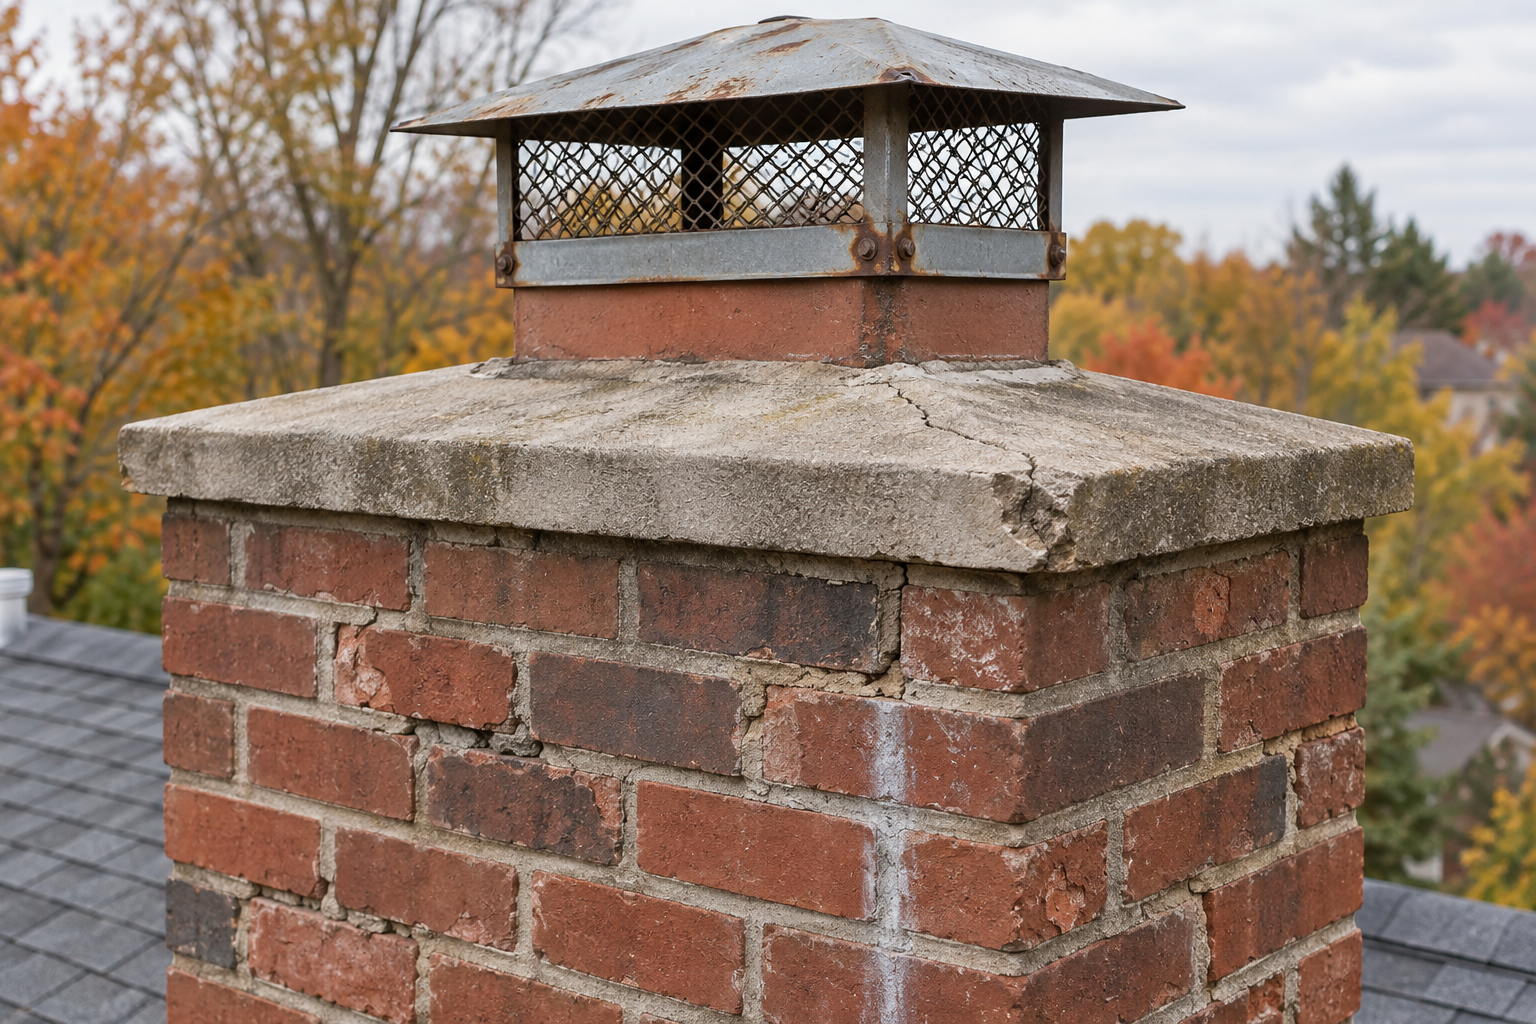
No ladder. From the ground, look at the chimney’s exterior. Does the crown — the concrete cap on top — look cracked or uneven? Is the metal cap present and intact, or missing or rusted through? Are there dark streaks or white staining down the brick? That usually means water is getting in somewhere. Note anything unusual — that note is what you’ll hand to an inspector.
With the firebox cold, look without removing or dismantling anything. Check for visible creosote — a black or brown, tar-like coating — on the firebox walls, and any loose or crumbling brick. Only if your manual says it’s safe to check by hand, see whether the damper moves at all. Don’t force anything that resists, and don’t reach up into the flue itself.
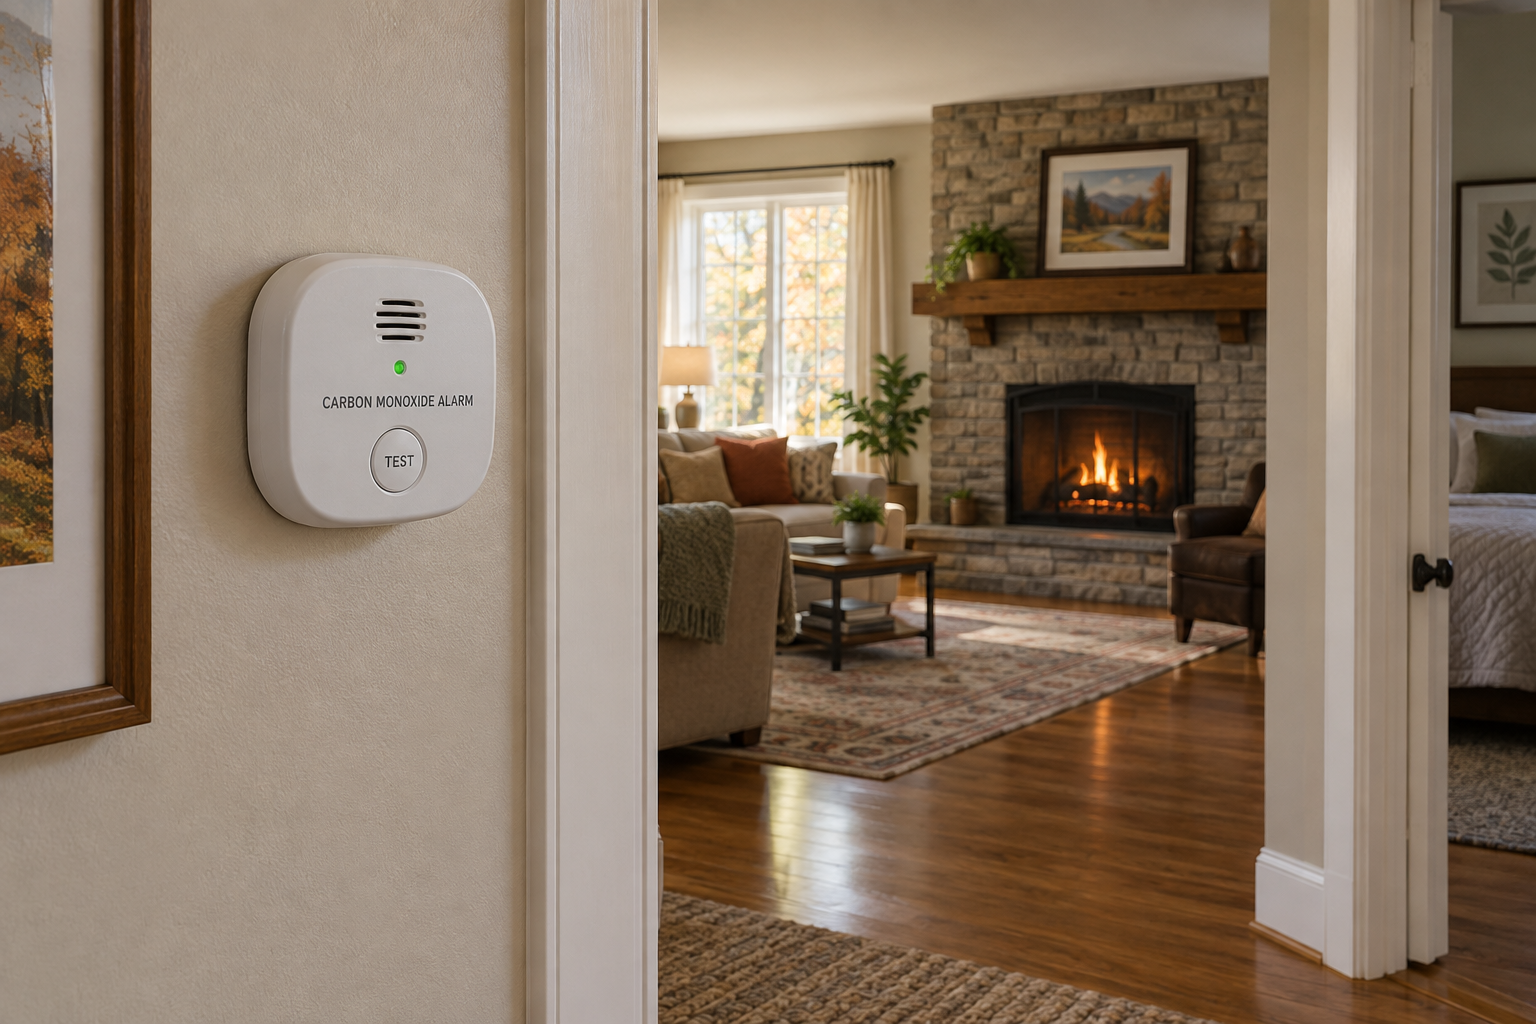
Test your smoke and CO alarms’ test buttons. Check the manufacture date on each unit against the replacement schedule in its manual — commonly 5 to 10 years for CO alarms. Confirm placement follows the manufacturer’s instructions: one on every level of the home, and one in the hallway outside each sleeping area.
Write down or photograph anything from Steps 3–5 that concerned you, however minor. Then call a certified inspector — WETT-certified in Canada, CSIA-certified in the U.S. — and describe exactly what you noticed. That conversation, not the calendar, is what determines how deep the inspection needs to go.
A real inspection ends with a written report, not a verbal all-clear. Read it, ask about anything you don’t understand, and get any recommended repairs done before you use the fireplace — the inspection identifies problems. Addressing them is what actually makes the fire safe.
What actually happens once you’ve booked that inspection — and what it costs in Canada versus the U.S. — is worth understanding before you call.

What a Professional Chimney Inspection Involves — And What It Costs
What a professional chimney inspection includes: once you’ve called someone in, here’s the sequence a thorough visit follows — worth knowing so you can tell a complete inspection from a rushed one.
Checking for spalling brick, open mortar joints, a cracked crown, and a cap that’s missing or rusted through — the same things you looked for from the ground in Step 3, examined more closely and from the roof.
Confirming the damper opens fully and closes fully when needed, per the appliance’s own operating instructions, and that the smoke chamber walls are smooth and free of the ledges that trap extra creosote.
Assessing buildup against CSIA’s action threshold and checking the liner itself for cracks, gaps, or the wrong size for the fireplace opening.
Verifying safe distance from combustible framing and, for gas units, checking the pilot, valve, and burner alongside the venting itself.
A real inspection ends with a documented report — what was found, what’s urgent, and what can wait — not just a verbal “looks fine.” WETT and CSIA reports both follow standardized forms for exactly this reason.
Canada and the U.S. use different frameworks, and they aren’t interchangeable. In Canada, WETT — Wood Energy Technology Transfer — certifies the inspectors most Canadian insurers require. It uses a SITE system of Visual, Technical, and Invasive inspections. A Visual inspection covers the readily accessible parts of the system. It’s usually sufficient for insurance and real estate purposes. A Technical inspection reaches further — attics, crawlspaces, or roof access. An Invasive inspection means opening walls or removing components to reach concealed damage. Which one applies isn’t a fixed rule triggered automatically by a fire or a fuel change. The inspector recommends the depth based on what they find, the system’s history, and how it can be accessed. In the U.S., CSIA certifies sweeps against the NFPA 211 standard’s Level 1/2/3 structure. It covers similar ground, but it’s a separate framework with separate paperwork. A Canadian WETT report and a U.S. CSIA report aren’t interchangeable. If you’re dealing with a cross-border property or an insurer using the other country’s framework, ask directly which one they’ll accept.
What it costs varies by provider — neither WETT nor CSIA sets official rates. WETT says so directly: it doesn’t regulate what certified pros charge. The rates below are real, published rates from named providers as of 2026, not a national average. Get a written local quote before you budget.
Canada — WETT framework (CAD)
| Provider | Service | Price |
|---|---|---|
| Property Inspection Network (Ottawa, ON) | WETT inspection, bundled with a general home inspection | $150–$250 |
| WETT Inspection (Barrie/Orillia/Midland, ON) | Level 1 Visual inspection — bundled / standalone | $100 / $250 |
| Chris Wood Heat Services (rural Ontario) | WETT compliance inspection, first appliance / each additional | $439 / $240 |
U.S. — CSIA / NFPA 211 framework (USD)
| Provider | Service | Price |
|---|---|---|
| Brown Chimney | Level 1 visual inspection (promotional rate; industry range noted as $100–$550) | $49 |
| Angi | Level 1 inspection (range reflects flue count and chimney height) | $100–$950 |
| Angi | Level 2 inspection (camera scan of the flue) | $200–$1,000 |
Technical, Invasive, and Level 3 inspections are priced individually based on access and scope — none of the sources above publish a fixed rate for them, and a legitimate provider won’t quote one sight unseen.
Repairs, if the inspection finds something, are billed separately from the inspection fee. HomeStars’ 2026 Calgary pricing guide puts full liner replacement at $2,500 to $7,000 CAD and flue repair at $250 to $1,000 CAD. Its Toronto guide puts minor masonry repairs at $300 to $1,500 CAD, climbing to $3,000–$5,000+ for more extensive damage. Cap and spark-arrestor replacement usually falls at the low end of that range. None of this is optional once it’s flagged. Water that gets past a damaged crown or a missing cap is what turns a few-hundred-dollar repair into a multi-thousand-dollar one.
Beyond visible soot, a cracked flue tile or a blocked vent can let combustion gases into the house instead of venting them outside. That’s why CO alarms matter alongside a professional inspection, not instead of it. The CPSC recommends an alarm on every level of the home and in the hallway outside each sleeping area. Test them monthly. Replace batteries annually, and replace the whole unit on the manufacturer’s schedule — commonly every 5 to 10 years. If an alarm sounds, get everyone to fresh air immediately and call emergency services from there; don’t stop to investigate the cause yourself. Working CO alarms complement professional inspection, necessary maintenance, and correct appliance operation — they aren’t a substitute for any of the three.
A damper’s job is airflow, not containing embers — that’s handled by whatever screen or glass doors came with your specific fireplace. How those operate depends on the appliance, so check the manufacturer’s instructions rather than assuming. What’s consistent across appliances: per CPSC guidance, open the damper before lighting a fire and keep it open until the ashes are completely cool. This avoids trapping combustion gases in the house. Closing it only matters once the fireplace is cold and idle — that’s what stops conditioned air from escaping up the flue, the same leak most people are chasing when they get serious about draft-proofing the house before winter. If Step 4 of the checklist — or an inspector — turns up a damper that won’t open fully or won’t close once cold, get it repaired.
Choosing an inspector comes down to more than one filter. In Canada, ask for a current WETT certification number. In the U.S., ask whether they’re CSIA-certified — that’s the credential built specifically around chimney inspection and sweeping. NFI certification is a different thing. It covers hearth appliance planning and installation (gas, wood, or pellet specialists), which matters if you’re installing or replacing a fireplace, not necessarily the person inspecting an existing one. Beyond the credential, ask about experience with your specific appliance type, exactly what the inspection will and won’t cover, what access it requires, and how the report is delivered. Don’t assume what your insurer or a future buyer will accept. Call and ask what they specifically require before you book.
This checklist is about noticing concerns, not fixing them. Sweeping, repairs, and appliance servicing are jobs for a certified professional. Even something that looks simple, like clearing visible debris from a firebox, can disturb something you can’t see the condition of. If a chimney has never been inspected and has an unknown history, or you’re dealing with a steep or multi-story roof, that’s exactly the situation where guessing costs more than calling.
How urgent all of this feels also depends on where the chimney sits. On the Prairies, wood and pellet stoves are still a genuine backup heat source through brutal cold snaps. A chimney failure there isn’t an inconvenience — it’s a life-safety issue, and the window to get checked closes earlier, closer to September than November. New England and Atlantic Canada lean harder on wood heat through nor’easters and ice storms, which makes an annual check close to non-negotiable given how much use those flues actually see. Homes along the Gulf Coast and in the Southwest sit at the other extreme, with fireplaces used once or twice a season. That sounds low-risk, but it isn’t — an unused chimney still invites nesting animals and creosote that was never assessed. “I barely use it” is exactly the profile that still needs the annual check.
Fall systems checks tend to travel in pairs for a reason. The same week you’re booking a furnace tune-up, it’s worth working through this checklist too — both jobs really come down to confirming that combustion appliances vent safely before they’re running daily. The chimney crown and cap also sit at the same roofline where clogged eavestroughs cause their own damage, so if a fall gutter cleaning is already on the calendar, ask the crew to glance at the crown and flashing while they’re up there. Most will, and it catches water intrusion before it ever reaches the flue liner.
None of this needs to be a standalone errand. This checklist fits naturally into a broader preventative home maintenance checklist, one that treats the whole house as one interconnected system each fall. That beats a scramble of one-off repairs each winter, every time. And skipping it is an expensive way to save a few hundred dollars — the cost of delaying home repairs compounds fast, and chimneys are one of the clearest examples of it.
A fireplace earns its keep by looking effortless — a fire that just appears, crackling, the moment you want it. The work that makes that possible happens earlier, in a check nobody sees, not in the fire itself. That’s really what this checklist — and the inspection it leads to — buys: not a guarantee, but the accountability of actually knowing your fireplace’s condition before you strike the first match of the season.
A fire earns its warmth in the work no one sees before it’s ever lit.
— NestDigest